Overview
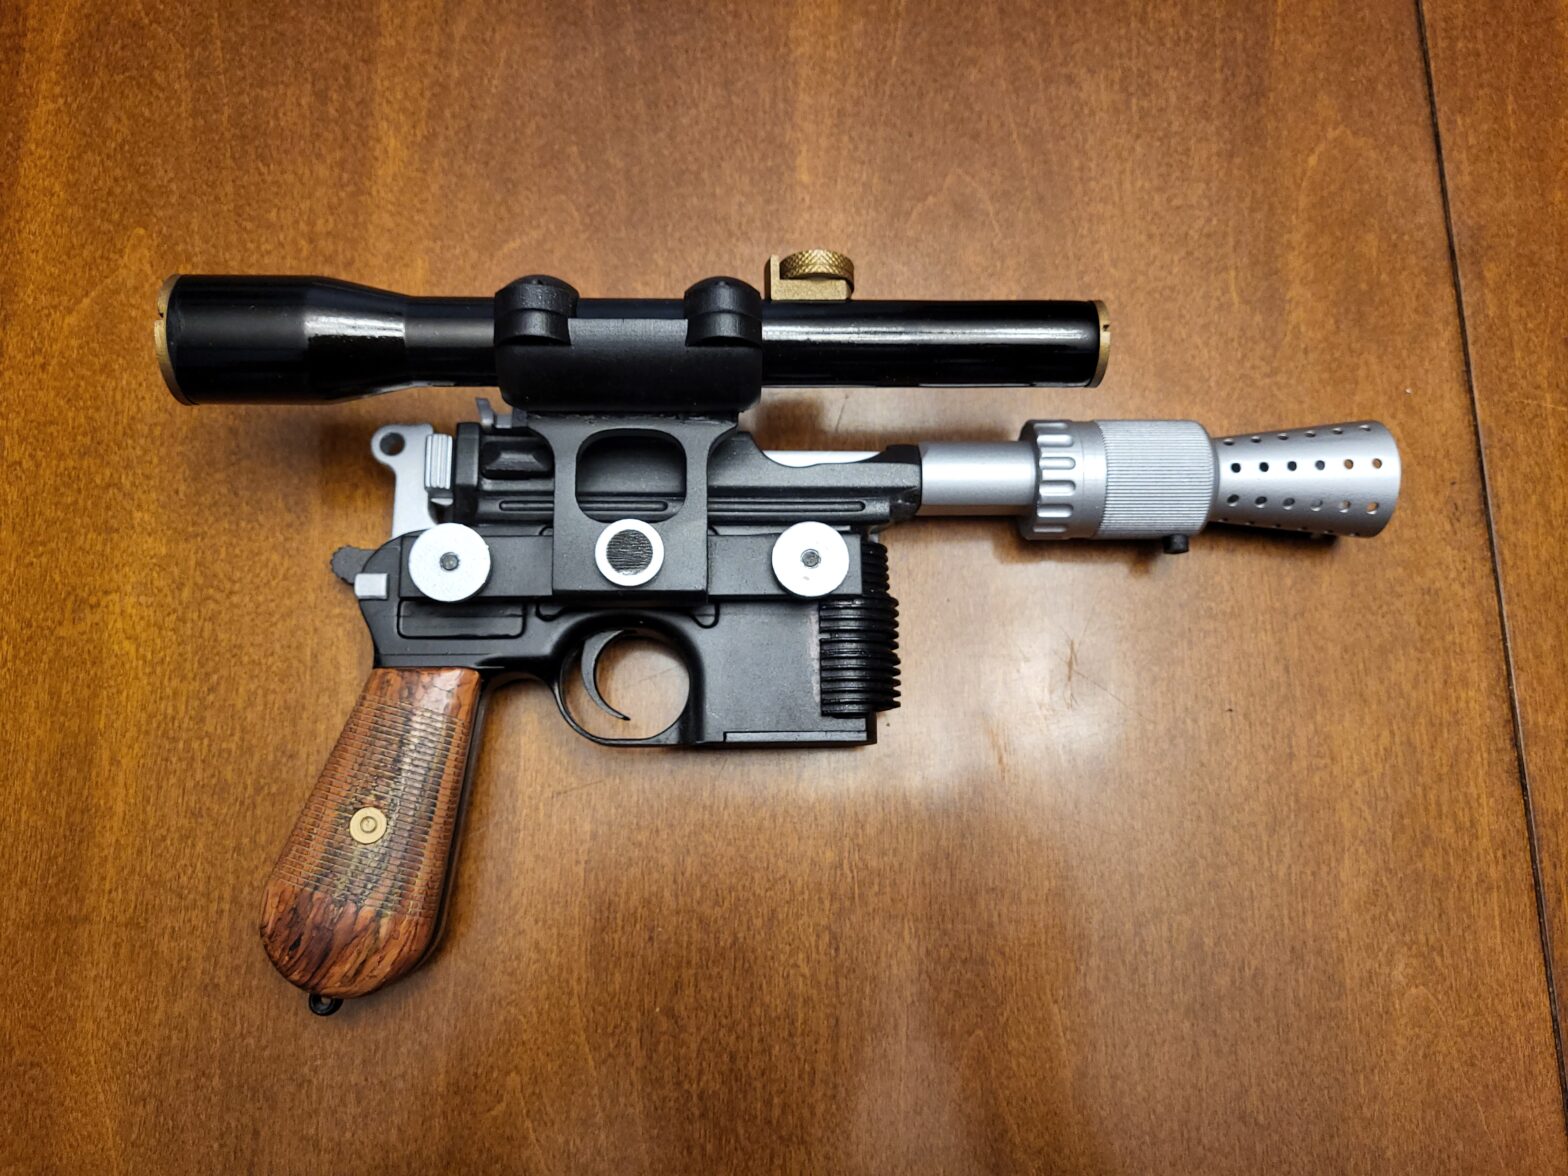
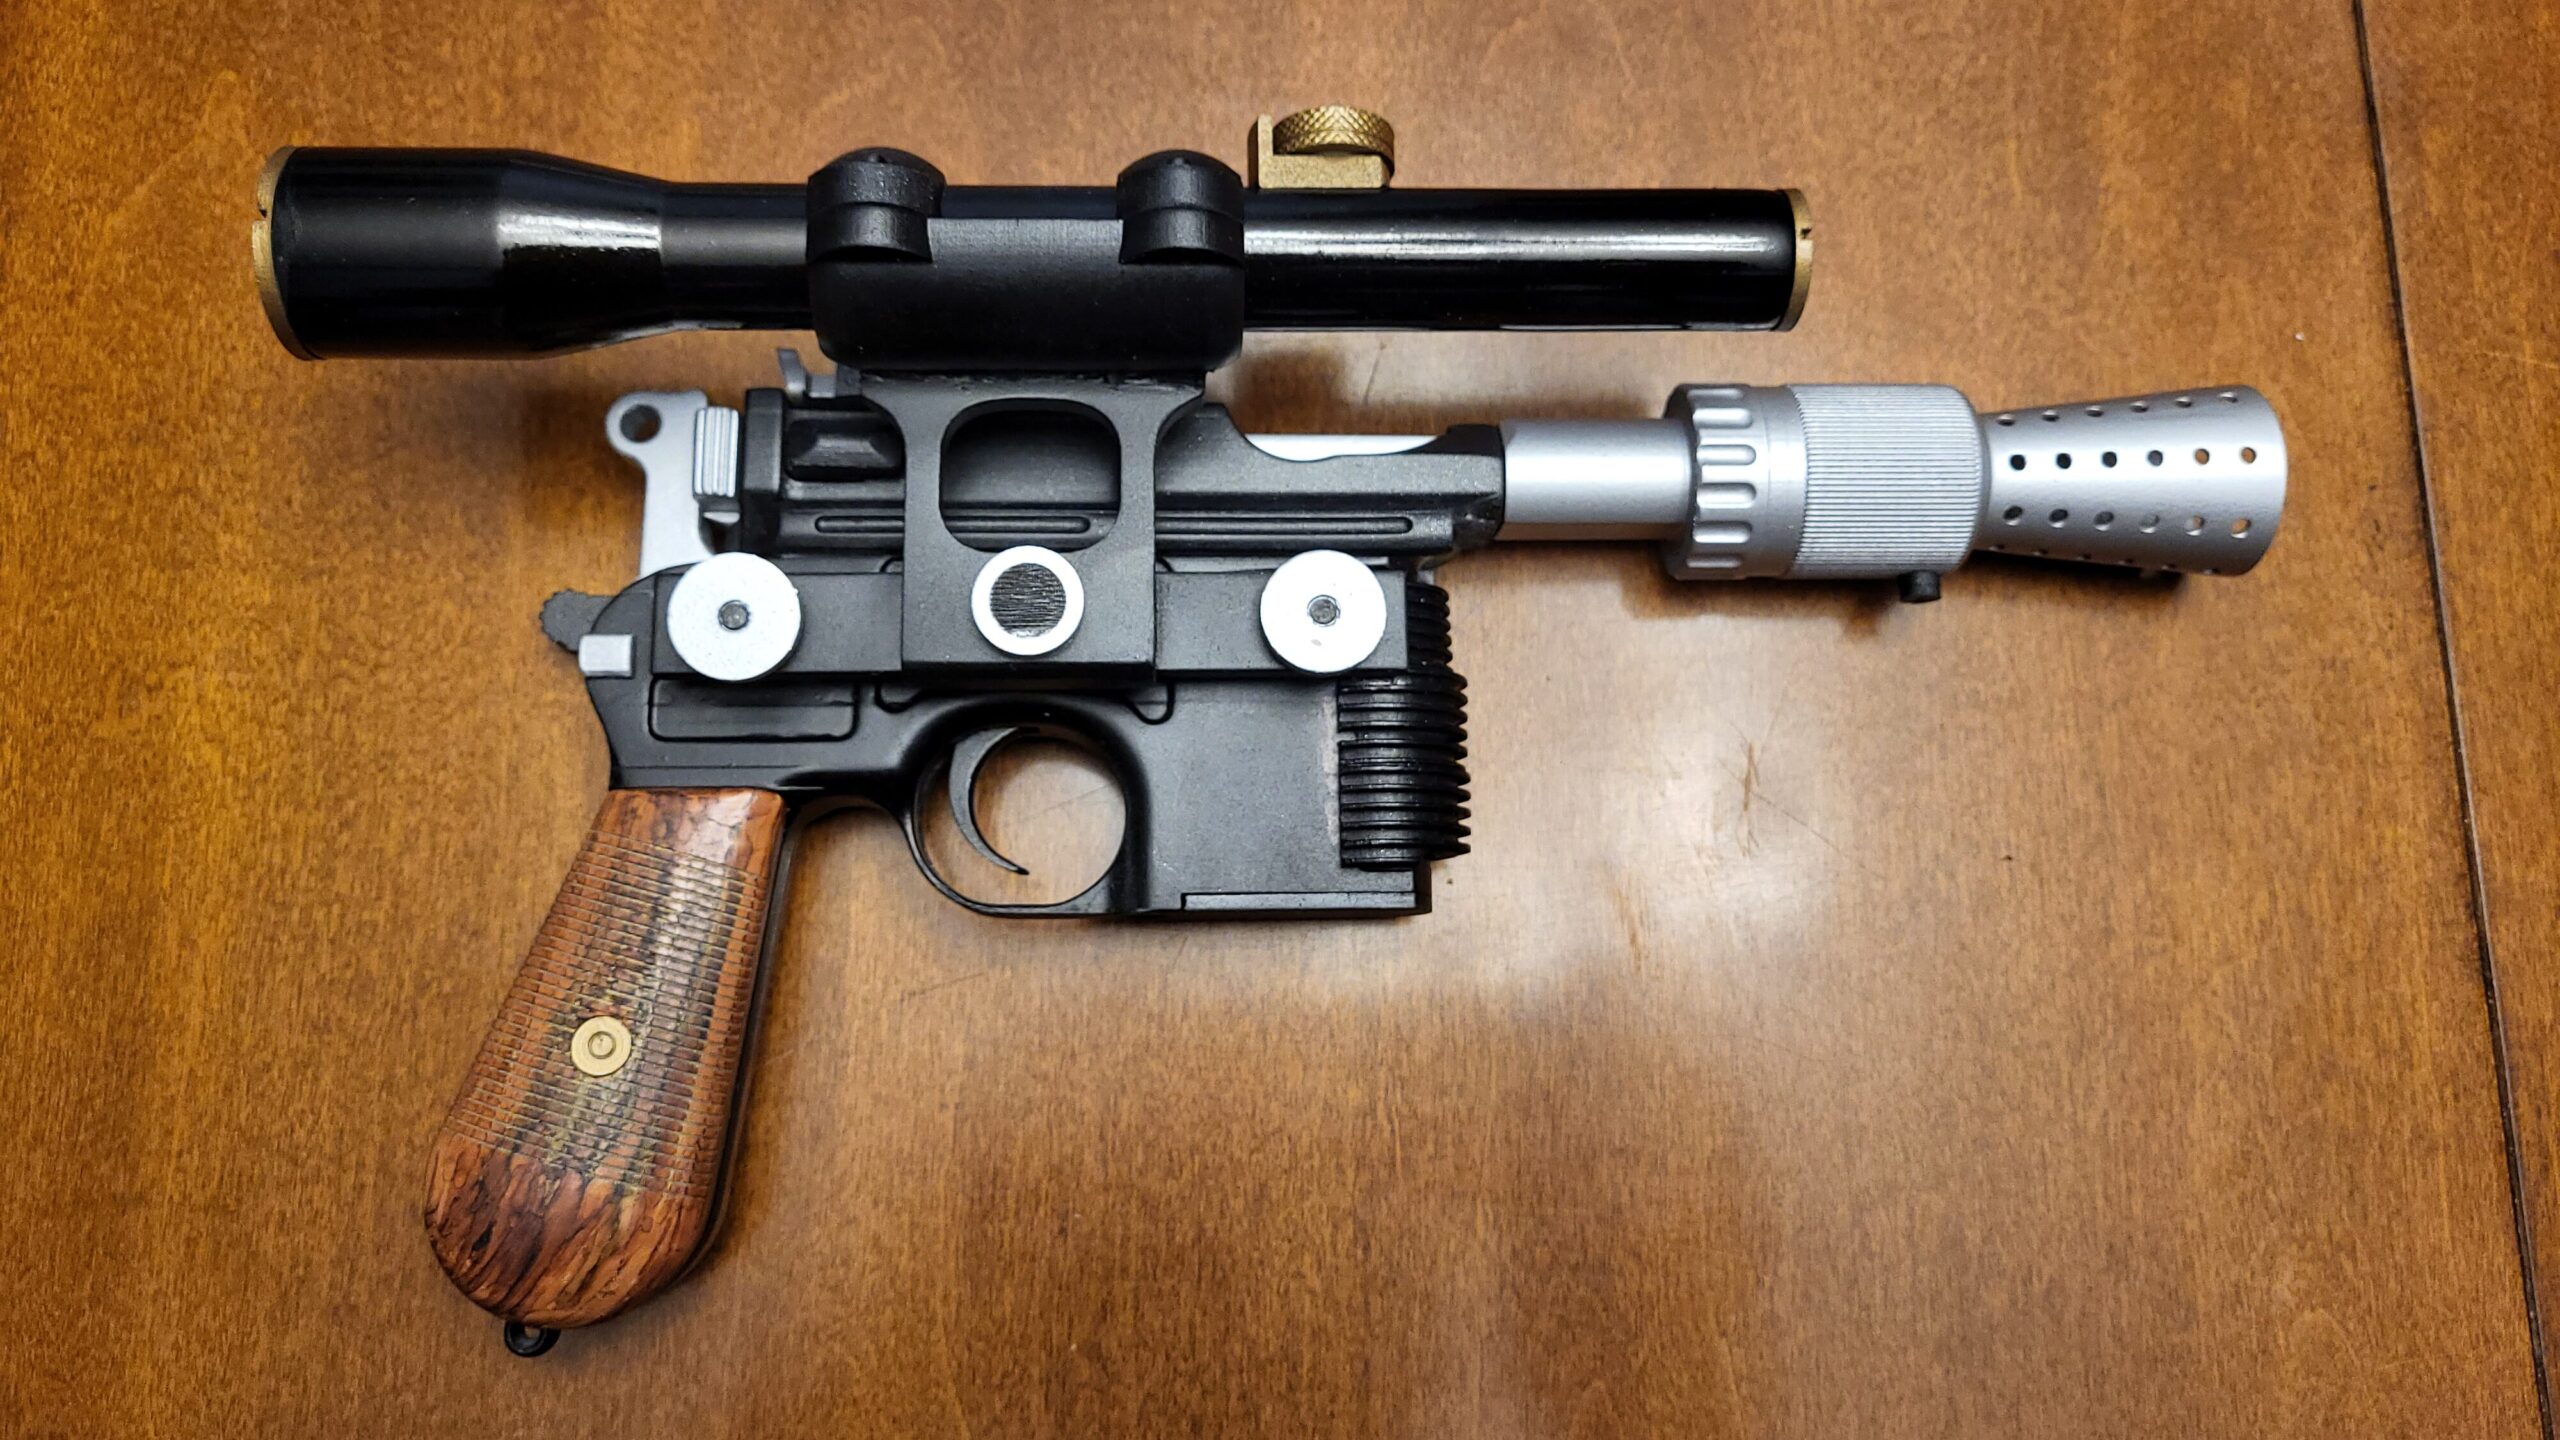
This intrusive prop icon was a a stand-out accessory for anyone familiar with the 1970s Star Wars films, and my very ambitiously early into my work as a prop collector/creator. This document actually serves to capture the work performed in 2022, and I may provide an update in the near future with skills developed over the last several years, as well as better initially producible parts from my new resin printer. In total, I would estimate this project took ~30 labor hours to post-process, paint, and assemble (not counting print time, which I would estimate to be ~2 weeks of part time effort). Some of that was me learning the ropes, but the majority I would assume is unavoidable for a hobbyist setup.
Purpose
Practice 3D printing, assembly, sanding/filling, and painting, matching screen-used props. Also to have a really cool prop on my wall or to take as part of a costume.
Process
Research and Inspiration
There is a lot of material out there for the DL-44, both good and bad. Adam Savage has famously scoured the internet for some of that knowledge on sites like the Realistic Prop Forum [RPF]. There are several variations on the blaster used by Has Solo throughout the film, making an exact match essentially impossible. So rather than hunt for screen accuracy at this sophomoric point in my prop journey, I instead went with the best available model I could find for free on the internet. I believe I settled on this model by PortedtoReality as being the closest to the screen version and by far the most popular.
Being free from needing an exact match to the screen, I was also able to tell the story of my DL-44 as a plausible alternative model floating throughout George Lucas’s universe. Seeing as how the original blaster was a modified version of the real-life German C96 “Broomhandle” Mauser pistol, that gave me another jumping off point when the well had dried for areas like color matching and cohesion of the prop.
Tools List
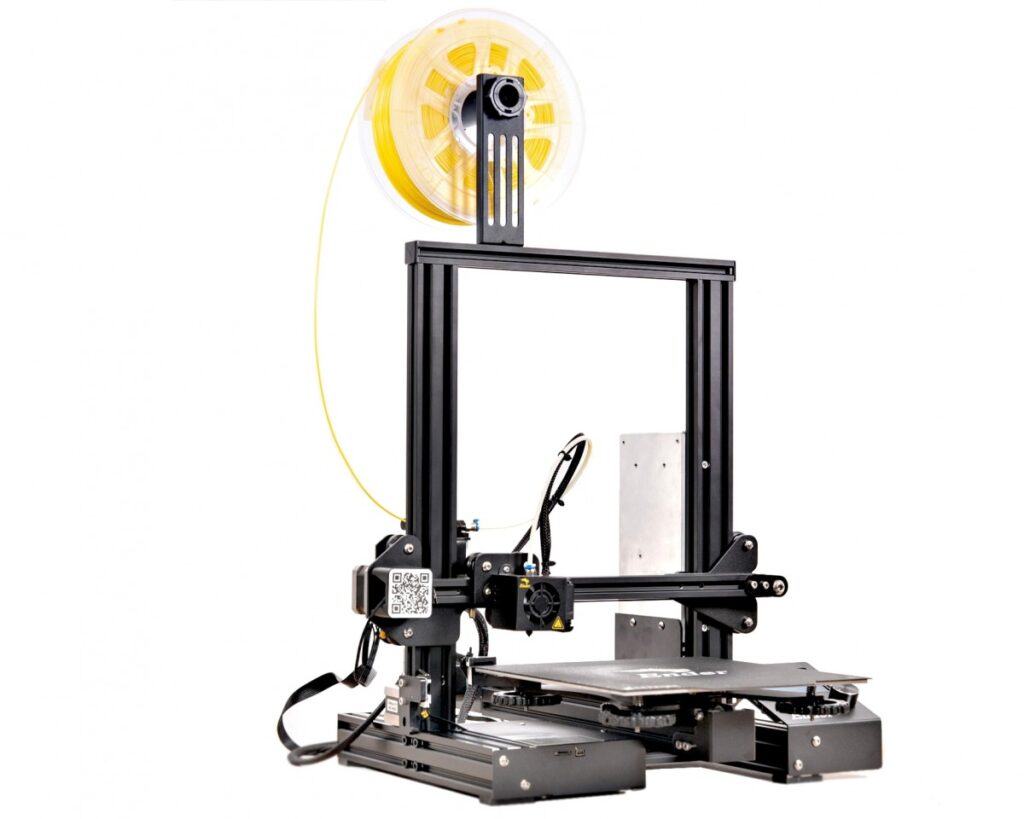
- 3D Printer
- Hatchbox PLA (White)
- Sandpaper (150, 220, & 400+ grits)
- Paint Spray Cans
- Gloss Black
- Satin Black
- Bronze
- Metallic Steel
- Tan/Beige
- Wood Paint Pens (Variety Pack)
- Glue (cyanoacrylate or better)
Painting and Weathering
Since this design was not my own, I was able to jump right into post-processing once everything was printed. Like many of my other prints, this prop started life as a white PLA.
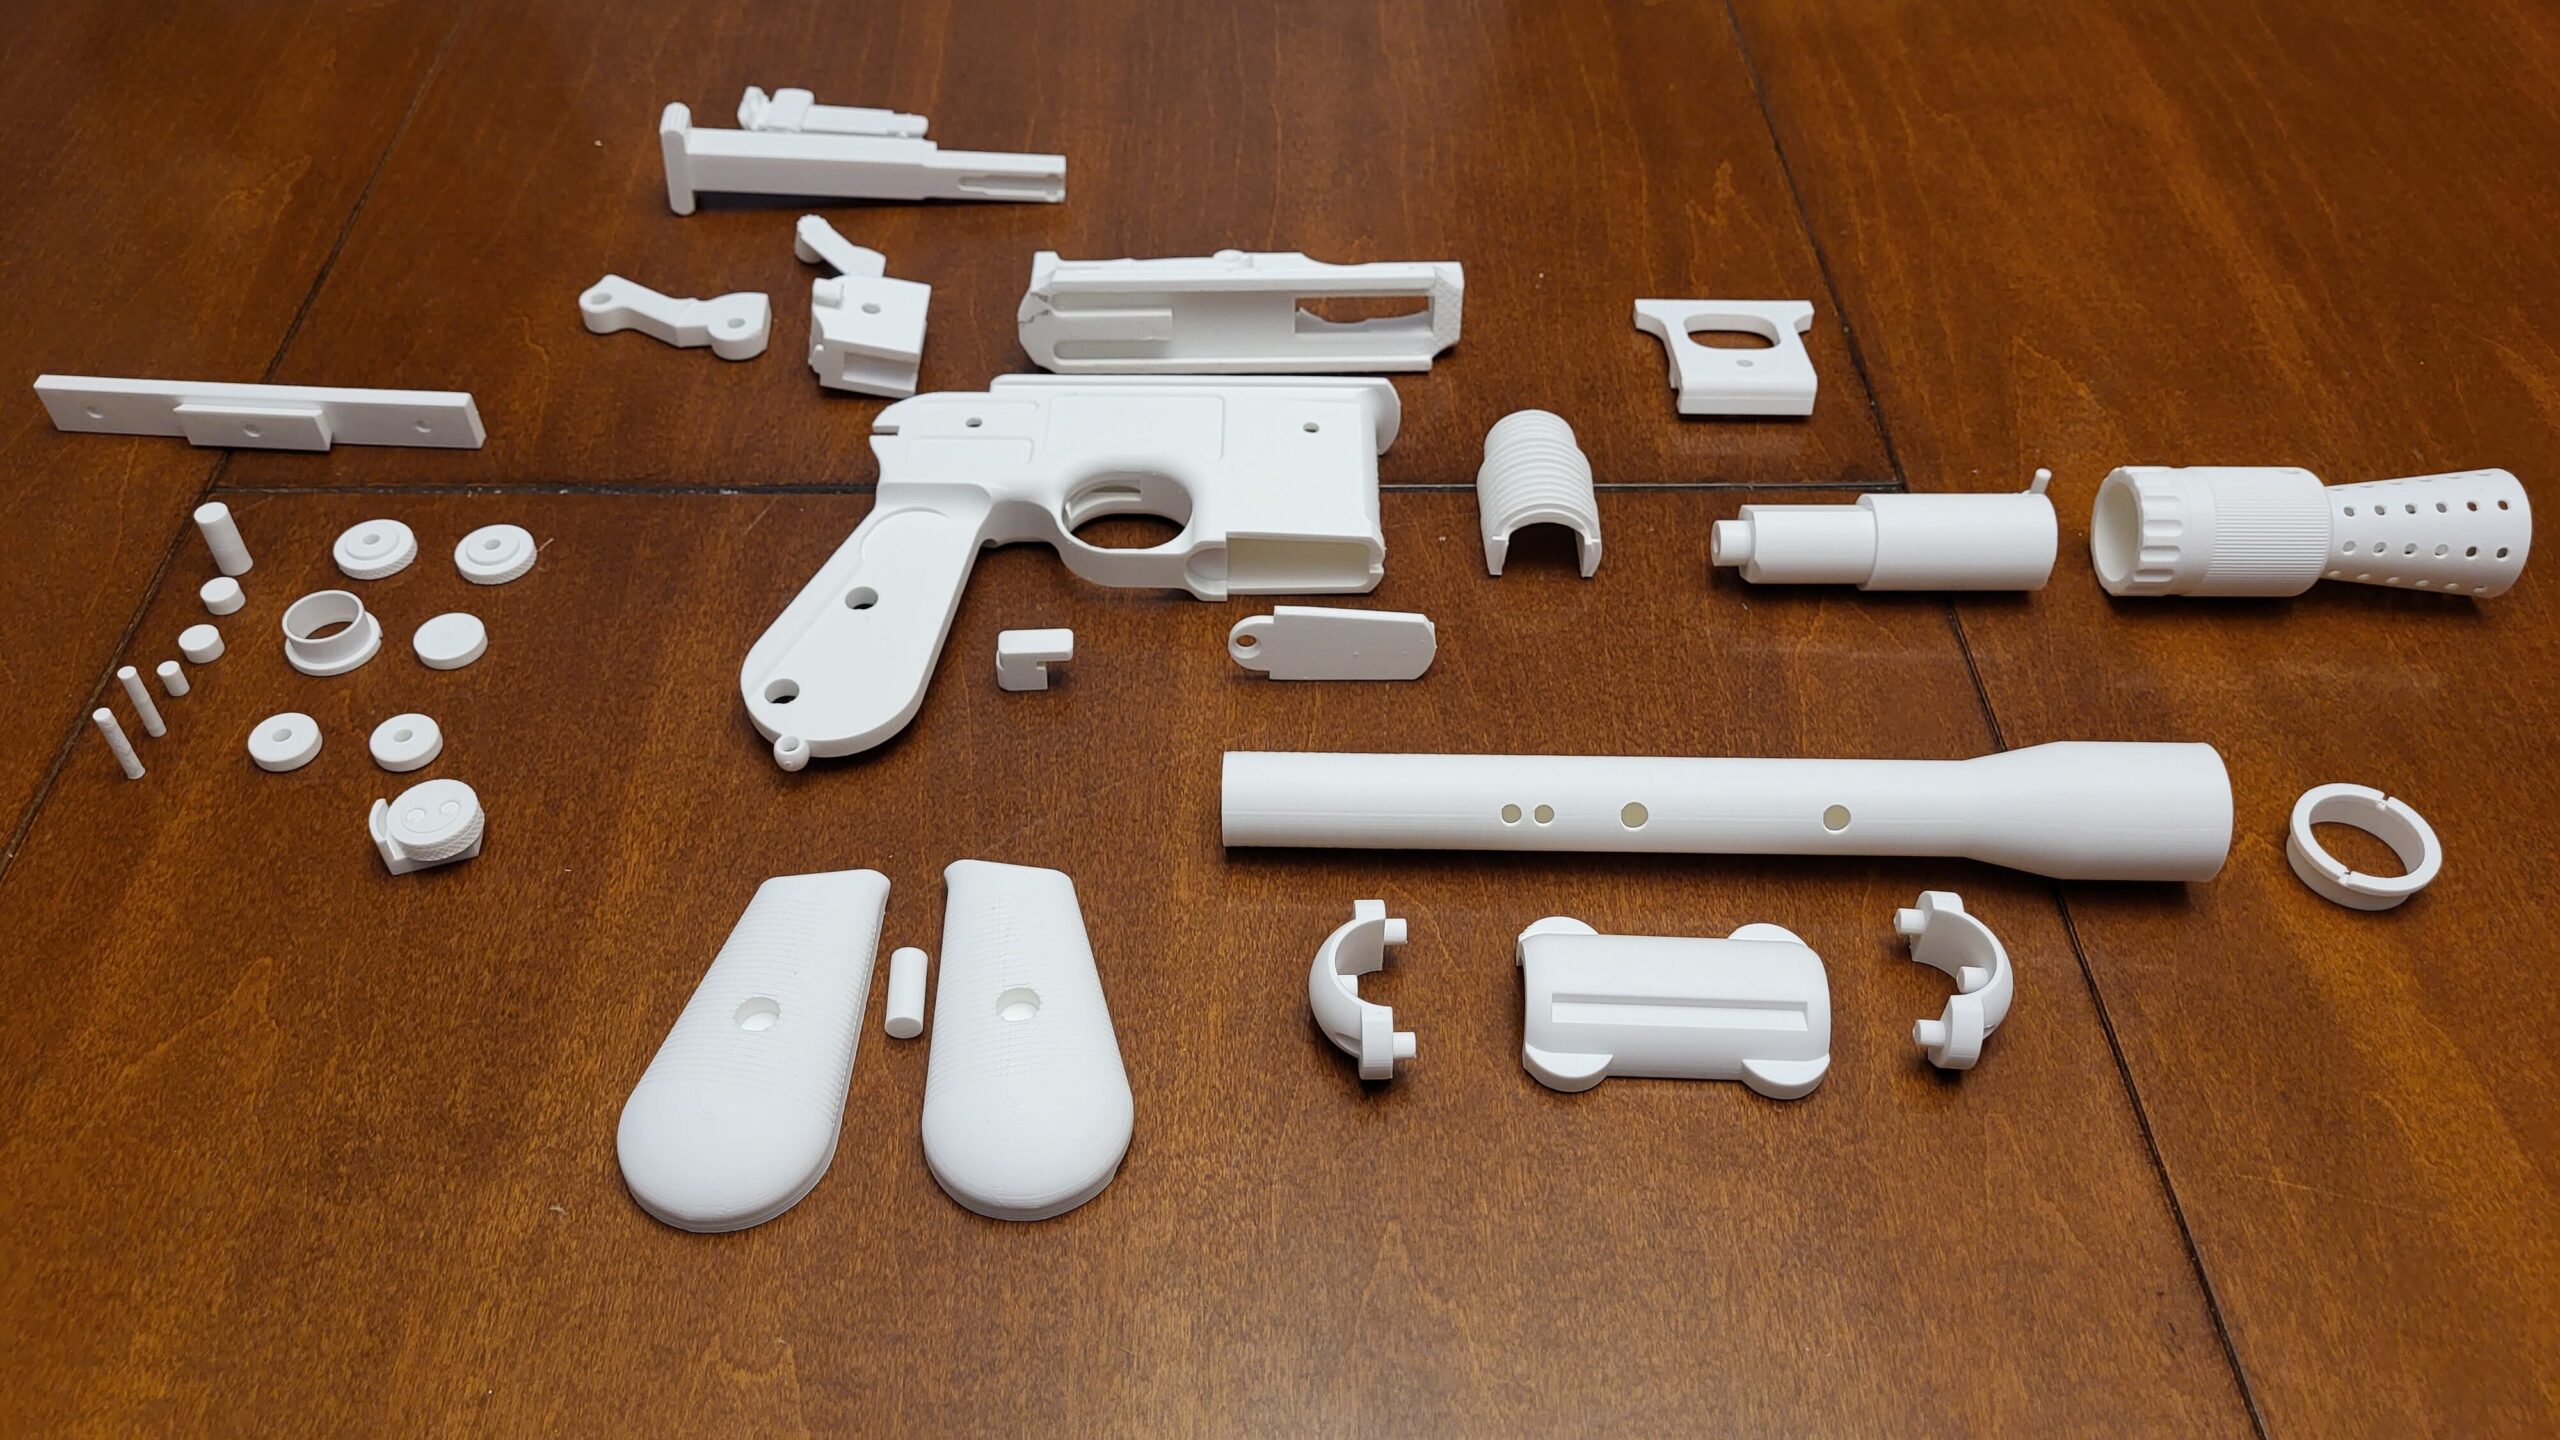
Once I was sure that I had every part required, I began painstakingly sanding all of the parts required to get a finish I was happy with.
[Insert thrilling video montage of sanding process]
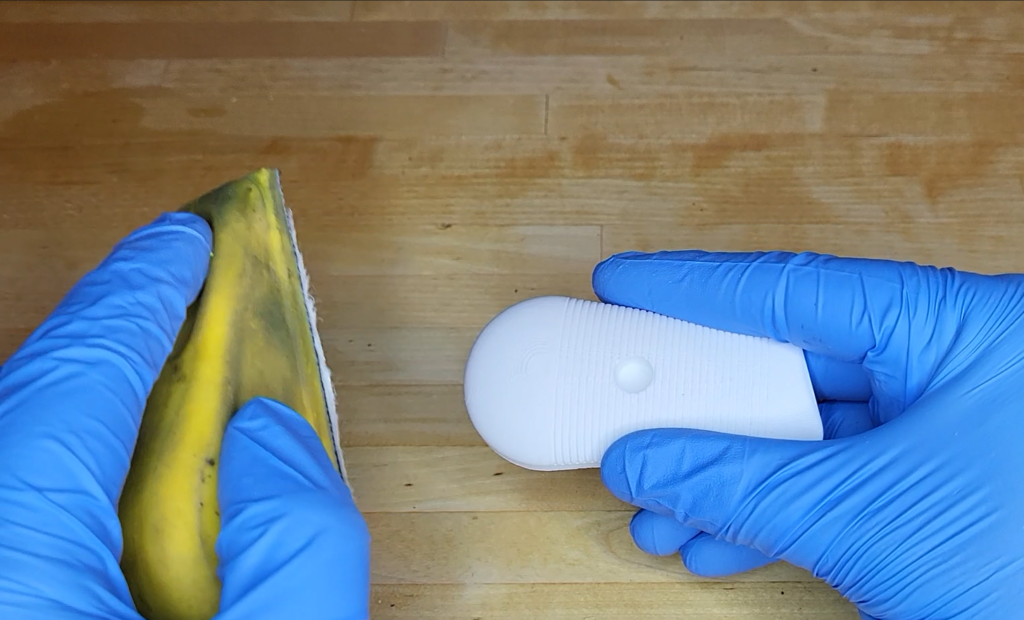
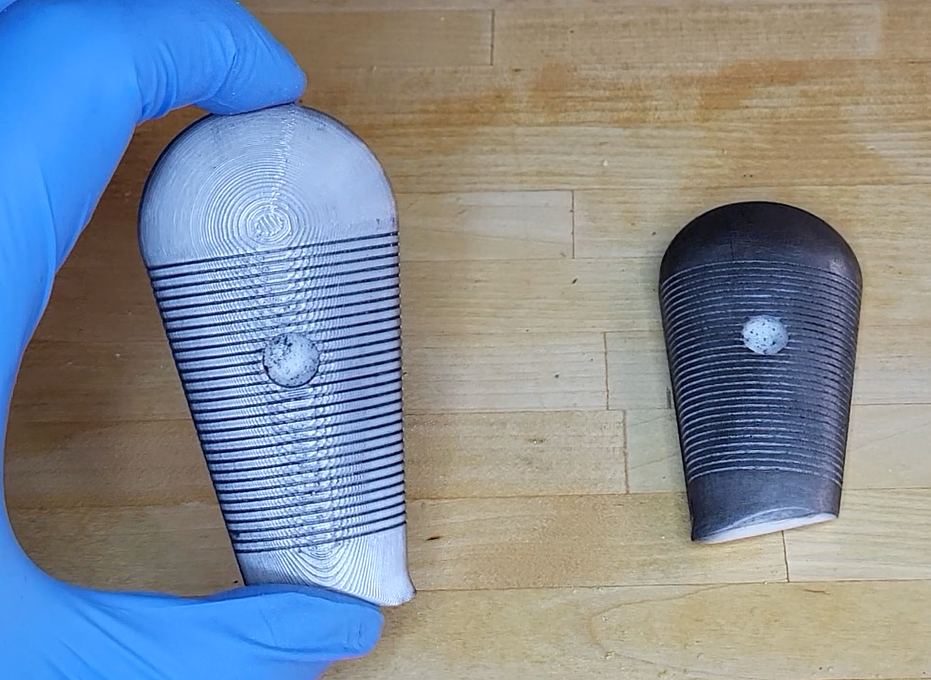
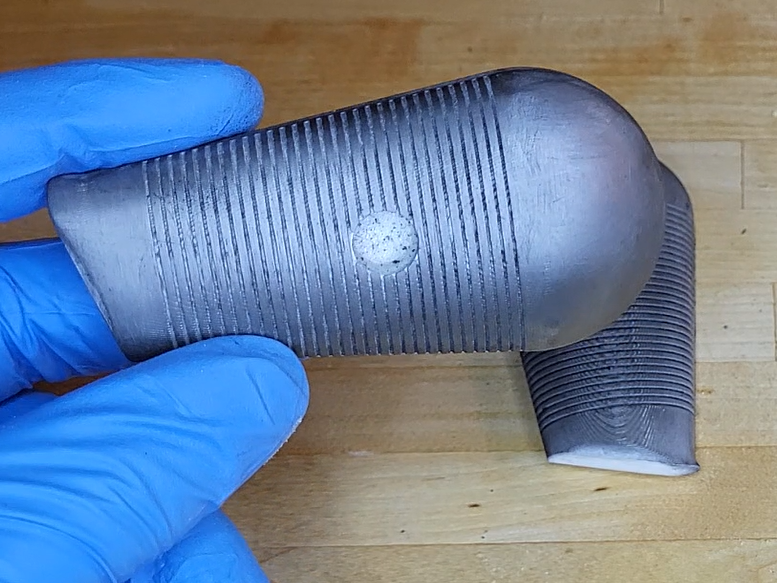
I started with 120 grit sandpaper and a flexible detail sanding block, filling with sandable primer before moving up to 220 for the wood handle portions. Because this white PLA was actually quite hard to see the layer lines, I ended up coating the handles with graphite powder flake between each step, which helped immensely with my ability to see imperfections and understand the final sheen once painted.
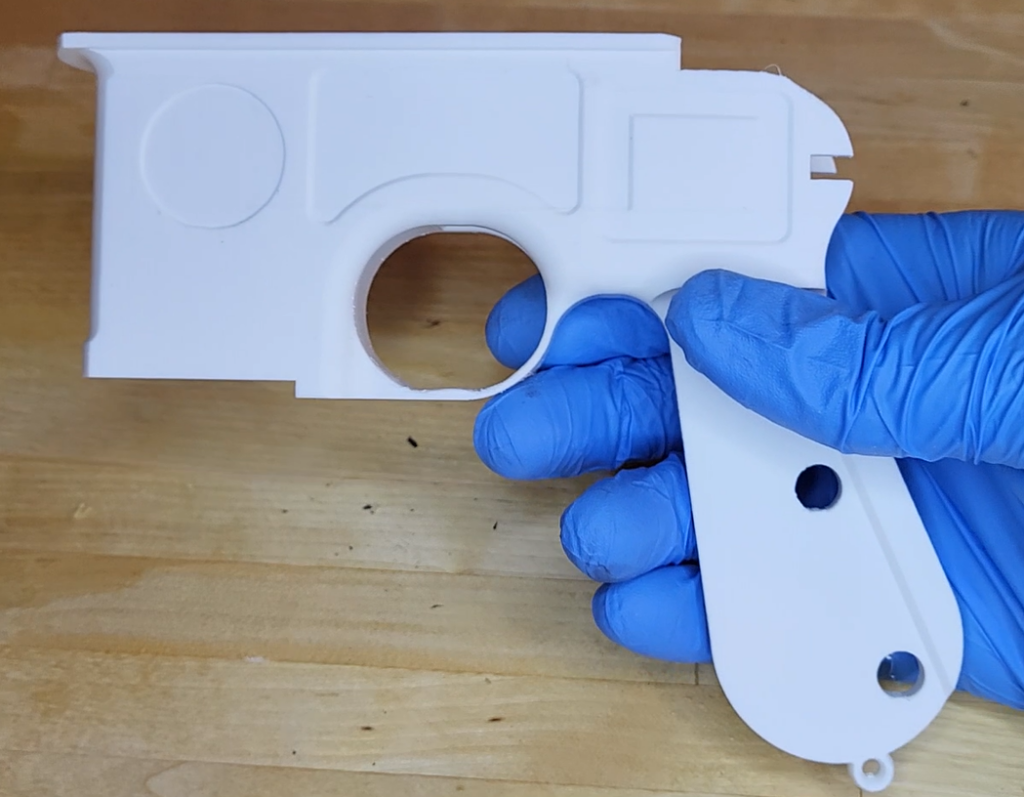
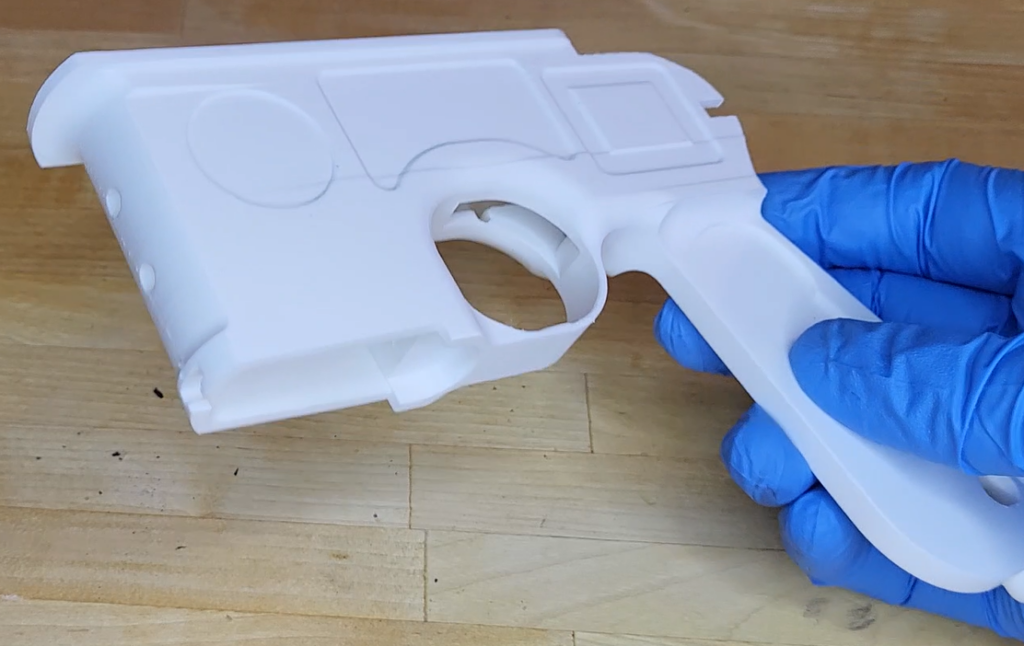
Perhaps the largest point of contention throughout this project was the main body of the prop itself, which had two significant splits and a small layer shift during the printing process. It was also (unfortunately but predictably) my largest and most time consuming print of the entire model. I will address this more in my lessons learned section, but for remediation on this attempt I tried filling it with Bondo Spot putty and post-processing it the same way as my other components, and sanding down the layer shift as well as possible on the various ridges and curves.
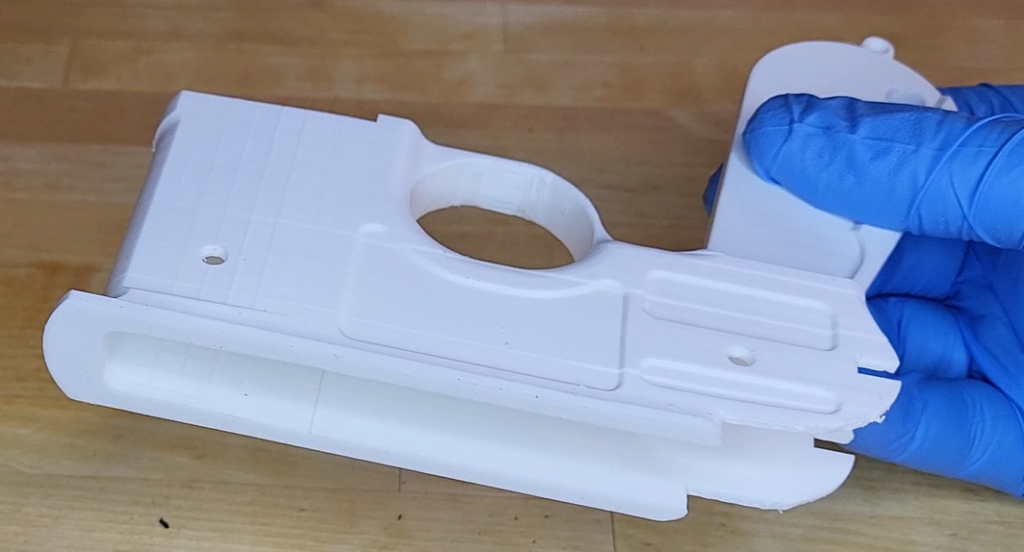
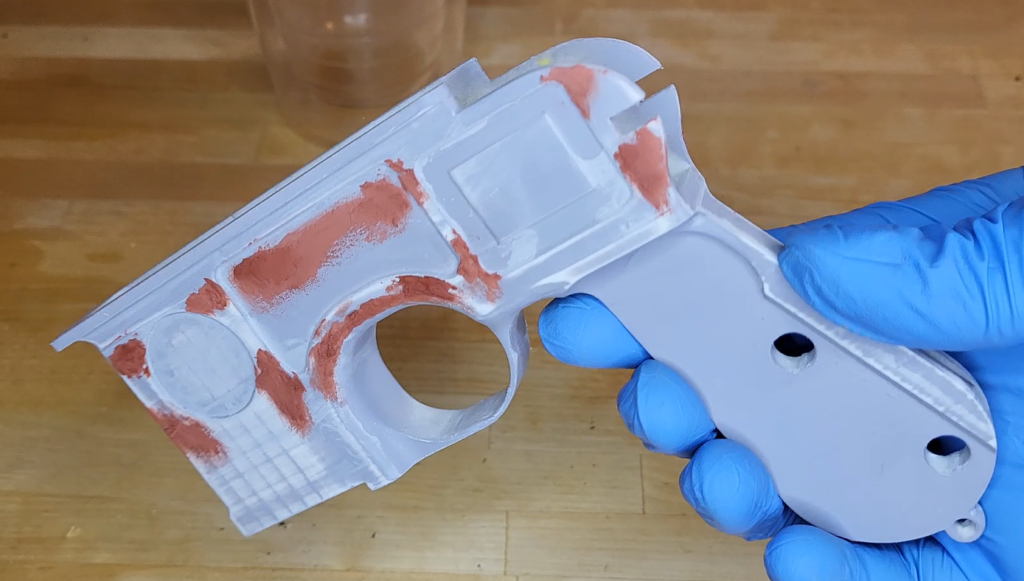
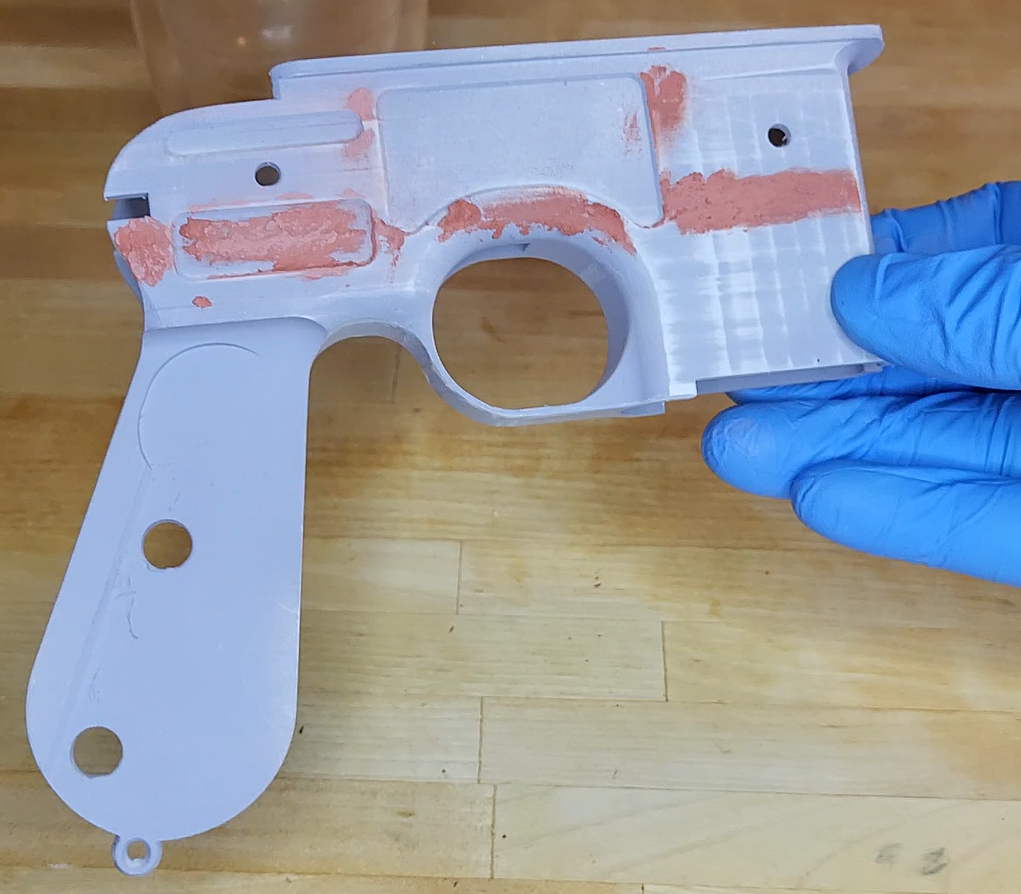
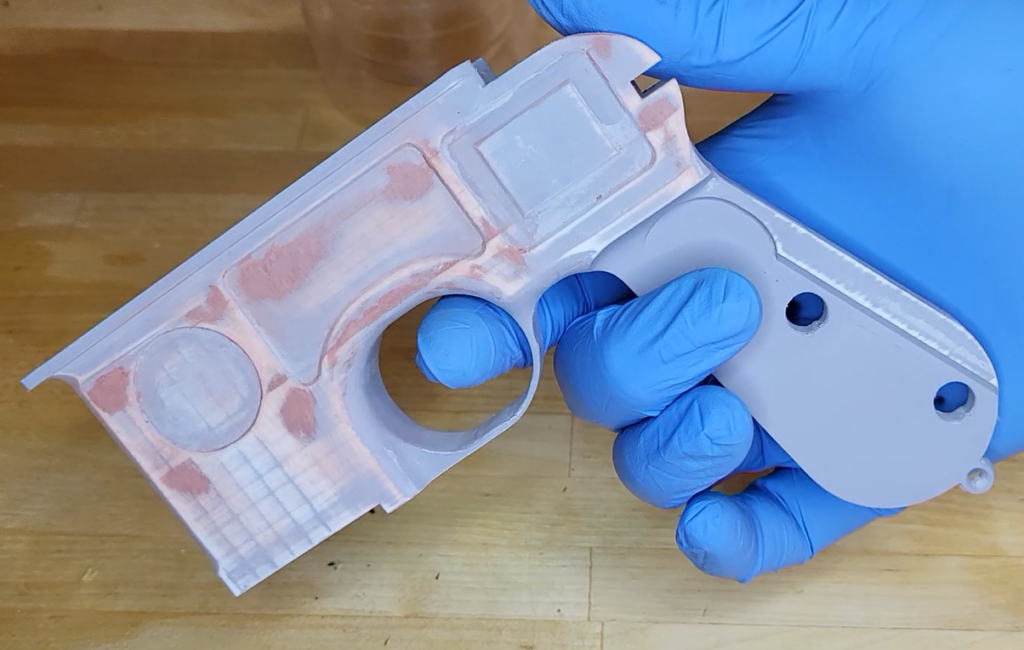
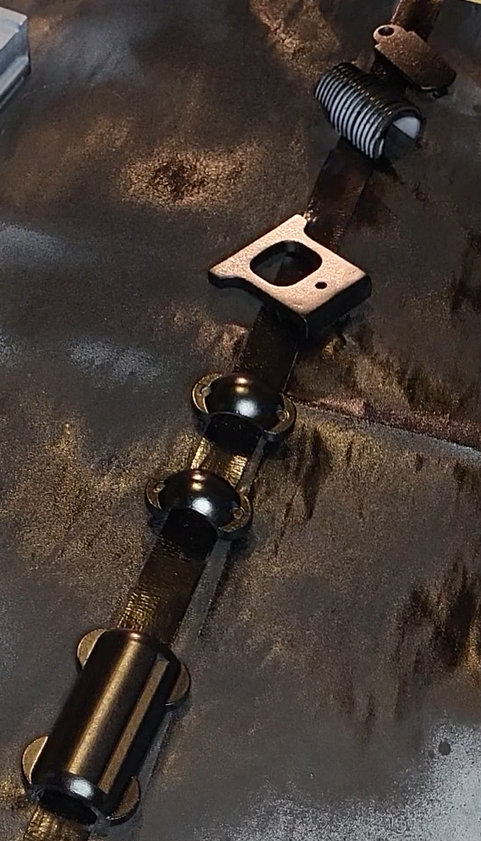
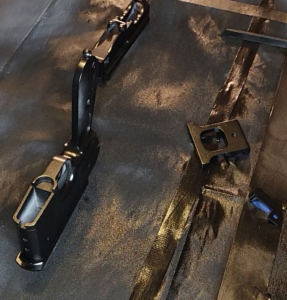
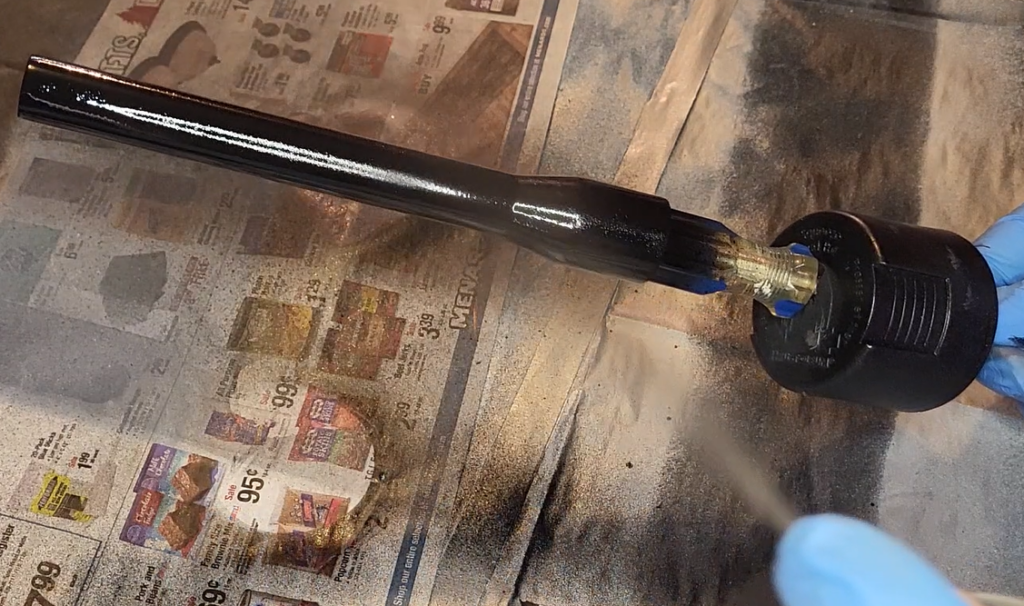
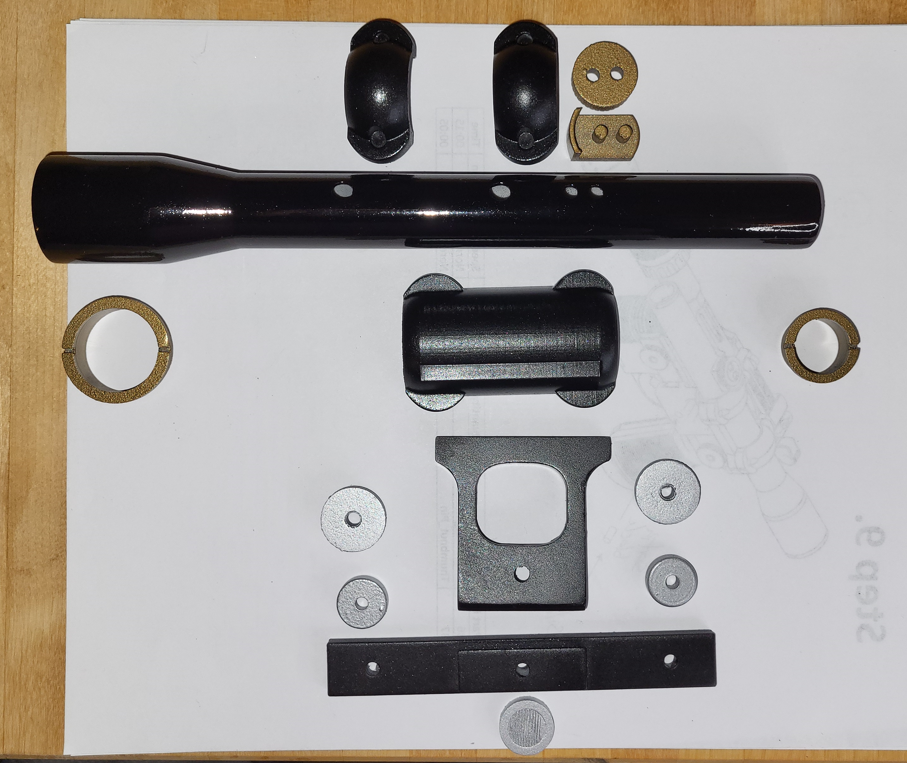
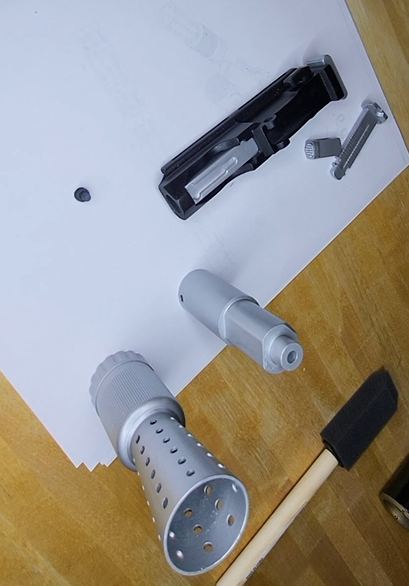
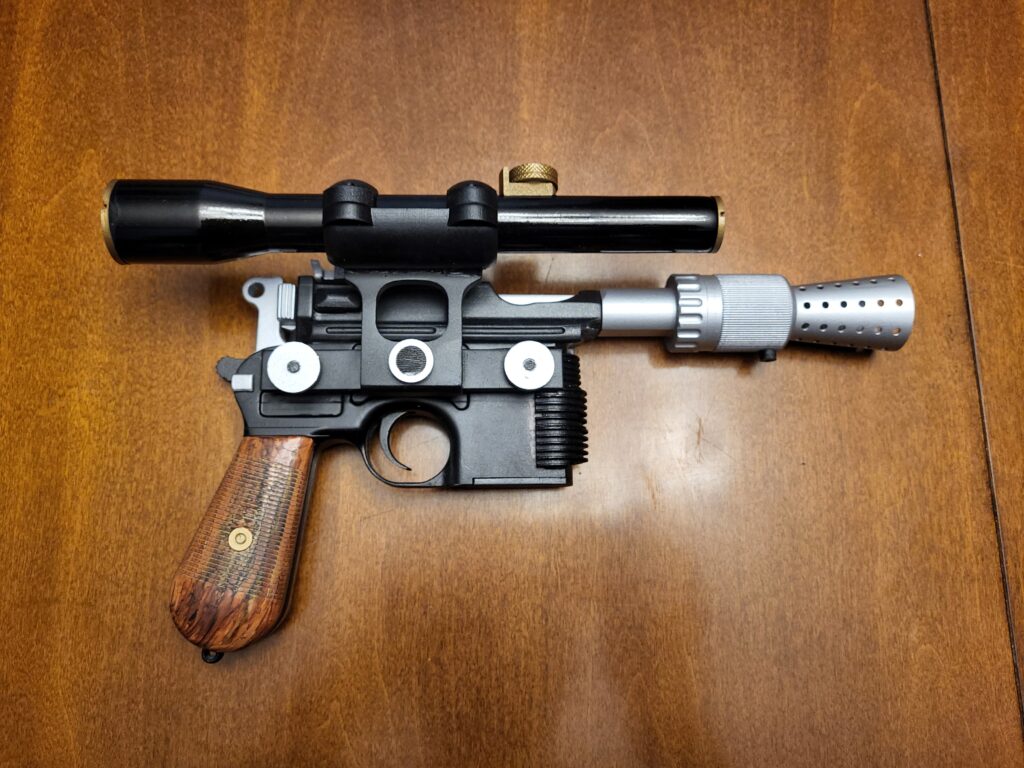
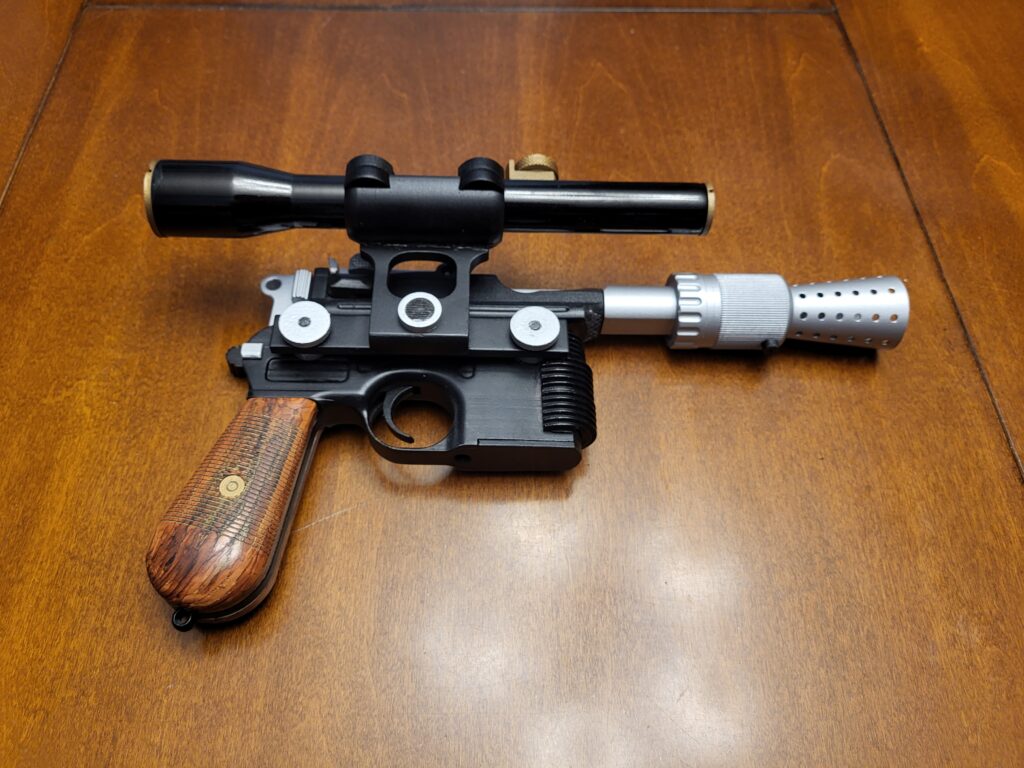
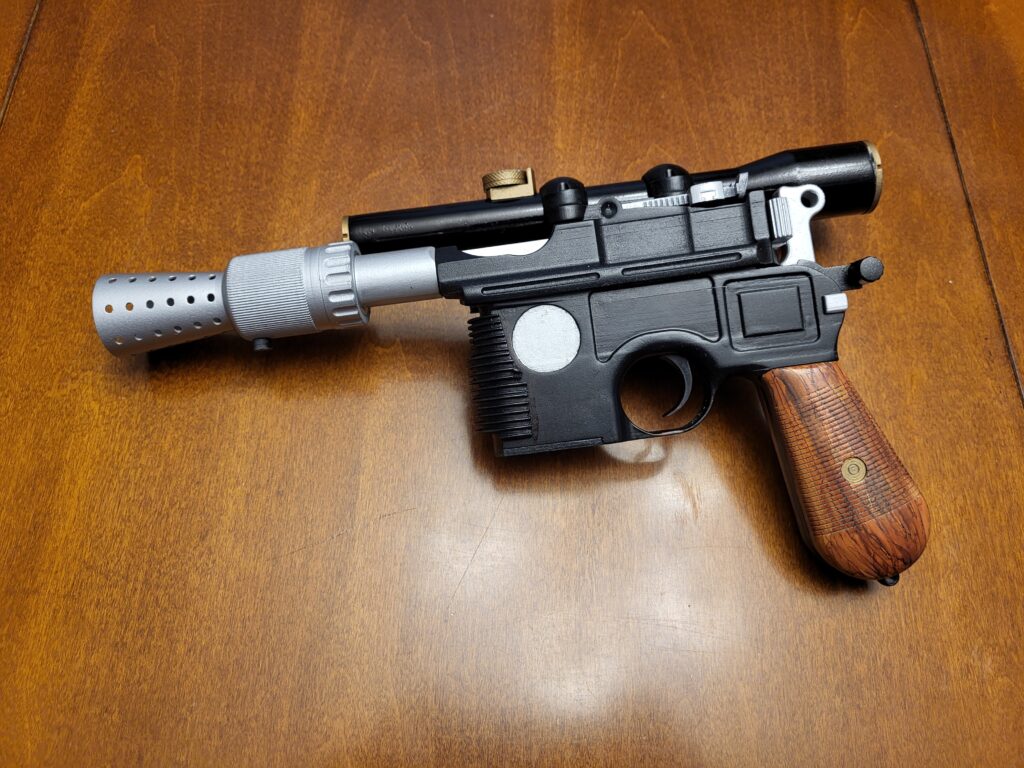
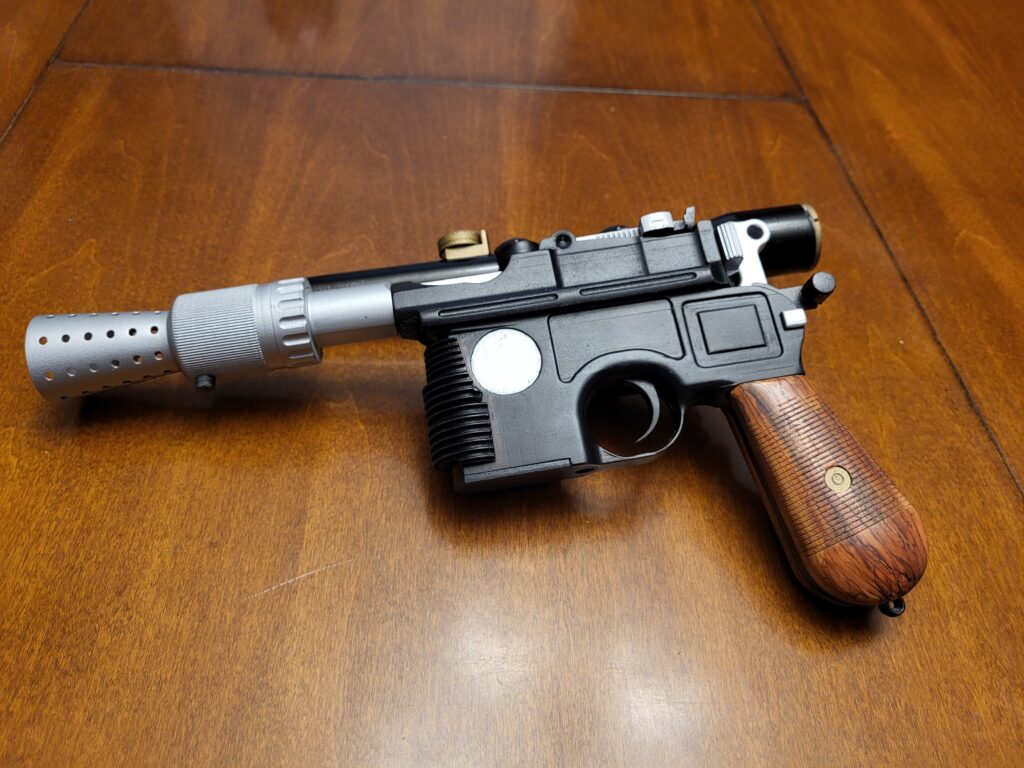
Once everything was sanded and primed, I tool to trying out a variety of paint cans that I had on hand to more accurately capture the different textures that I wanted to represent on the prop. For example, I wanted the body of the prop to appear as an anodized brushed coating as compared to the refined polished look of the scope assembly that I was familiar with. This ended up being as simple as using a satin black for the body and a gloss black for the scope. I also learned to appreciate different drying times for different applications, and came to the generalization that the finer the finish, the more additives are in the paint can and therefore the longer the dry time needed. I did not have any issues with paint adversely affecting any plastics in this build.
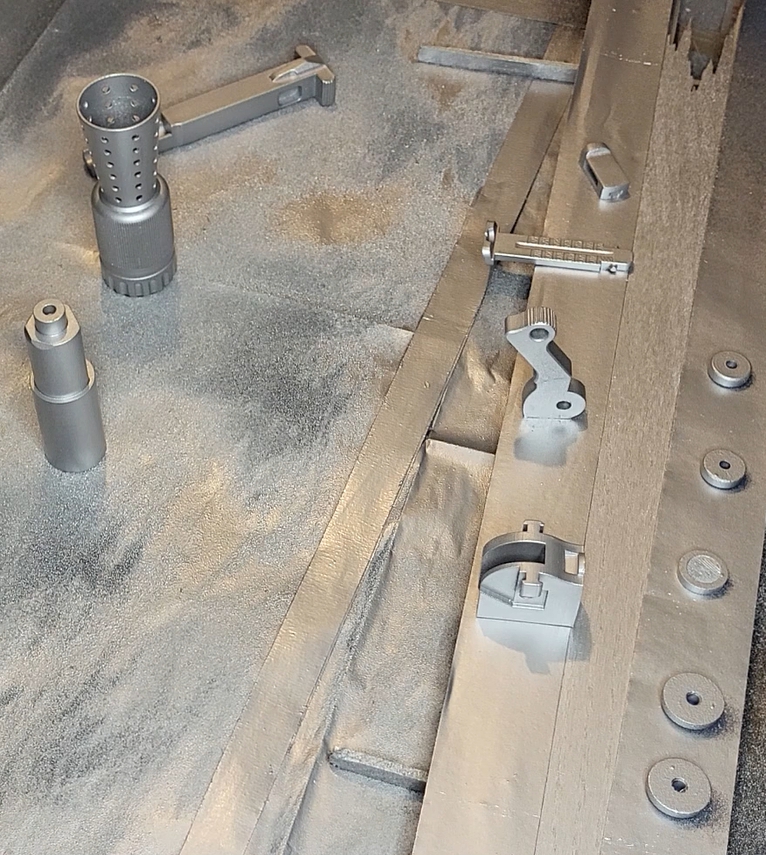
For the non-blackened metal parts, I went through a couple of iterations before settling on a Rustloeum metallic finish. This is arguably the weakest of the painting options, but looks good from a short distance and an area that I already knew would be challenging from my Men in Black Noisy Cricket build. The only difference here is that the side of the main prop body does have a bare metallic imbellishment, which I achieved simply by taping off the rest of the body and giving it a quick spray. Finally the bronze accents that I had seen on similar reference images were used to highlight parts of the scope.
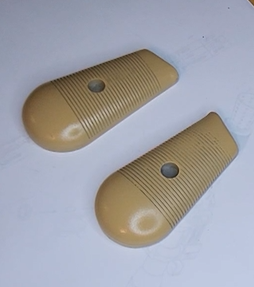
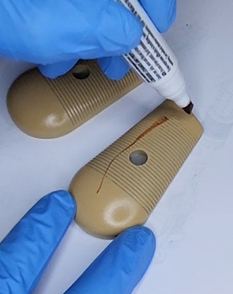
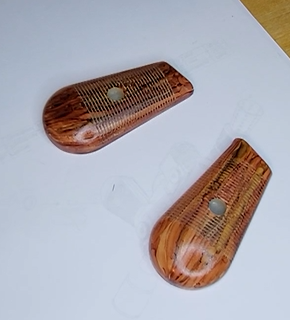
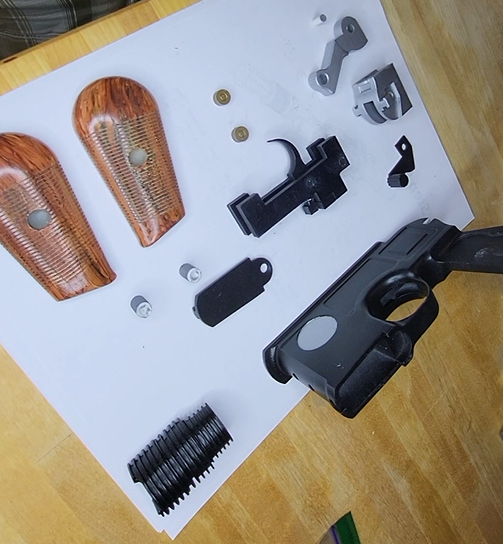
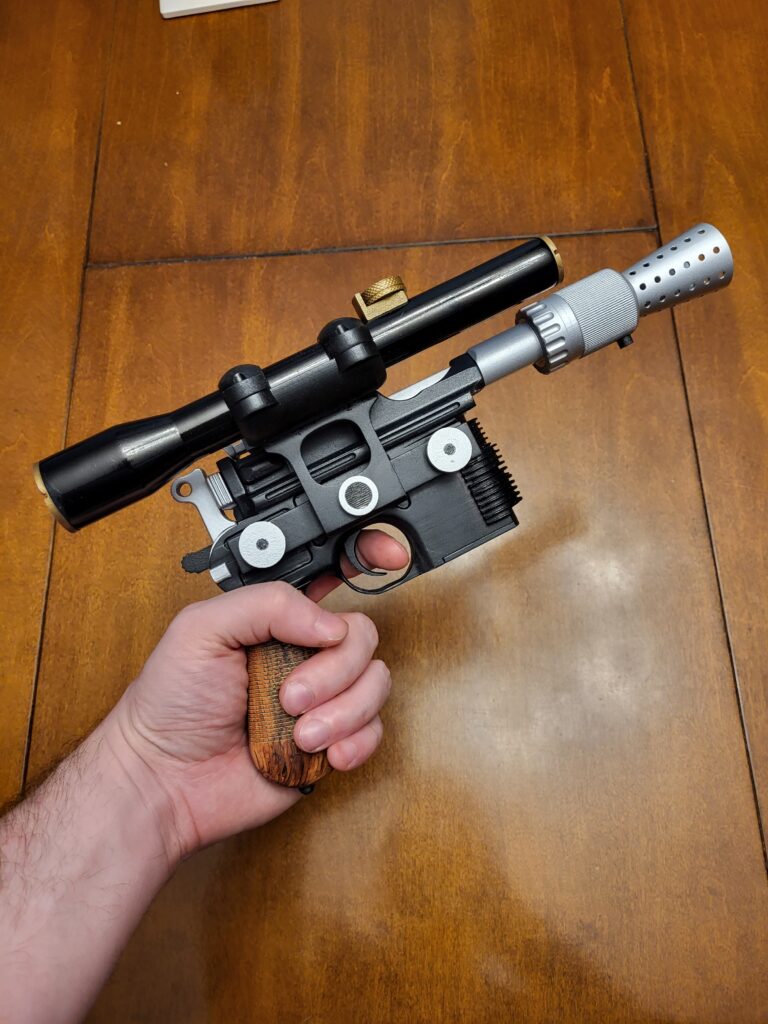
The wood handles were a particularly ambitious experiment, and ended up being one of my favorite parts of the entire build. I used a tan base paint layer and then alternated streaks with a variety of wood repair pens that I had on hand from a previous home project. Admittedly when I started this was a stressful experiment, as it took many layers to look believable as a spalted maple wood. I could have continued to make them look more like a tight wood grain, but instead elected to keep the look and consider it a custom order for my head-canon purchaser of this DL-44. Especially because if I had seen the two side-by-side in the BlasTech Industries showroom, it definitely would have been my choice. These pens were quick to dry, stokes were easy to change, and the process would have been very difficult for me to try with more classical brush strokes.
Final Assembly
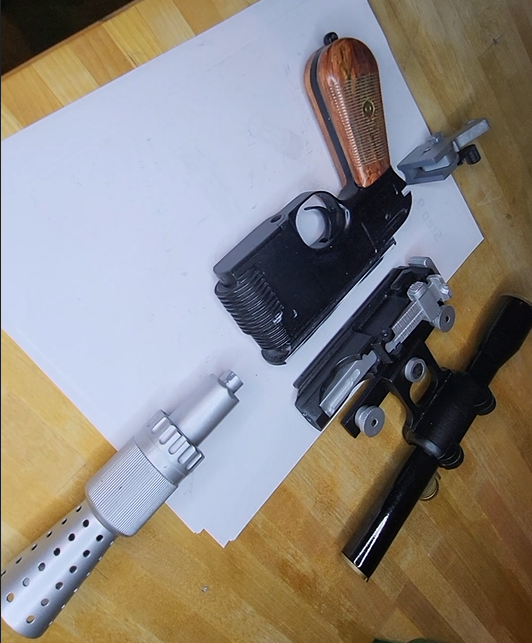
Once all is painted, I began assembly with the upper, then lower, then scope sections to complete the model. One of my favorite parts of the original model was that there was a moving trigger. I did deviate from the designer’s recommendation to use a rubber band to bring the trigger back into position, as instead I purchased a spring that I could use in its place.
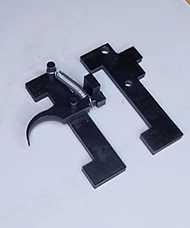
I elected for this modification to more accurately emulate the feel of the trigger pull, as well as to have one less inaccessible part to wear out as it sits on the shelf. Rubber will dry out and snap over time, and since there is no realistic way to repair or replace this part once the prop is assembled, I wanted a slightly more future-proof solution here. I also intend to make a generic trigger assembly that I can put into any prop that I create myself, so this served as a fun exercise to attempt this. There was practically no modification needed to the model files during assembly, which leads me to believe this may have been the modeler’s original [unpublished] intent anyways, or a fun coincidence.
Lessons Learned and Future Plans
For me, this was quite the education in knowing when to repair and when to reprint. I will freely admit that knowing what I know now I would have simply reprinted the body, as I still feel like it was the most unnecessary manual labor in the whole project. I would also advise myself and others to be patient in the post-processing phase, or you’ll see it in the painting phase. This was true with my sanding job and impacted parts of my glue up that had an embarrassing amount of squeeze out after everything had been painted.
That said, I do have the benefit of hindsight which is probably the only reason why I’m willing to post this two years after the fact. I was not happy with my work here at the time, but as it sits above my desk I can hardly complain about the effort now. If I were to tackle this again, I would certainly do a few things different. But I have already leveraged the lessons learned here on other projects that I likely wouldn’t have been comfortable doing before learning them here. I’ll have this prop forever, and now I get to share it with others as a reward for the learning experience.
I was also encouraged to experiment after completing this project, otherwise I never would have discovered that wood-grain paint scheme on the handles. And when I show this off to friends and family, it is usually one of the first things they compliment. I hope that others that stumble across this have equal or better success on similar project builds, and I know that I will be using it again soon.
If I were to attempt this again, I would add a small bit of plastic to simulate the glass on the scope, and add crosshairs if possible. It would also be great if the range finder could move (but I do anticipate that it would be difficult to keep it from wearing). I may need to cast both pieces in metal cold cast resin or add a sacrificial rub strip.
I will need to have the right tools for the job, as well as improve painting skills for a future version. For me, this likely means getting an airbrush and more patience. Luckily, I’ve got plenty of time on my hands for just that.
For more posts like this, check out some of our other recent work as well!
