Overview
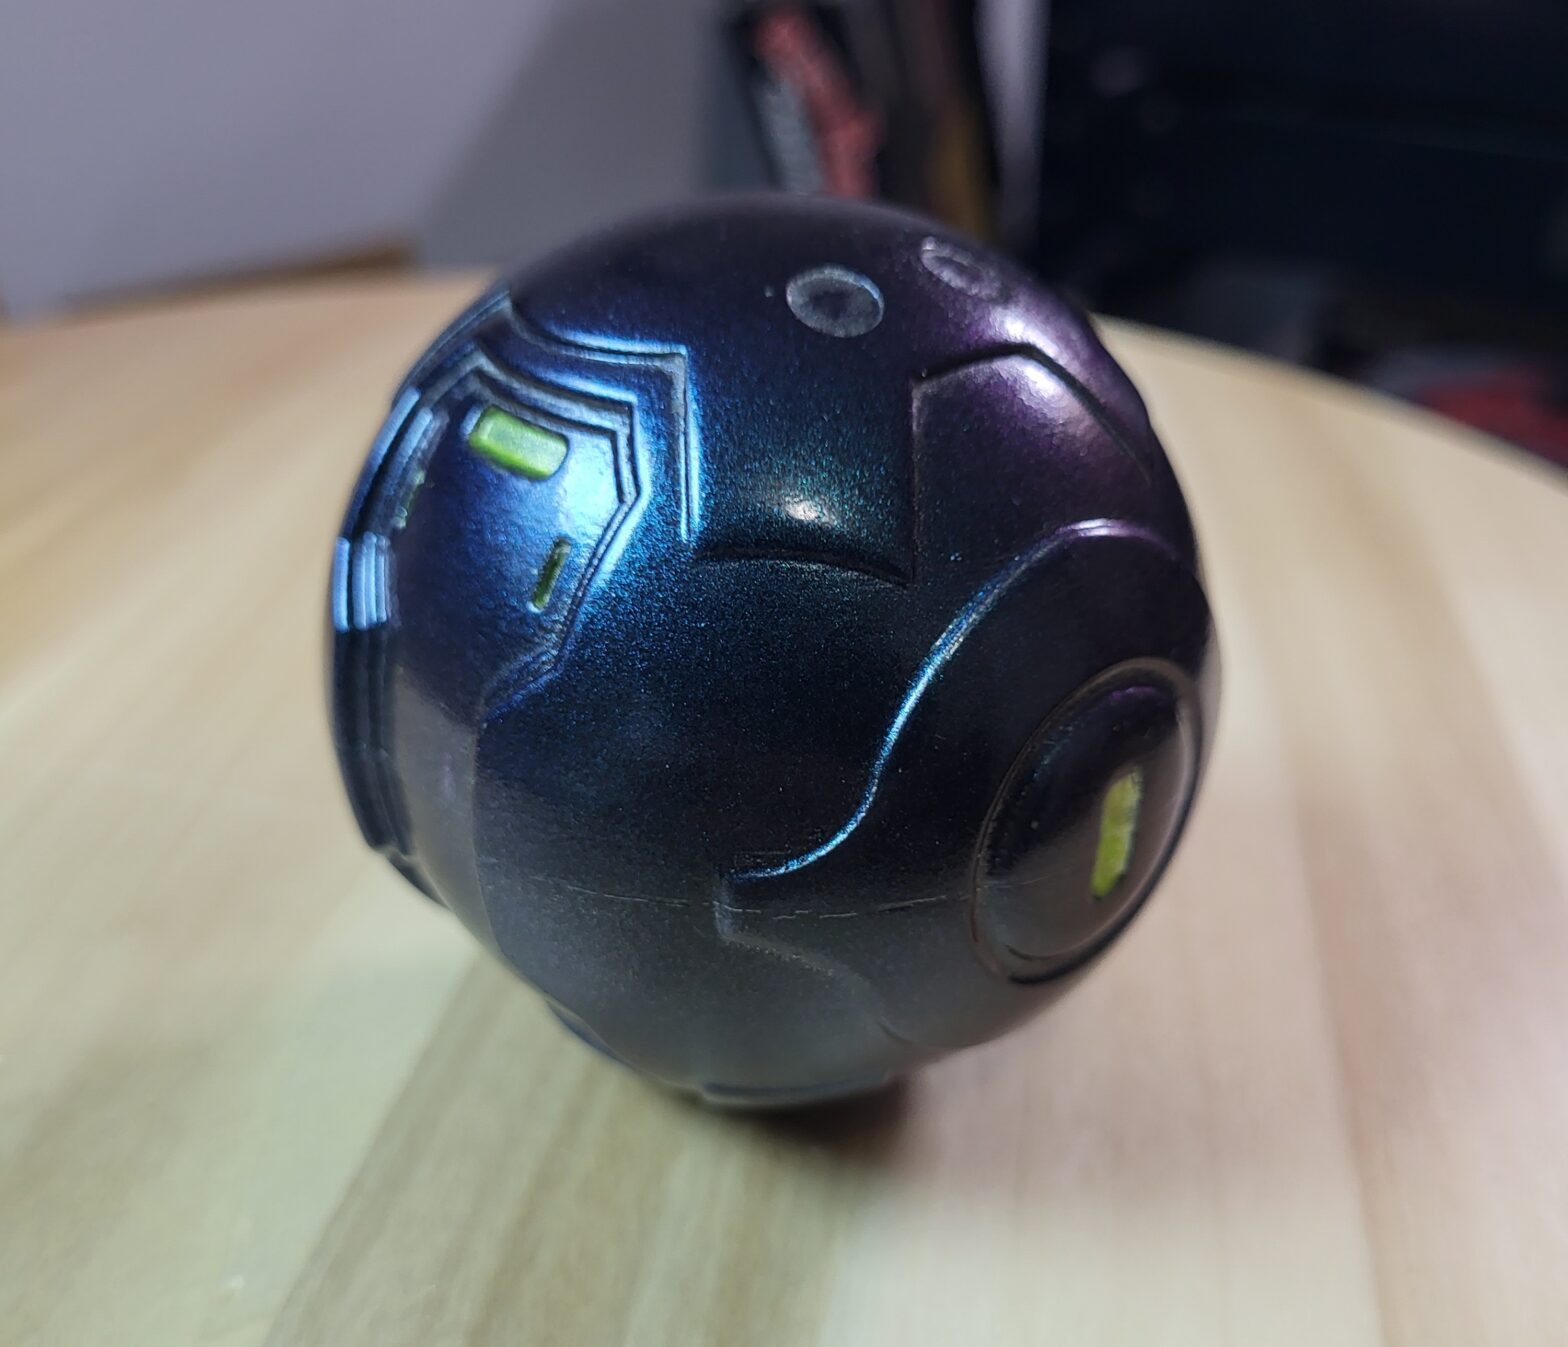
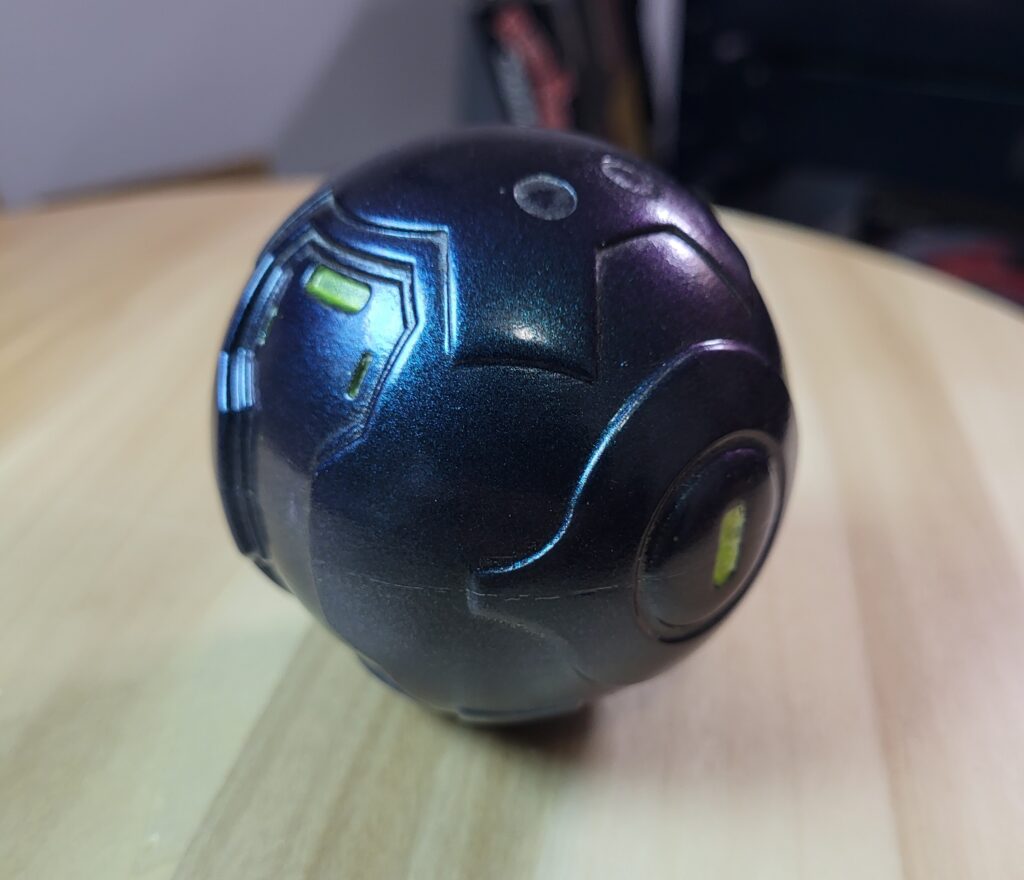
For me, this was a must-have icon of one of my favorite games ever in my formative years. Being able to hold as my own what was otherwise only ever a digital idea is some of the most fun I’ve ever had as a maker. This document is the third in retroactively documenting work performed over the 2020 extended indoor period. I hope to update it with a more recent high-fidelity model that I can practice slush casting and perhaps even levitating platforms in the near future. In total, I would estimate this project took ~20 labor hours to post-process, paint, and assemble (not counting print time, which I would estimate to be ~2 days of part time effort).
Purpose
To have a really cool plasma grenade. Additionally, to develop skills in 3D printing, assembly, sanding/filling, and painting, matching screen-used props.
Process
Research and Inspiration
There is a lot of material out there for the plasma grenade, and its design changes significantly with each major game adaptation. More technically known as the “Type-1 Antipersonnel grenade”, there is a lot of good starting information on the Halopedia fan site for the differences over the years.
I really love the digital textures that are present on the fist several iterations of the plasma grenade, and plan to someday replicate them using a method similar to the one that Volpin props did for a similar (Covenant) needler. I could honestly do a whole series on Bungie’s Halo series, as many have done before me. I love their attention to detail and their dedicated fan base for bringing such a rich catalog of high-fidelity props into reality.
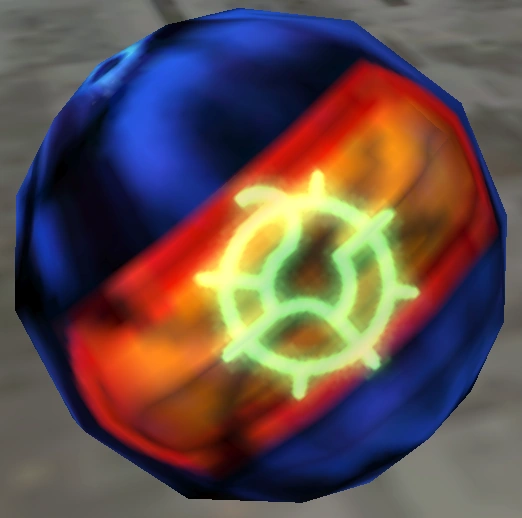
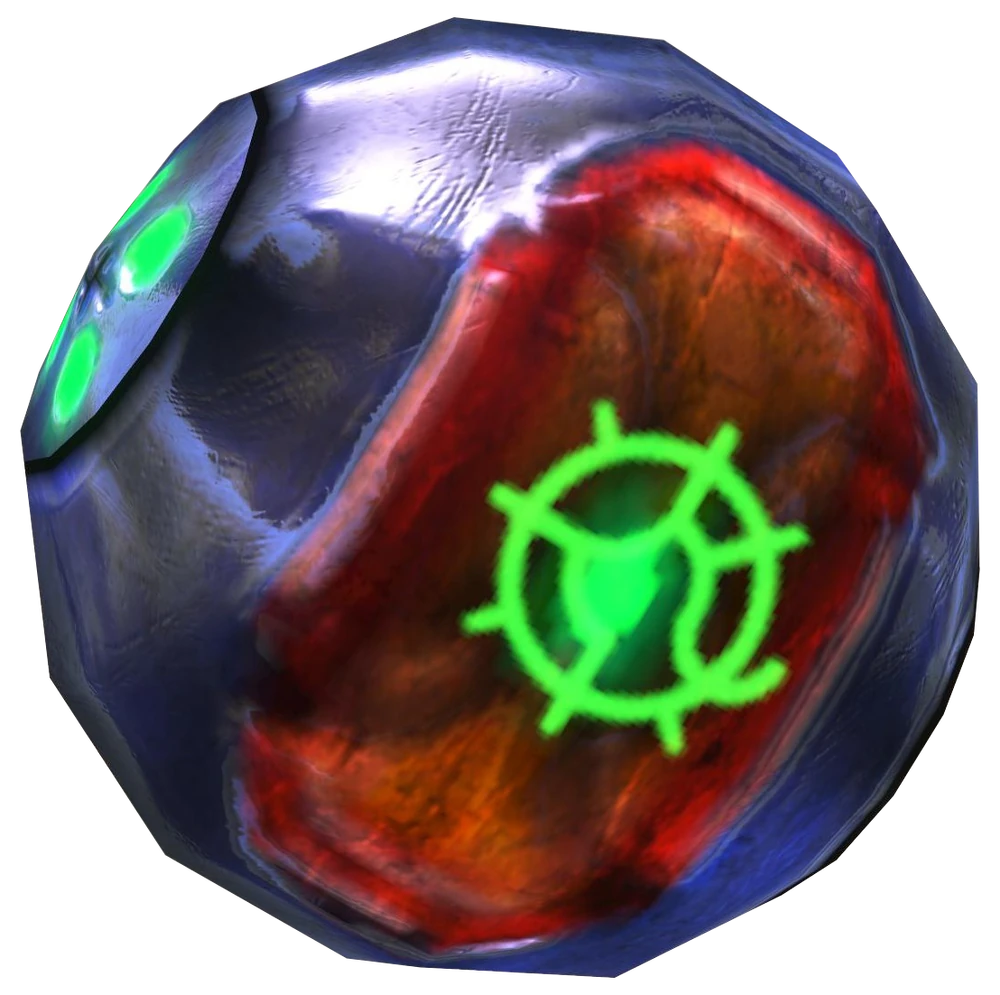
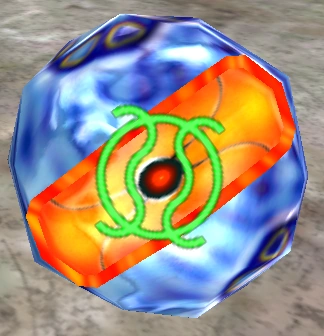
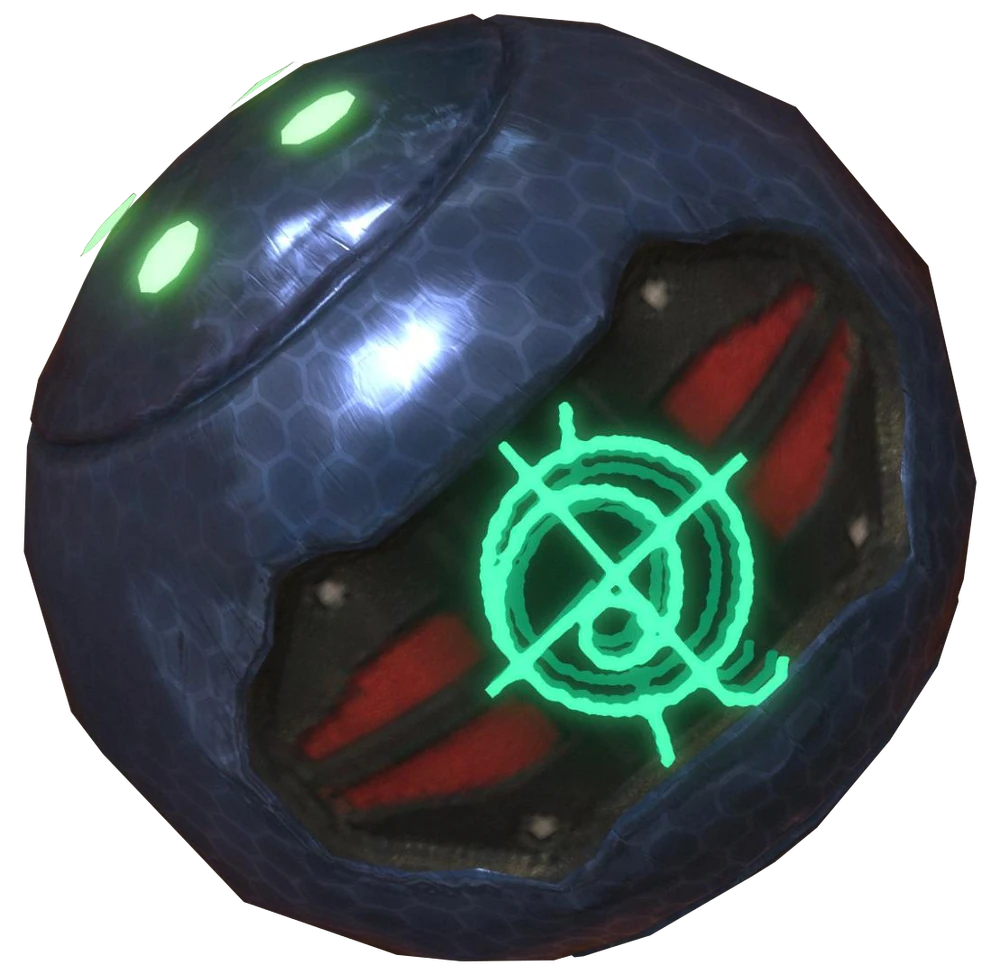
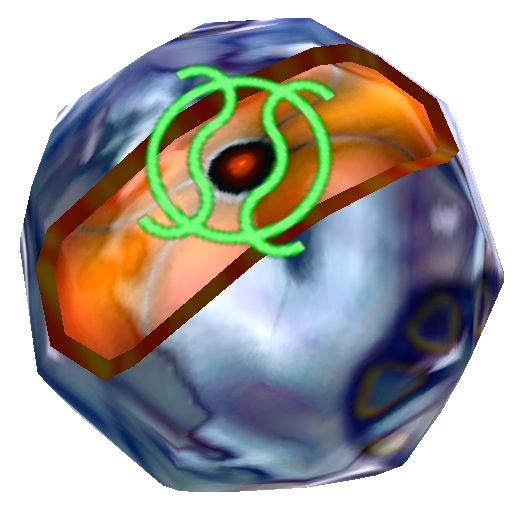
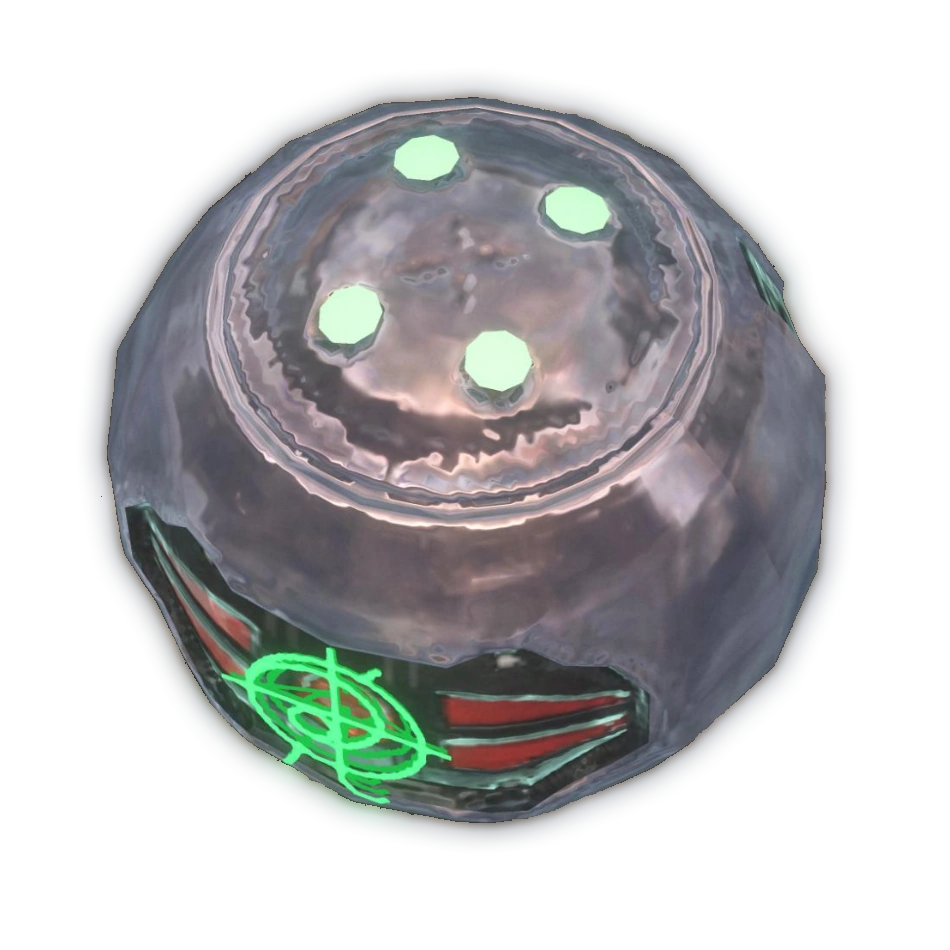
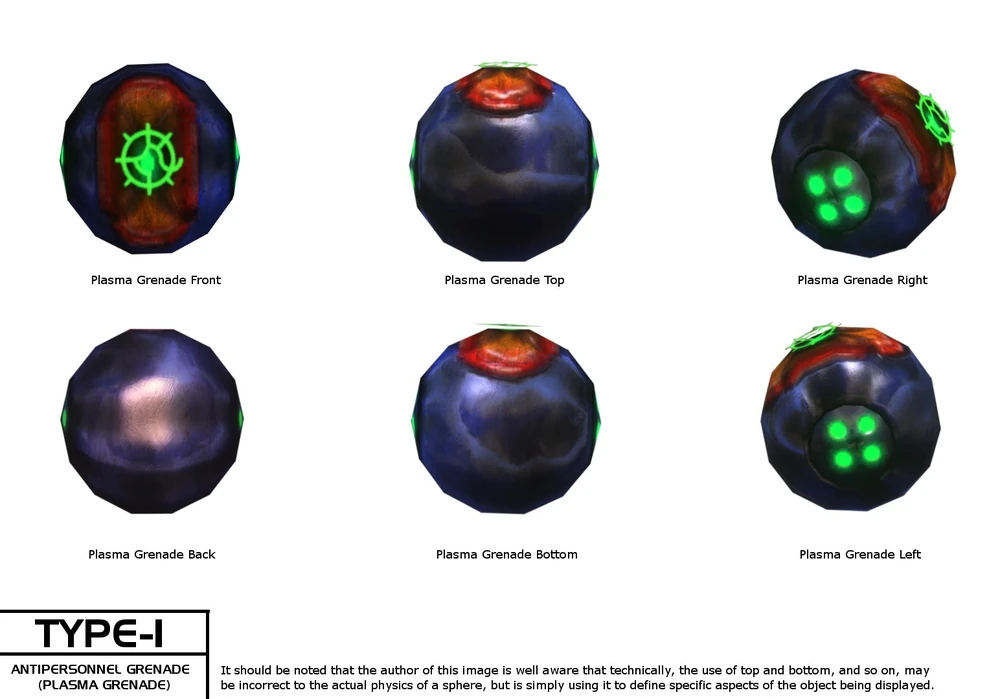
But perhaps the hardest truth to reconcile is that the old Halo plasma grenades as a standalone object were…hideous. And by that I mean that if they existed in the real world, they would either be a huge [game accurate] mess of polygons and glowing glyphs, or a smooth tangible object that would not be recognizable as a Halo game object. This has changed somewhat as remastered versions of the game are released on more high-performance platforms, but the developers at the time prioritized performance over aesthetics here, and it is not a decision that I disagree with. They ended up being some of the most fun weapons in the campaign, creating the nostalgia for me to make it here in the first place. It just means for me that I either need to take some creative license or start from a more manageable place for my skill level. I chose the latter.
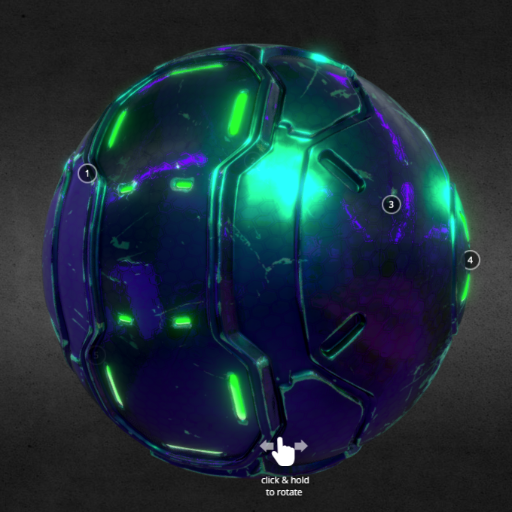
It wasn’t until the original graphics for Halo 4 were released that this felt like a real-world object that could be created. There were several models available at the time of this build, with varying degrees of screen accuracy. Ultimately I ended up going with this model from T-E-C as it had the best fidelity, and using painting inspiration from this easily navigable Sketchfab model by GHEDANO. This was an aspirational paint scheme to attempt to capture in reality, and I think that my next foray into this prop will have even higher to stride to reach the original design intent.
Tools List
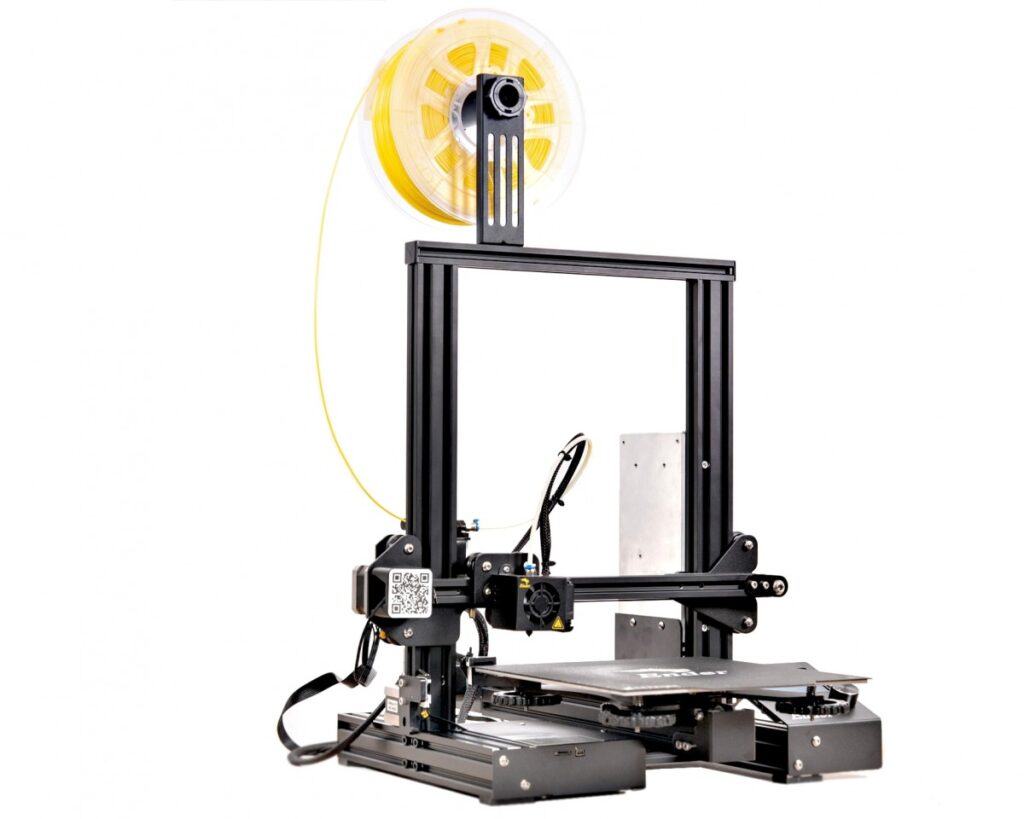
- 3D Printer
- Hatchbox PLA
- Bondo spot putty
- Sandpaper (150, 220, & 400+ grits)
- Black and Pearlescent Paint Spray Can
- Green Acrylic Paint
- Small Paintbrush
- Glue (cyanoacrylate or better)
Painting and Weathering
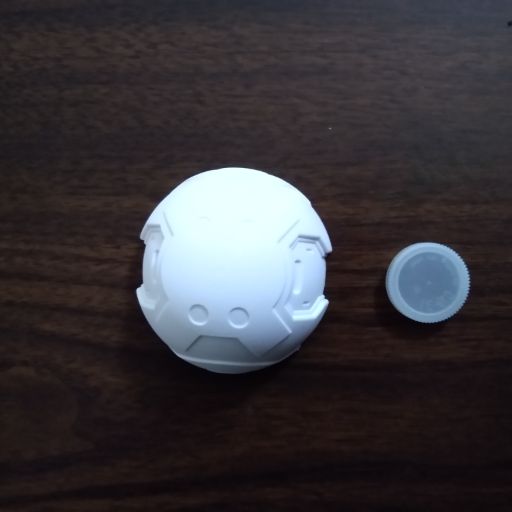
Being able to leverage an existing design allowed me to jump right into printing and assembly. This print started life -like many of my other projects up to this point – as a white PLA. Once both halves were printed, I designed a set of large pins (in lieu of the originally anticipated stack of pennies) to align and then glue the identical halves together. The bottle cap was added for scale, to show how this compared to my Men in Black Noisy Cricket build.
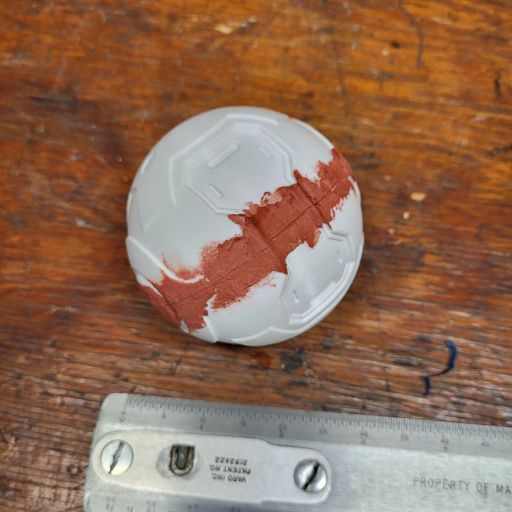
Since I was still dialing in the settings for my 3D printer during this build, there was still a bit of a a gap in the center that was filled with Bondo spot putty. The part was then incrementally sanded from low to high grit until the desired gloss effect was achieved. The majority of the part was painted black as a base layer for the multicolor overcoat. This was still a very novice painting experience for me, and as such it took a lot of patience and multiple layers. I added the glowing green neon acrylic into the crevices of the model, and then sealed it with a clear coat to protect it from fading. Despite my lack of artistic ability, I found this to be a fairly straightforward process. It currently sits on my prop wall in constant line of sight, when I don’t take it down to play with.
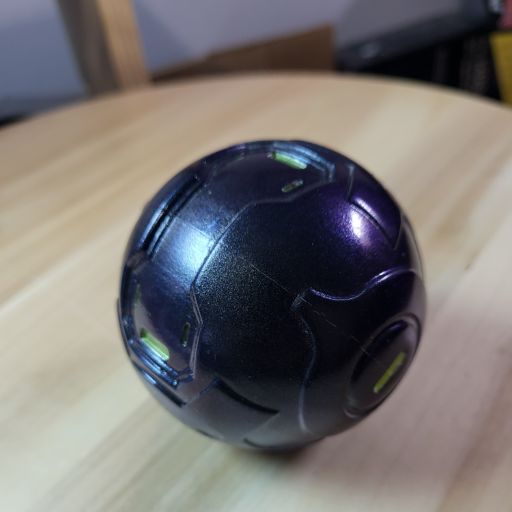
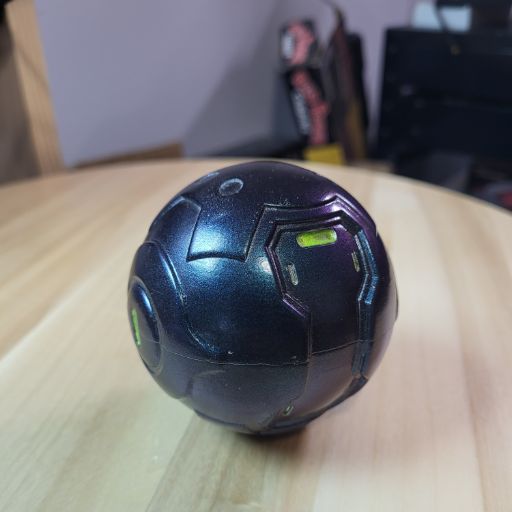
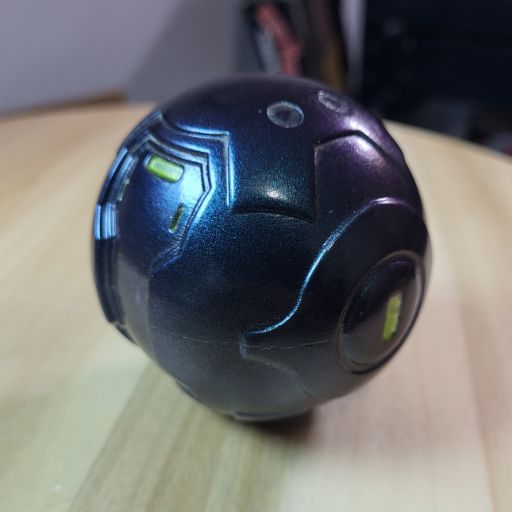
Lessons Learned and Future Plans
As already mentioned, I plan to tackle this project again, maybe when I dust off the games for another round of play. Improvements in my tool used and my skill with them will certainly help speed things up, though I am mostly pleased with the results here. My biggest complaint about the final result is that there are some areas that are starting to chip from mem throwing it around, and the split between the two halves that is either from poor painting or general expansion over the seasons (I honestly can’t remember which). I would also like to make some improvements to either make this more like the in-game version or try a different version that was closer to my nestalgia of Halo 3. I have already given one of these away to a family member to take it to conventions, so I am satisfied that it will get to live new life there. It does make a great photo piece, when it’s not in the hands of a charging suicide Grunt.
For more posts like this, check out some of our other recent work as well!
