Overview
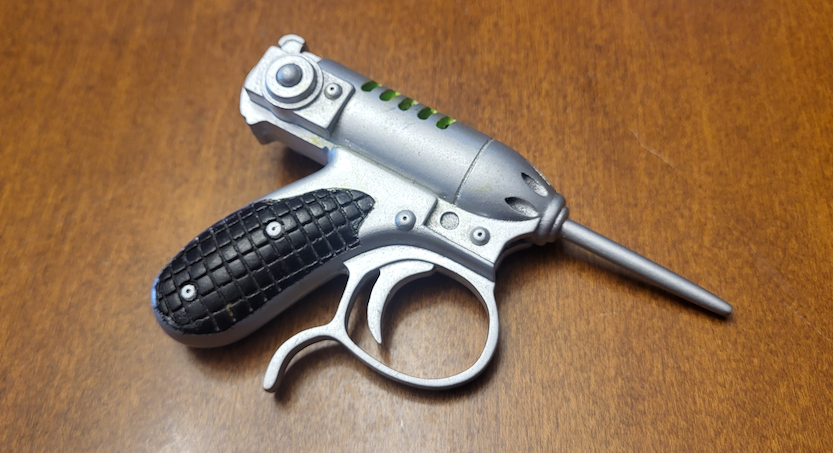
This subtle piece of wall decor was a much-needed accessory for anyone familiar with the film, and my first fore into the world of alien props. This document actually serves to capture the work performed several years ago in 2020, and I hope to update it with a more recent high-fidelity model that I purchased from Punished Props Academy this year, as well as my new resin printer to really appreciate all of the small details that go into these models. In total, I would estimate this project took ~15 labor hours to post-process, paint, and assemble (not counting print time, which I would estimate to be ~2 days of part time effort).
Purpose
Practice 3D printing, assembly, sanding/filling, and painting, matching screen-used props.
Process
Research and Inspiration
There is a lot of material out there for the noisy cricket, both good and bad. I actually fully printed one of the less impressive ones before I realized that 1) it was not at all representative of the film and 2) it was the size of a full pistol, rather than the adorably small one shown on screen. After some searching, I believe I settled on this model by TheHotEnd as being the closest to the screen version.
I could honestly do a whole series on Men in Black for their attention to realism in props in the late 1990s and early 2000s. That admiration would be directed squarely with the information that Steve Cotroneo provided on behalf of the RCP Prop Shop and the production design concepts made available by Tim Flattery from their time as part of the original production team.
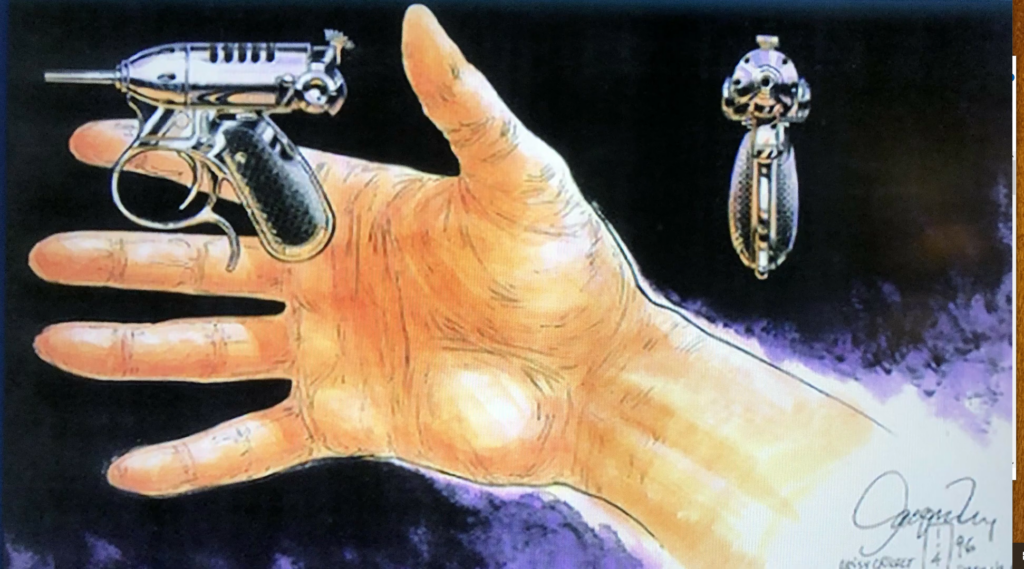
While much of this research has been done by me after the building of this model, I certainly have a greater appreciation for the efforts done by this team to get it onto screen, as well as those in the hobby community to make this version both approachable and closely match the silver screen.
Tools List
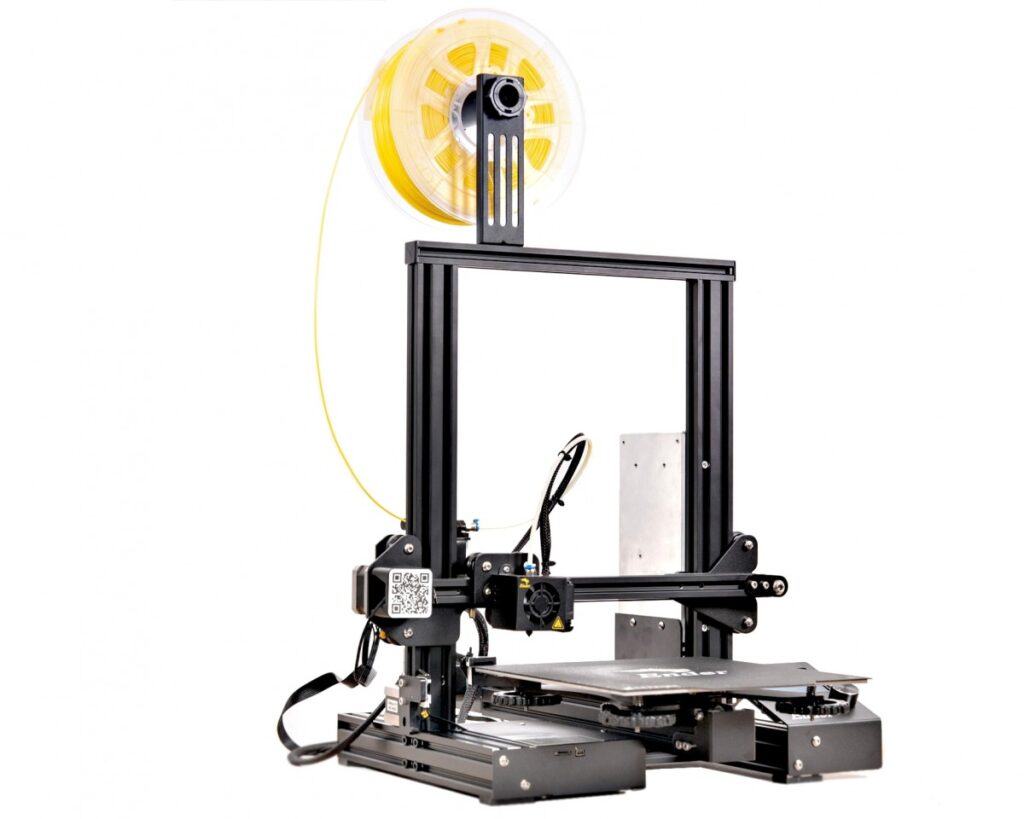
- 3D Printer
- Hatchbox PLA
- Sandpaper (150, 220, & 400+ grits)
- Black and Chrome Paint Spray Can
- Green Acrylic Paint
- Small Paintbrush
- Glue (cyanoacrylate or better)
Painting and Weathering
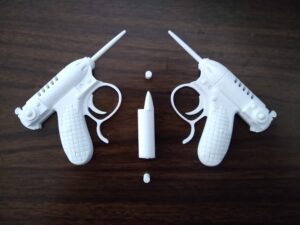
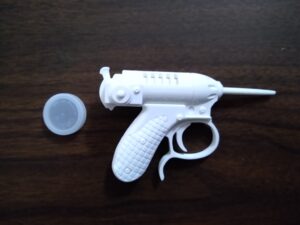
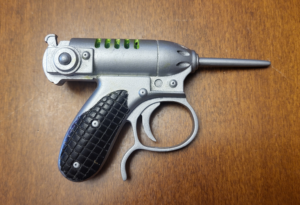
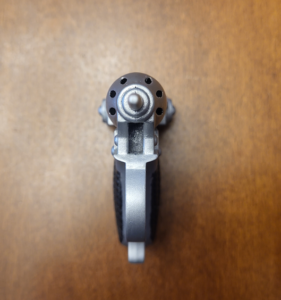
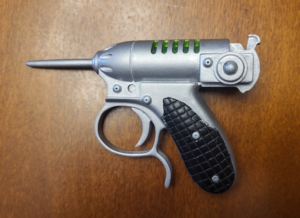
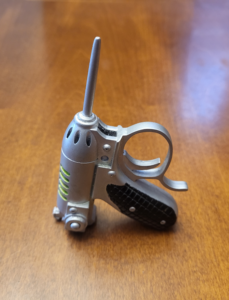
Since this design was not my own, I was able to jump right into printing and assembly here. This print started life as a white PLA that was then glued together using the two printed alignment pins. The bottle cap was added for scale, to show how small this thing really is.


The majority of the part was painted black as a base layer for the chrome. The parts remaining black were then selectively masked and the remaining was painted chrome. thanks to a tip from Punished Props Academy This was one of my first painting exercises, and as such it took a lot of patience and multiple layers. Despite my lack of artistic ability, I found this to be a fairly straightforward process. I then sealed it with a clear coat to protect it from fading hung it on my prop wall.
Lessons Learned and Future Plans
As already mentioned, I plan to tackle this project again somewhere on the horizon. I certainly have improved my sanding skills since this time, which I think was the biggest limitation to my final look of the prop. As fun as this prop is to hold for a photo op, the lack of trigger mechanics does limit the experience. It would be quite difficult at this scale, but ideally I would be able to add a moving trigger mechanism to all of my props like this in the future. I also understand just how difficult a good chrome finish is on parts, so this will also factor into alternatives for my next attempt. I’ve even seen some tutorials on actual electroplating of 3D printed parts, so that would be an exciting experience as well.
For future endeavors, there’s an excellent model by Bill Doran on Punished Props Academy as well as a full tutorial on how to make it yourself with Fusion 360. I plant to follow-up this post with a print of that very model, but between now and then I look forward to chasing down some unlicensed cephalopods with reverberating carbonizers.
For more posts like this, check out some of our other recent work as well!
