Overview
One of the favorite films of my youth was watching Jim Carrey flail around as a character both completely detached from reality and very grounded in the spectacle of 1990s comedy and semi-realistic special effects. This balance of real-world props flowing into CGI allowed me to suspend disbelief and truly lose myself in the theater – between roars of laughter of course.
Purpose
To fulfil a childhood dream of owning a Loki mask. Additionally, to develop skills in foamsmithing, sanding, painting, and matching screen-used props.
Process
Research and Inspiration
The Loki is a beloved prop and and sets the anchor of a comedic and silly premise with a simple and banal aesthetic. In the 1994 film, Dr. Arthur Neumann informs Stanley Ipkiss of the mask’s 4th or 5th-century Scandinavian origin. Dr. Neumann goes on to speculate that the mask was fashioned to depict a Norse night god [Loki] who was banished from Valhalla by Odin forever for causing too much trouble. Loki created the mask to sow chaos and destruction among the people of the Earth realm Midgard.
While this introduction never materialized on-screen, a deleted scene of The Mask has a group of Vikings in the 10th century arrived at a place they call “the end of the world” [aka modern-day Edge City that the film/comics are set in]. They carry a chest containing the mask, and the Vikings bury it as a witch prays for heaven to help whatever fool finds it. This brings some [in my opinion, much welcome] context to the opening scene in The Mask when a diver discovers the chest in river and subsequently perishes.

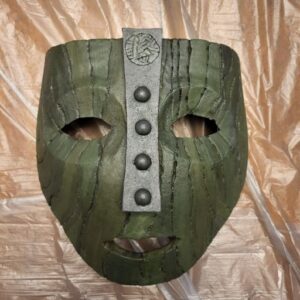
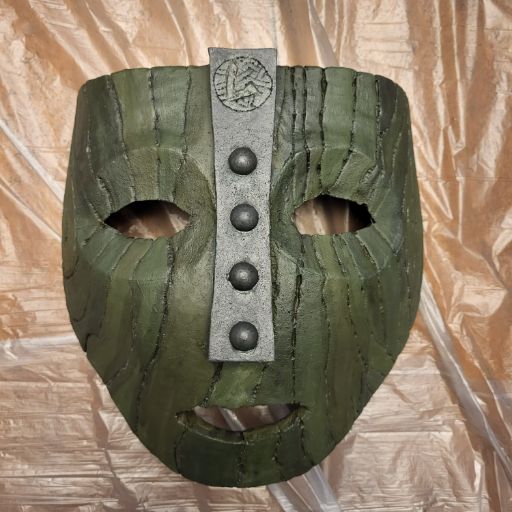
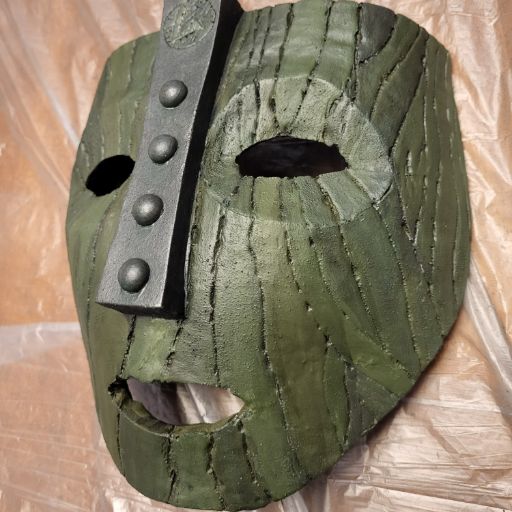
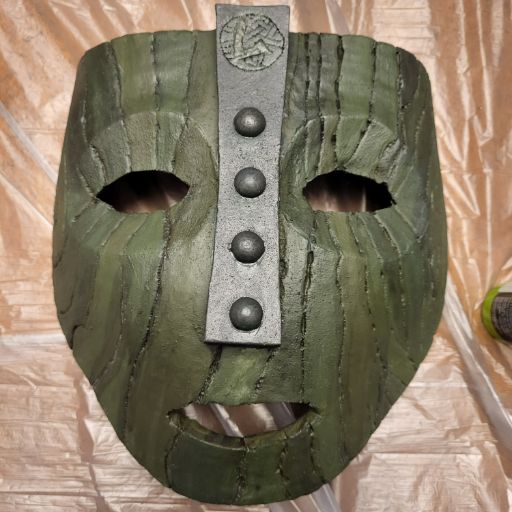
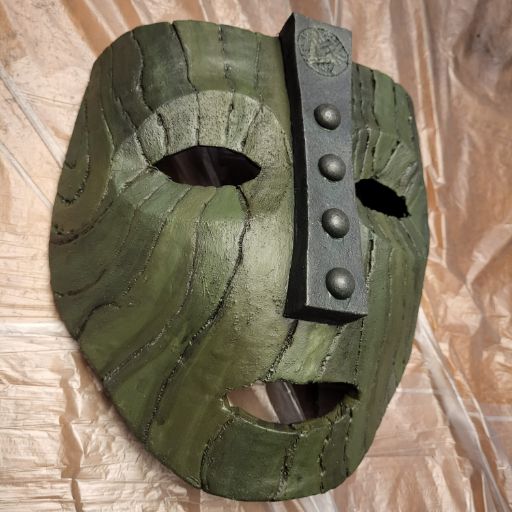
There are a variety of shapes that the unworn mask has taken over it’s iterations in the comics and on-screen, as well as the unique personas it emulates when worn by each ‘fool’ wearing it. For the sake of the 1994 film though, it does appear to remain relatively consistent. The mask is a concave cracked wood triangle with the top cut in a straight horizontal line with wide, distorted vertical bands on the front surface. With deep grooves on the front and back, all the wood is aged/stained to a dull dark green color with only three small holes on its surface; two for the eyes and one for the mouth. Front and center sits a rusted metal nose plate with four spherical metal points stamped below a fifth larger spherical point with an “L” letter stamped at the top.
Tools List
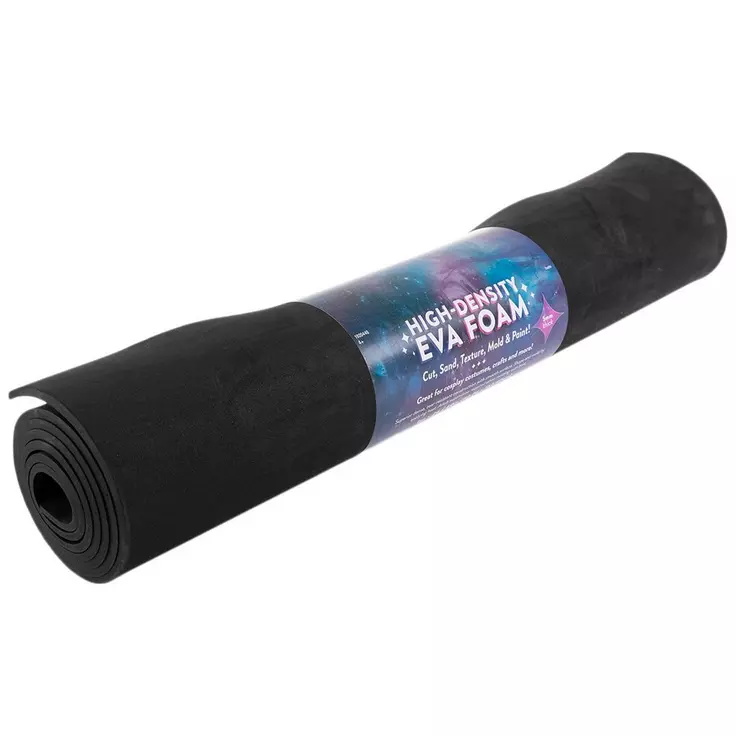
- EVA Foam
- Xacto Knife
- Contact Cement
- Wooden Screw Hole Plugs
- Hot Knife
- Black Rattle-can Peel Coat
- Green Acrylic Paint
- Silver and Bronze Acrylic Paint
- Shimmering holographic acrylic paint
- Black Acrylic Wash
- Small Paintbrush
- Medium Paintbrush
Fabrication and Assembly
Thanks to a fantastic tutorial and template by Punished Props Academy, I was able to skip design entirely on this project and go straight into cutting foam from the template. I used a 10 mm EVA foam exclusively for this project, making the shopping trip simple and affordable. Aside from the nose plate, the right hand side was a mirror image of the left, making it even easier to cut the paper template and trace both sides.
From there assembly was as easy as pressing together with tacky contact cement and using a heat gun to form into roughly the desired shape. I then used as many screen references as possible to mark the major contours of the wood grain used in the film prop, tracing first with a paint pan and finally cementing them with the hot knife. This also included some very careful work with a blade knife and some leftover foam clay to capture the detailed “L” and background threading adorning the top of the Loki mask. For the embellished round points on the nose plate I used some spare wooden hole plugs that happened to fit perfectly in that scale.
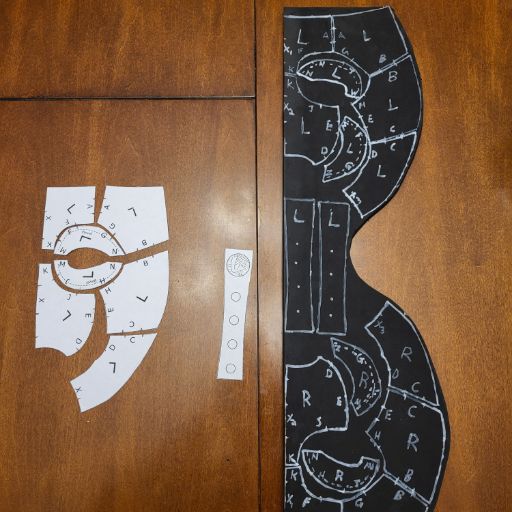
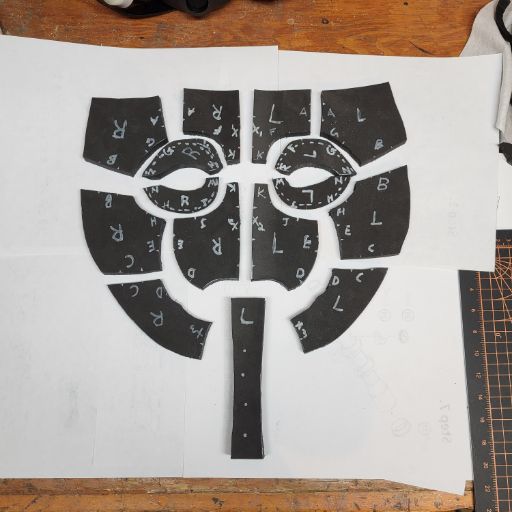
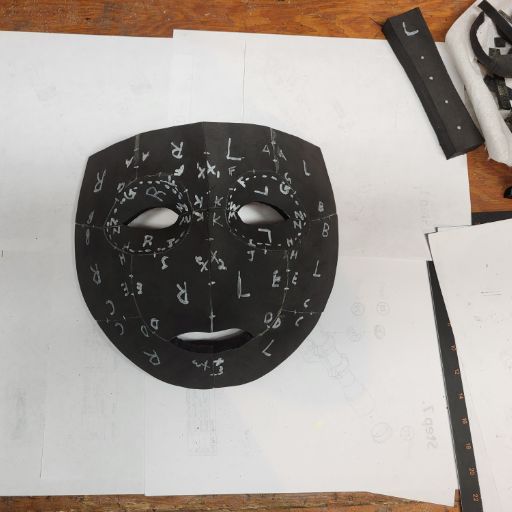
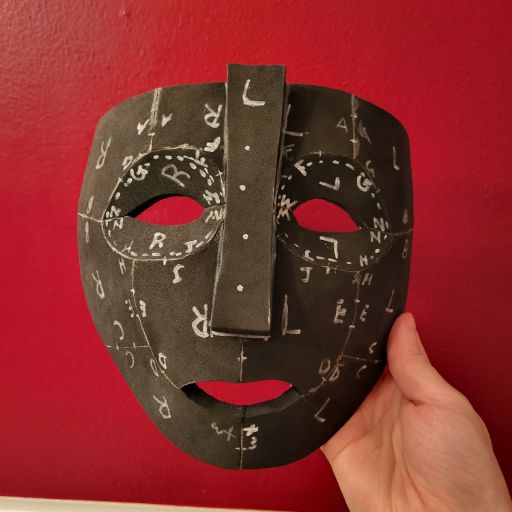
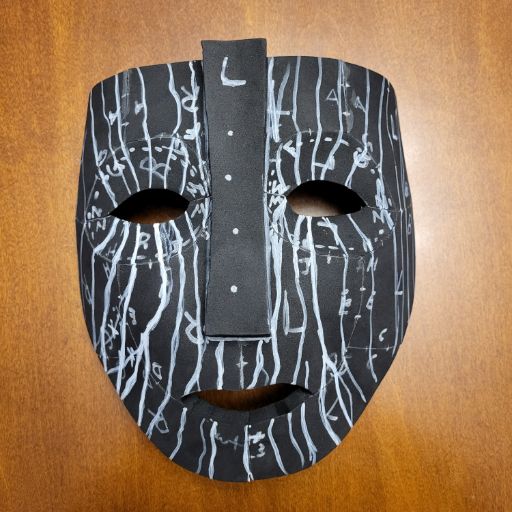
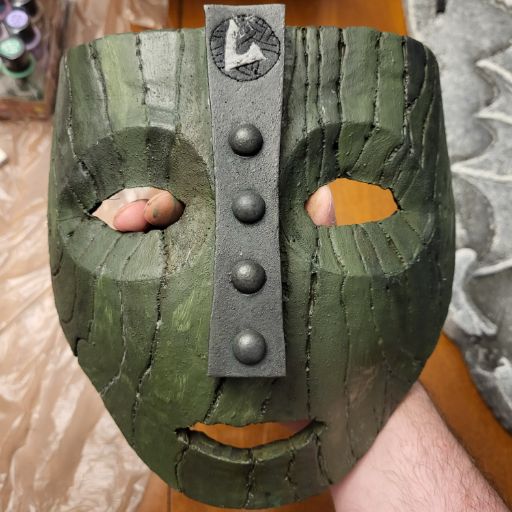
Once I had carved in all the major grooves I expected to be seen for this model, I sealed my work with several coats of black Peel coat. This gave the prop slightly more texture, while also sealing the pores of the foam and maintaining some of the flexibility needed for not cracking on the foam model.
From there it was a matte of painting, blending, painting, texturing, and painting some more.
Finally I added some holographic paint on the backside to replicate the ‘shimmer’ in the film right before Ipkiss puts on the mask for the first time. It’s mostly a gag just for me, but does seem to get a rise out of the undiscerning guest if they do take it off the prop display wall.
Lessons Learned and Future Plans
I do like the simplicity of this project, it made for a great dip into the world of EVA foam props and following simple tutorials. One of the areas that I felt this fell flat however was that while I was looking at references to the screen used prop, face shape is quite different from this simplified template version. I did try my best to recover this with the paintjob and any course corrections beyond that point, but I did feel like the die was cast and I was disappointed that I hadn’t noticed until I was well into it.
If I were to do this again, I would aim for a more realistic sculpt to start on, and then still probably screw it up in painting and weathering. Until then, I can say that from a distance this prop looks S-ssss-ssss-sssss-smokin’!
For more posts like this, check out some of our other recent work as well!
