Overview
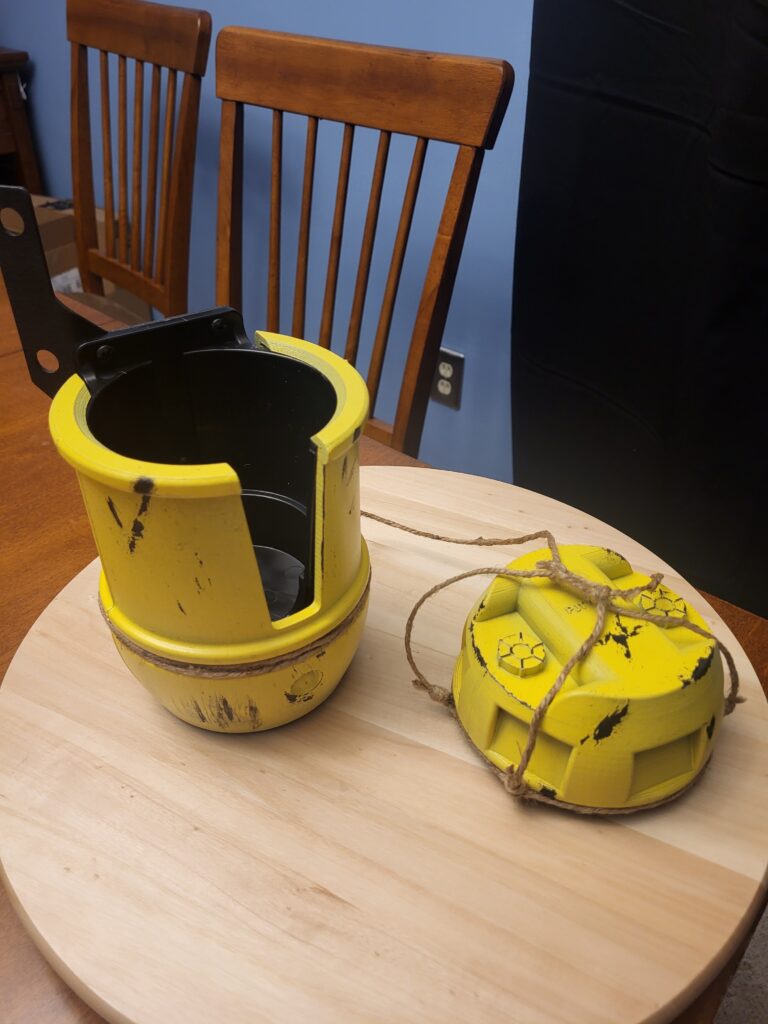
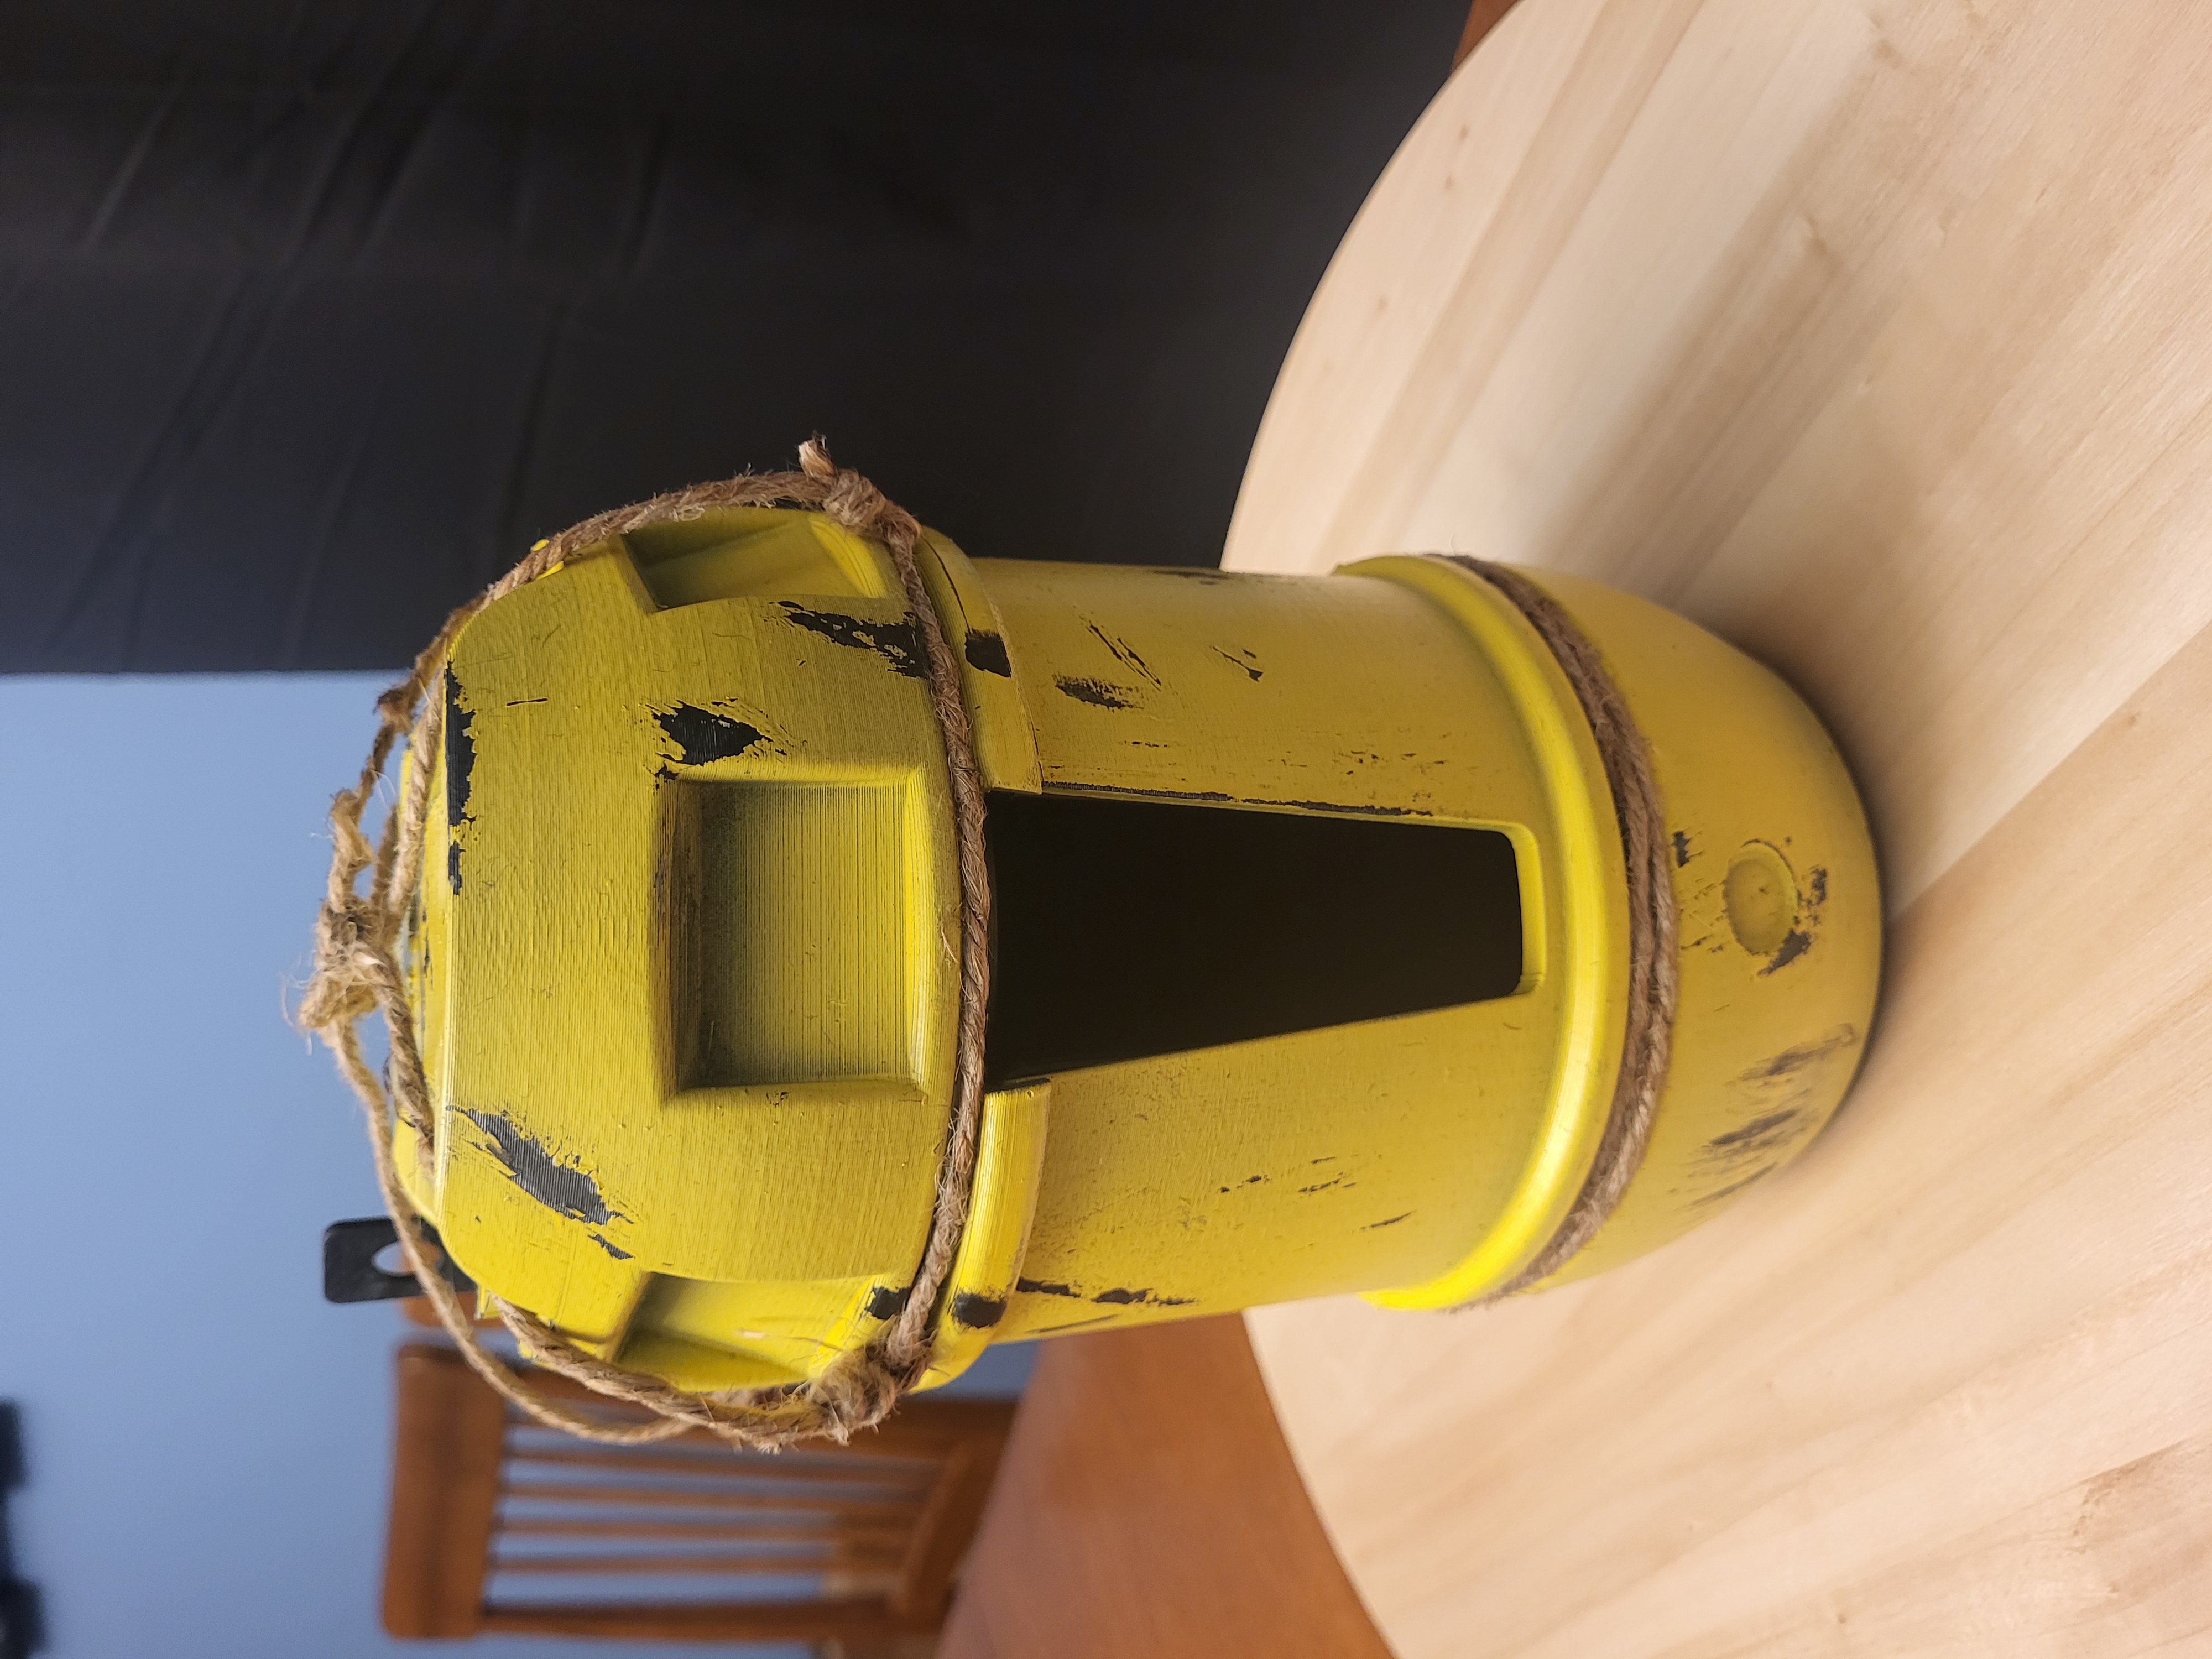
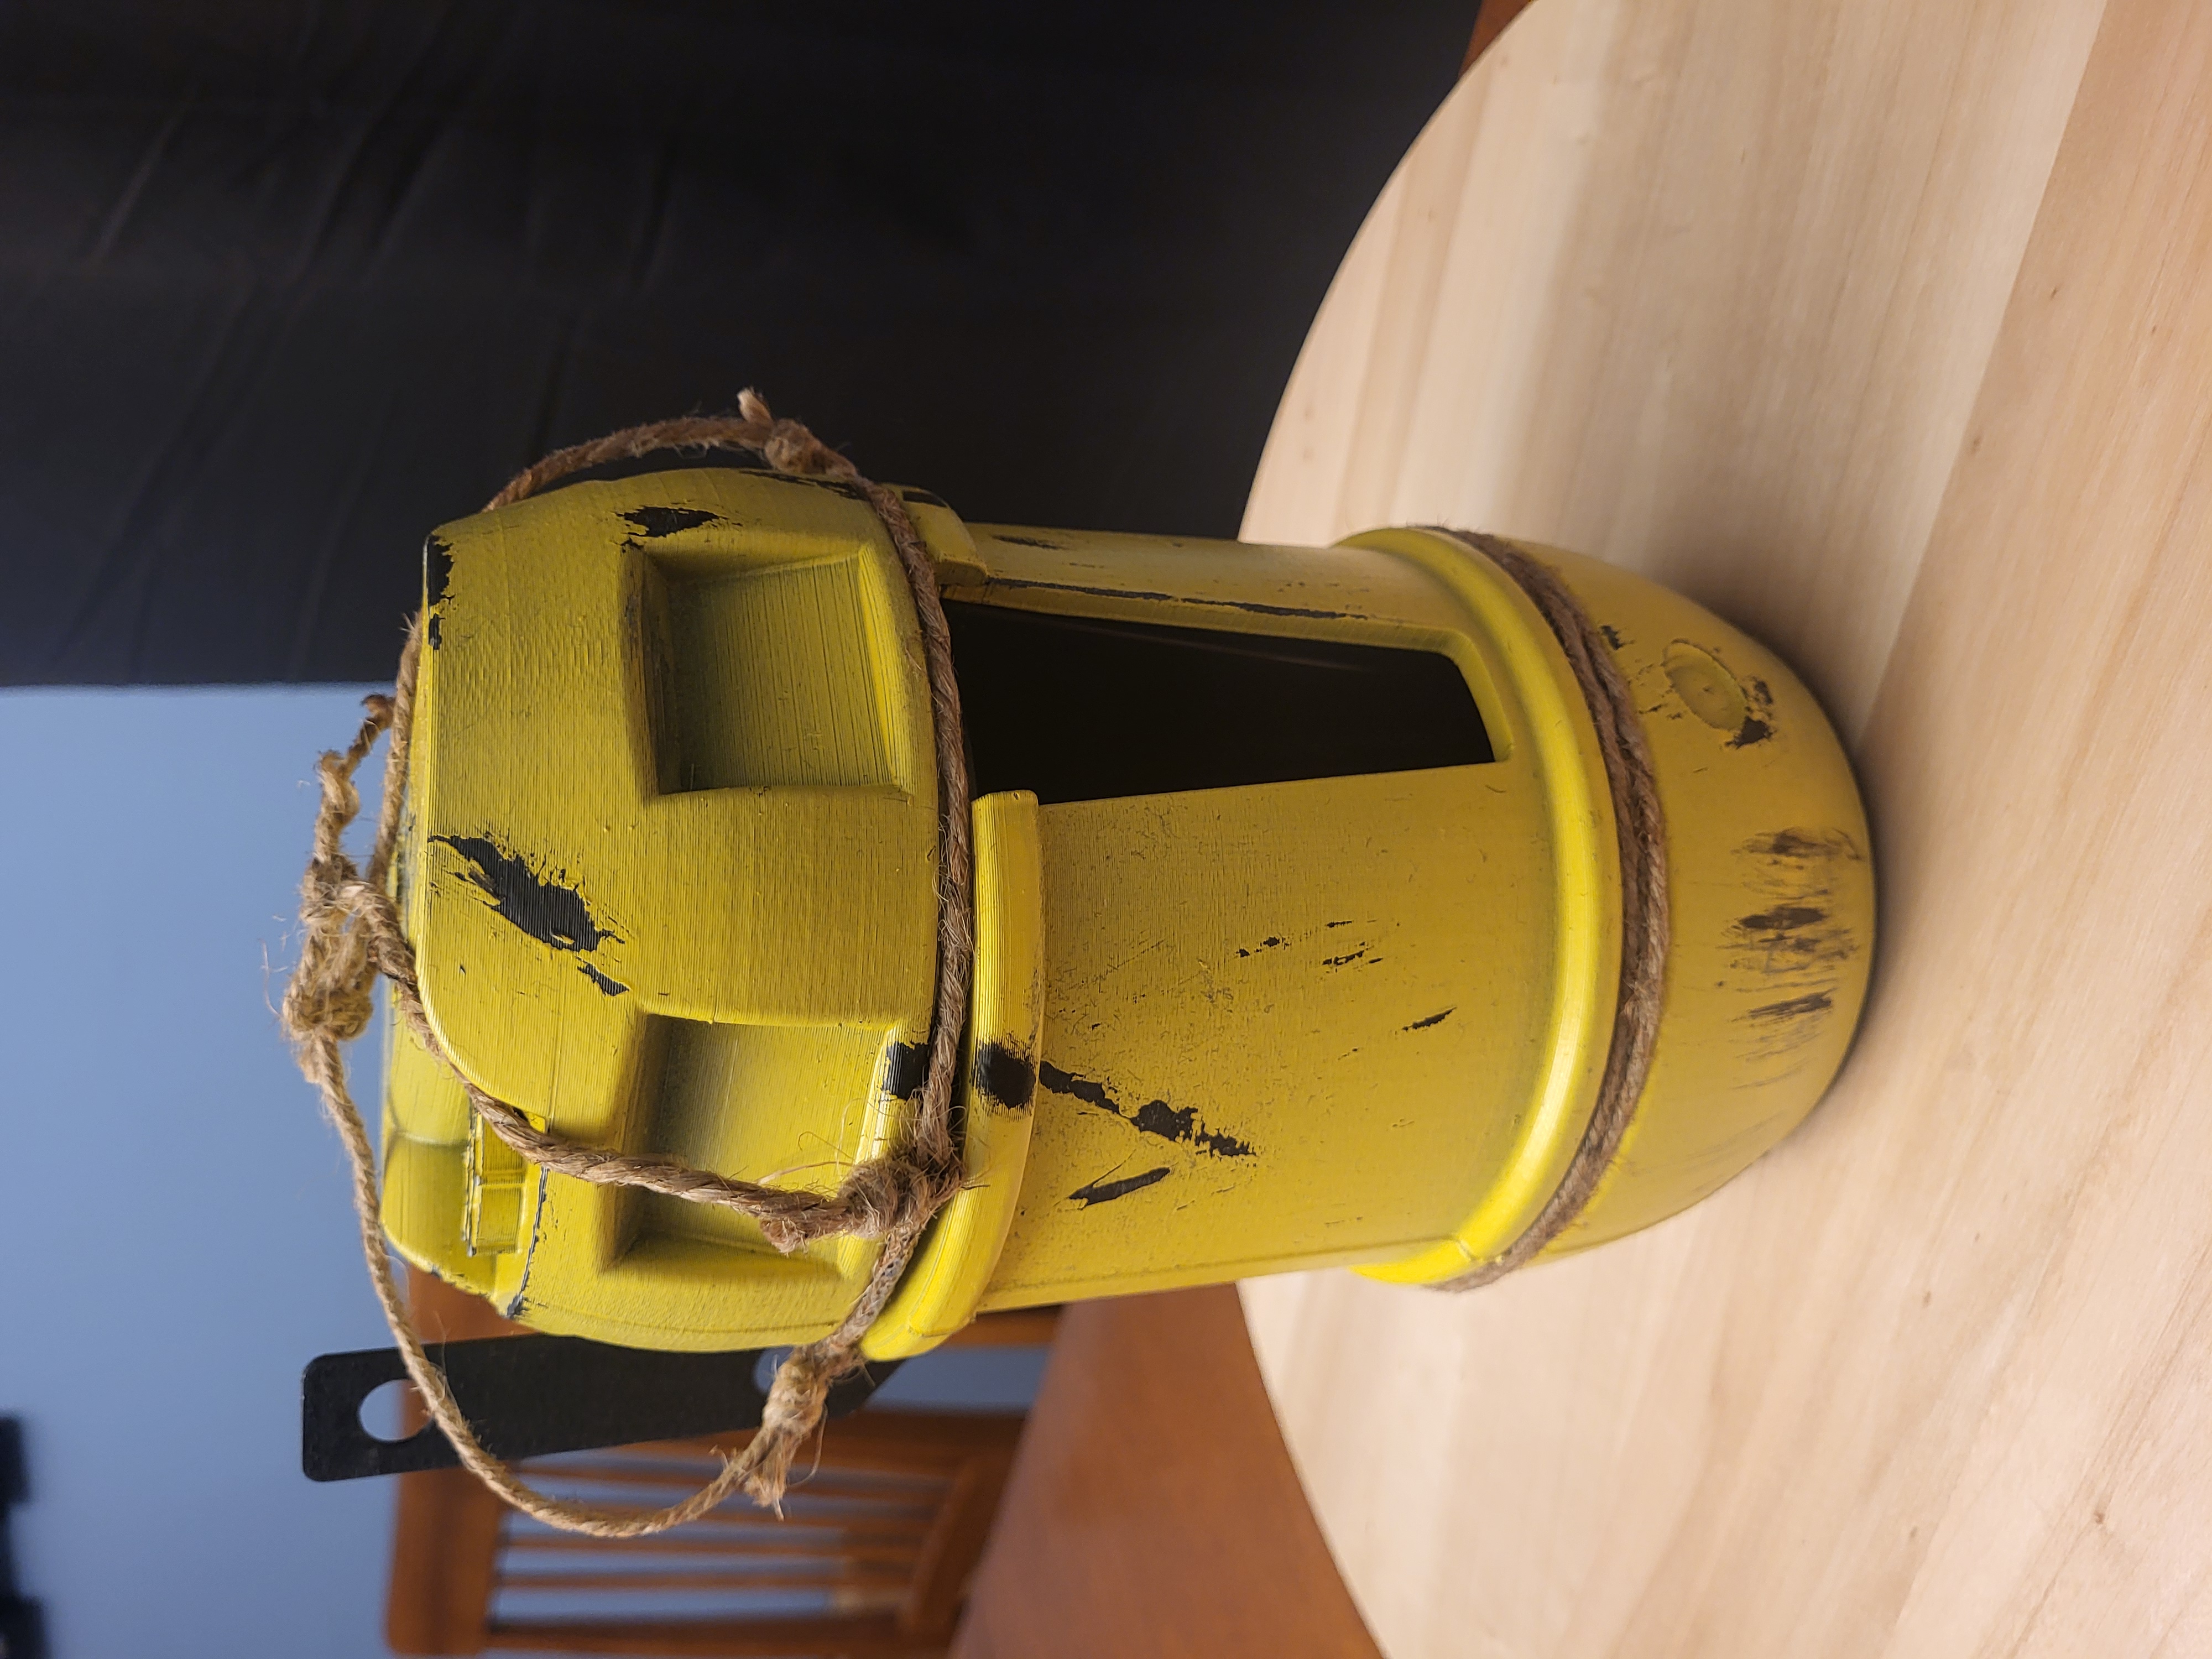
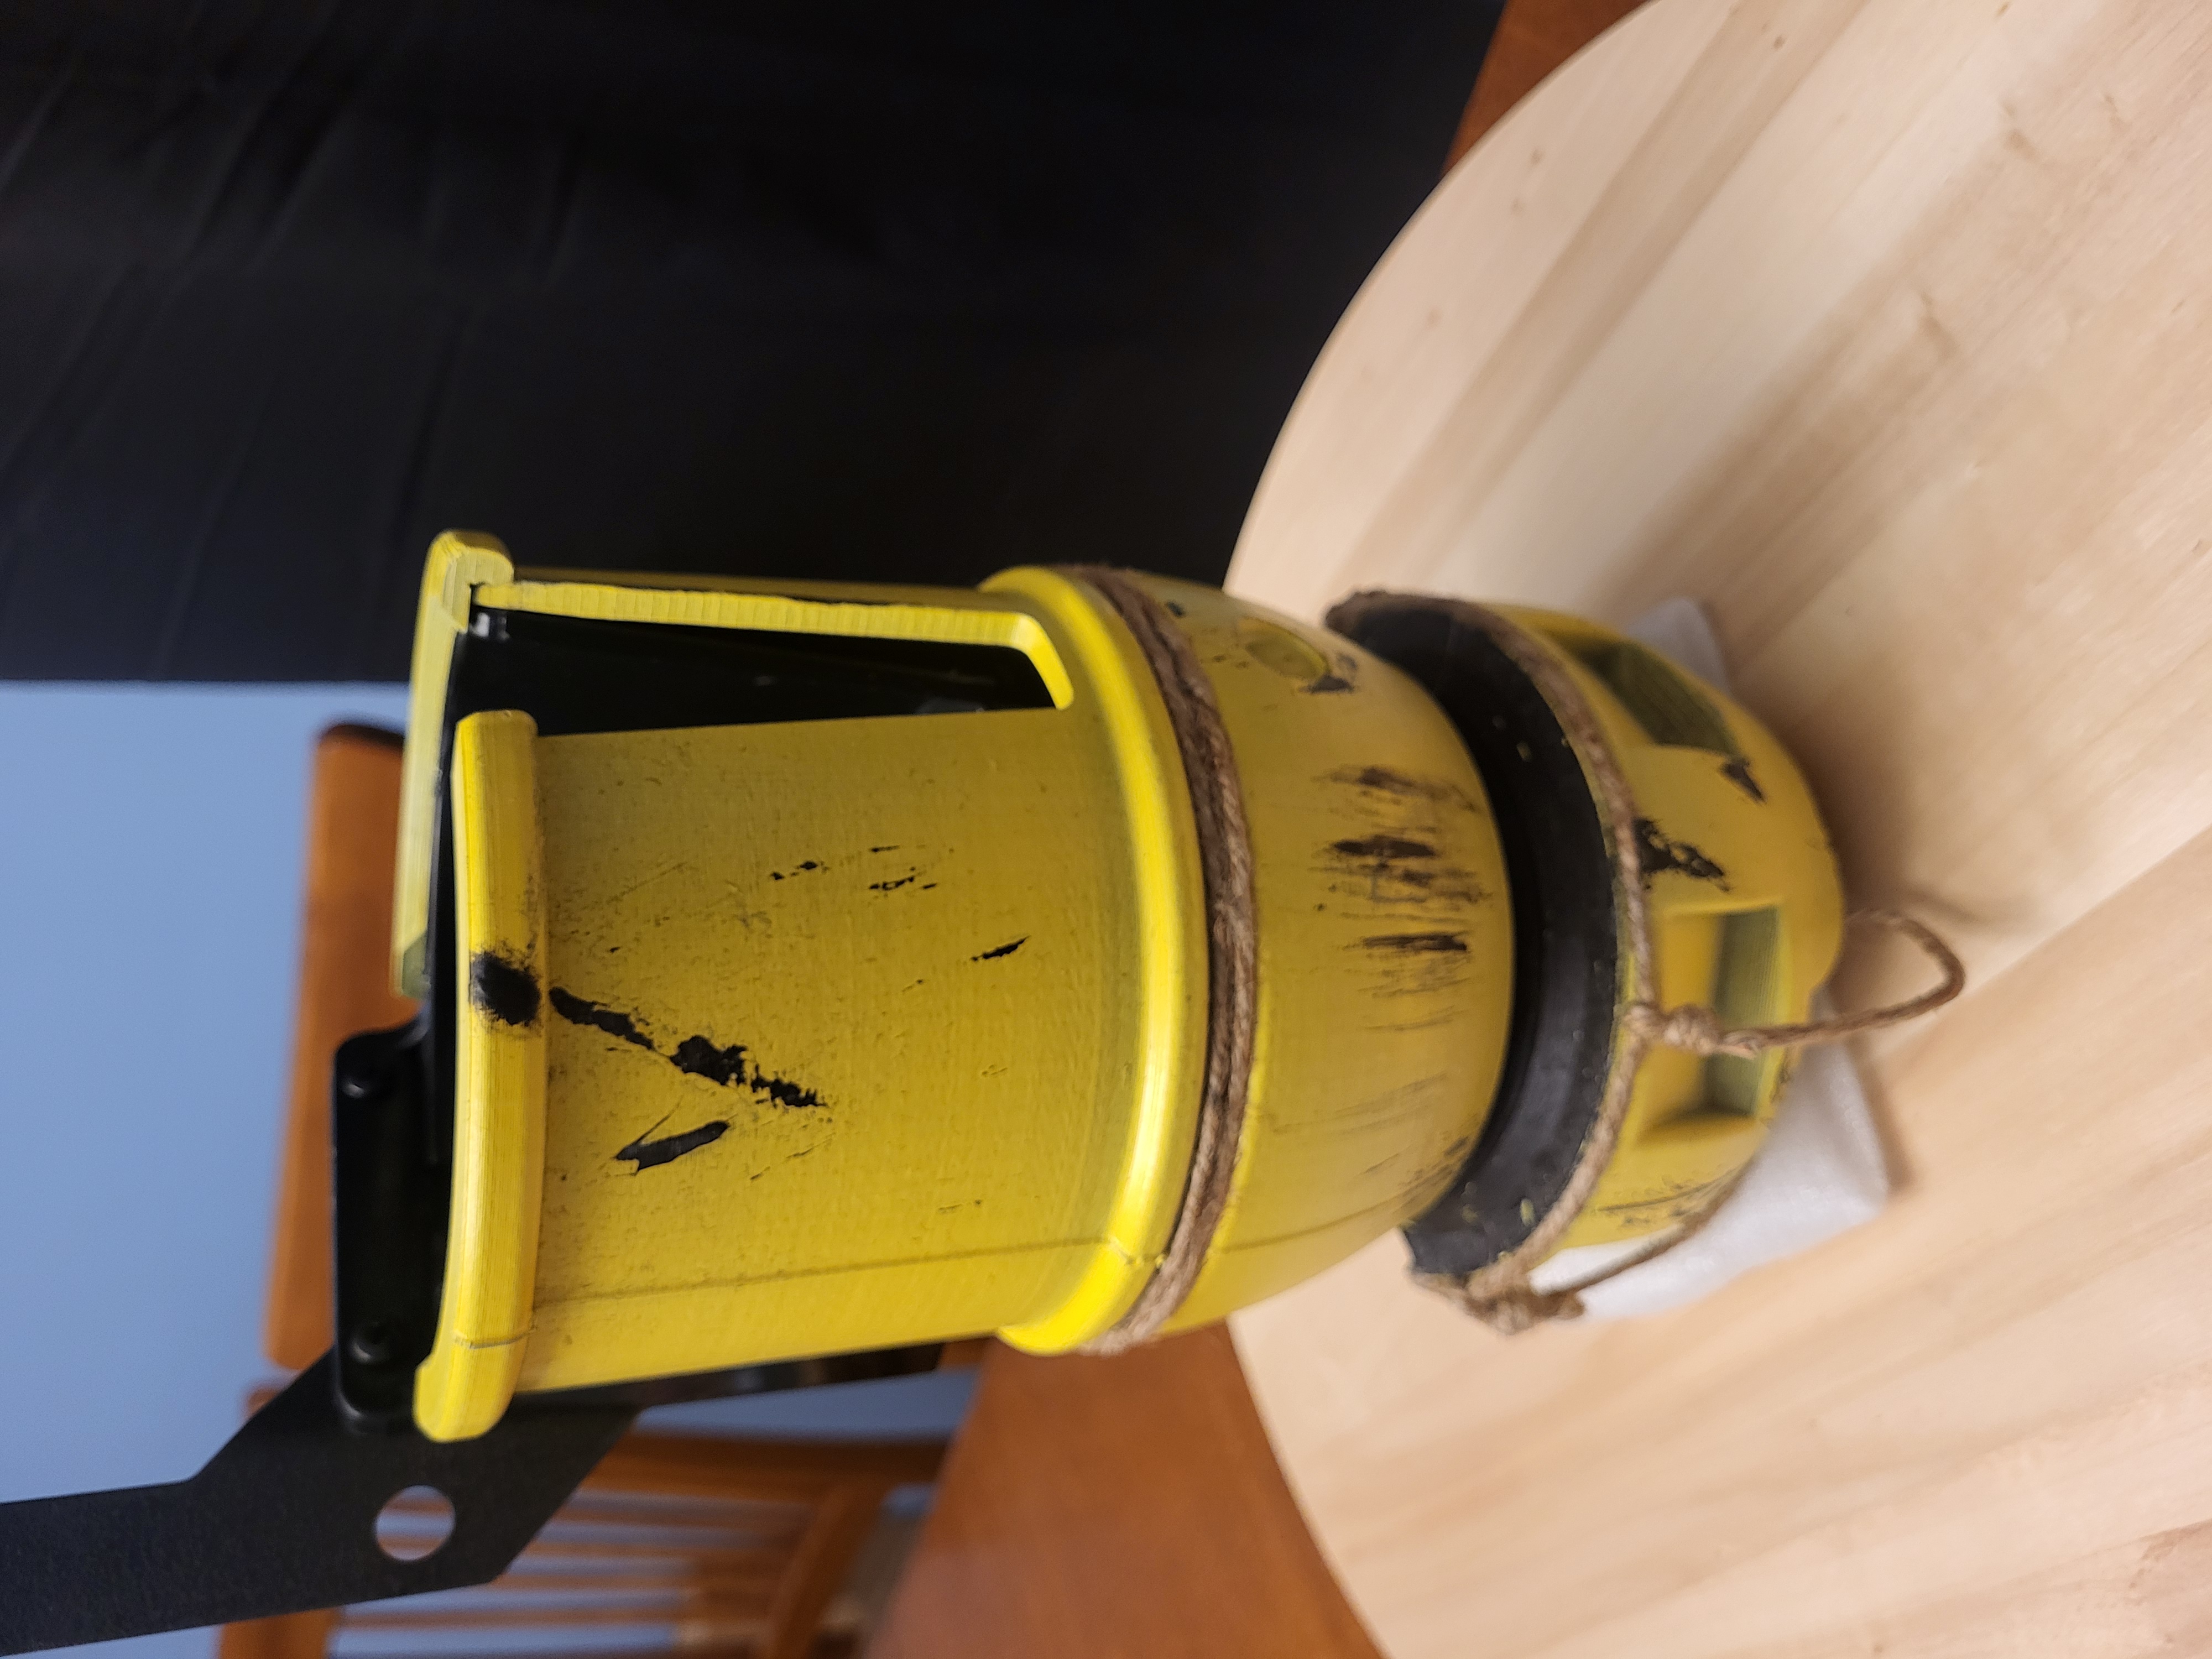
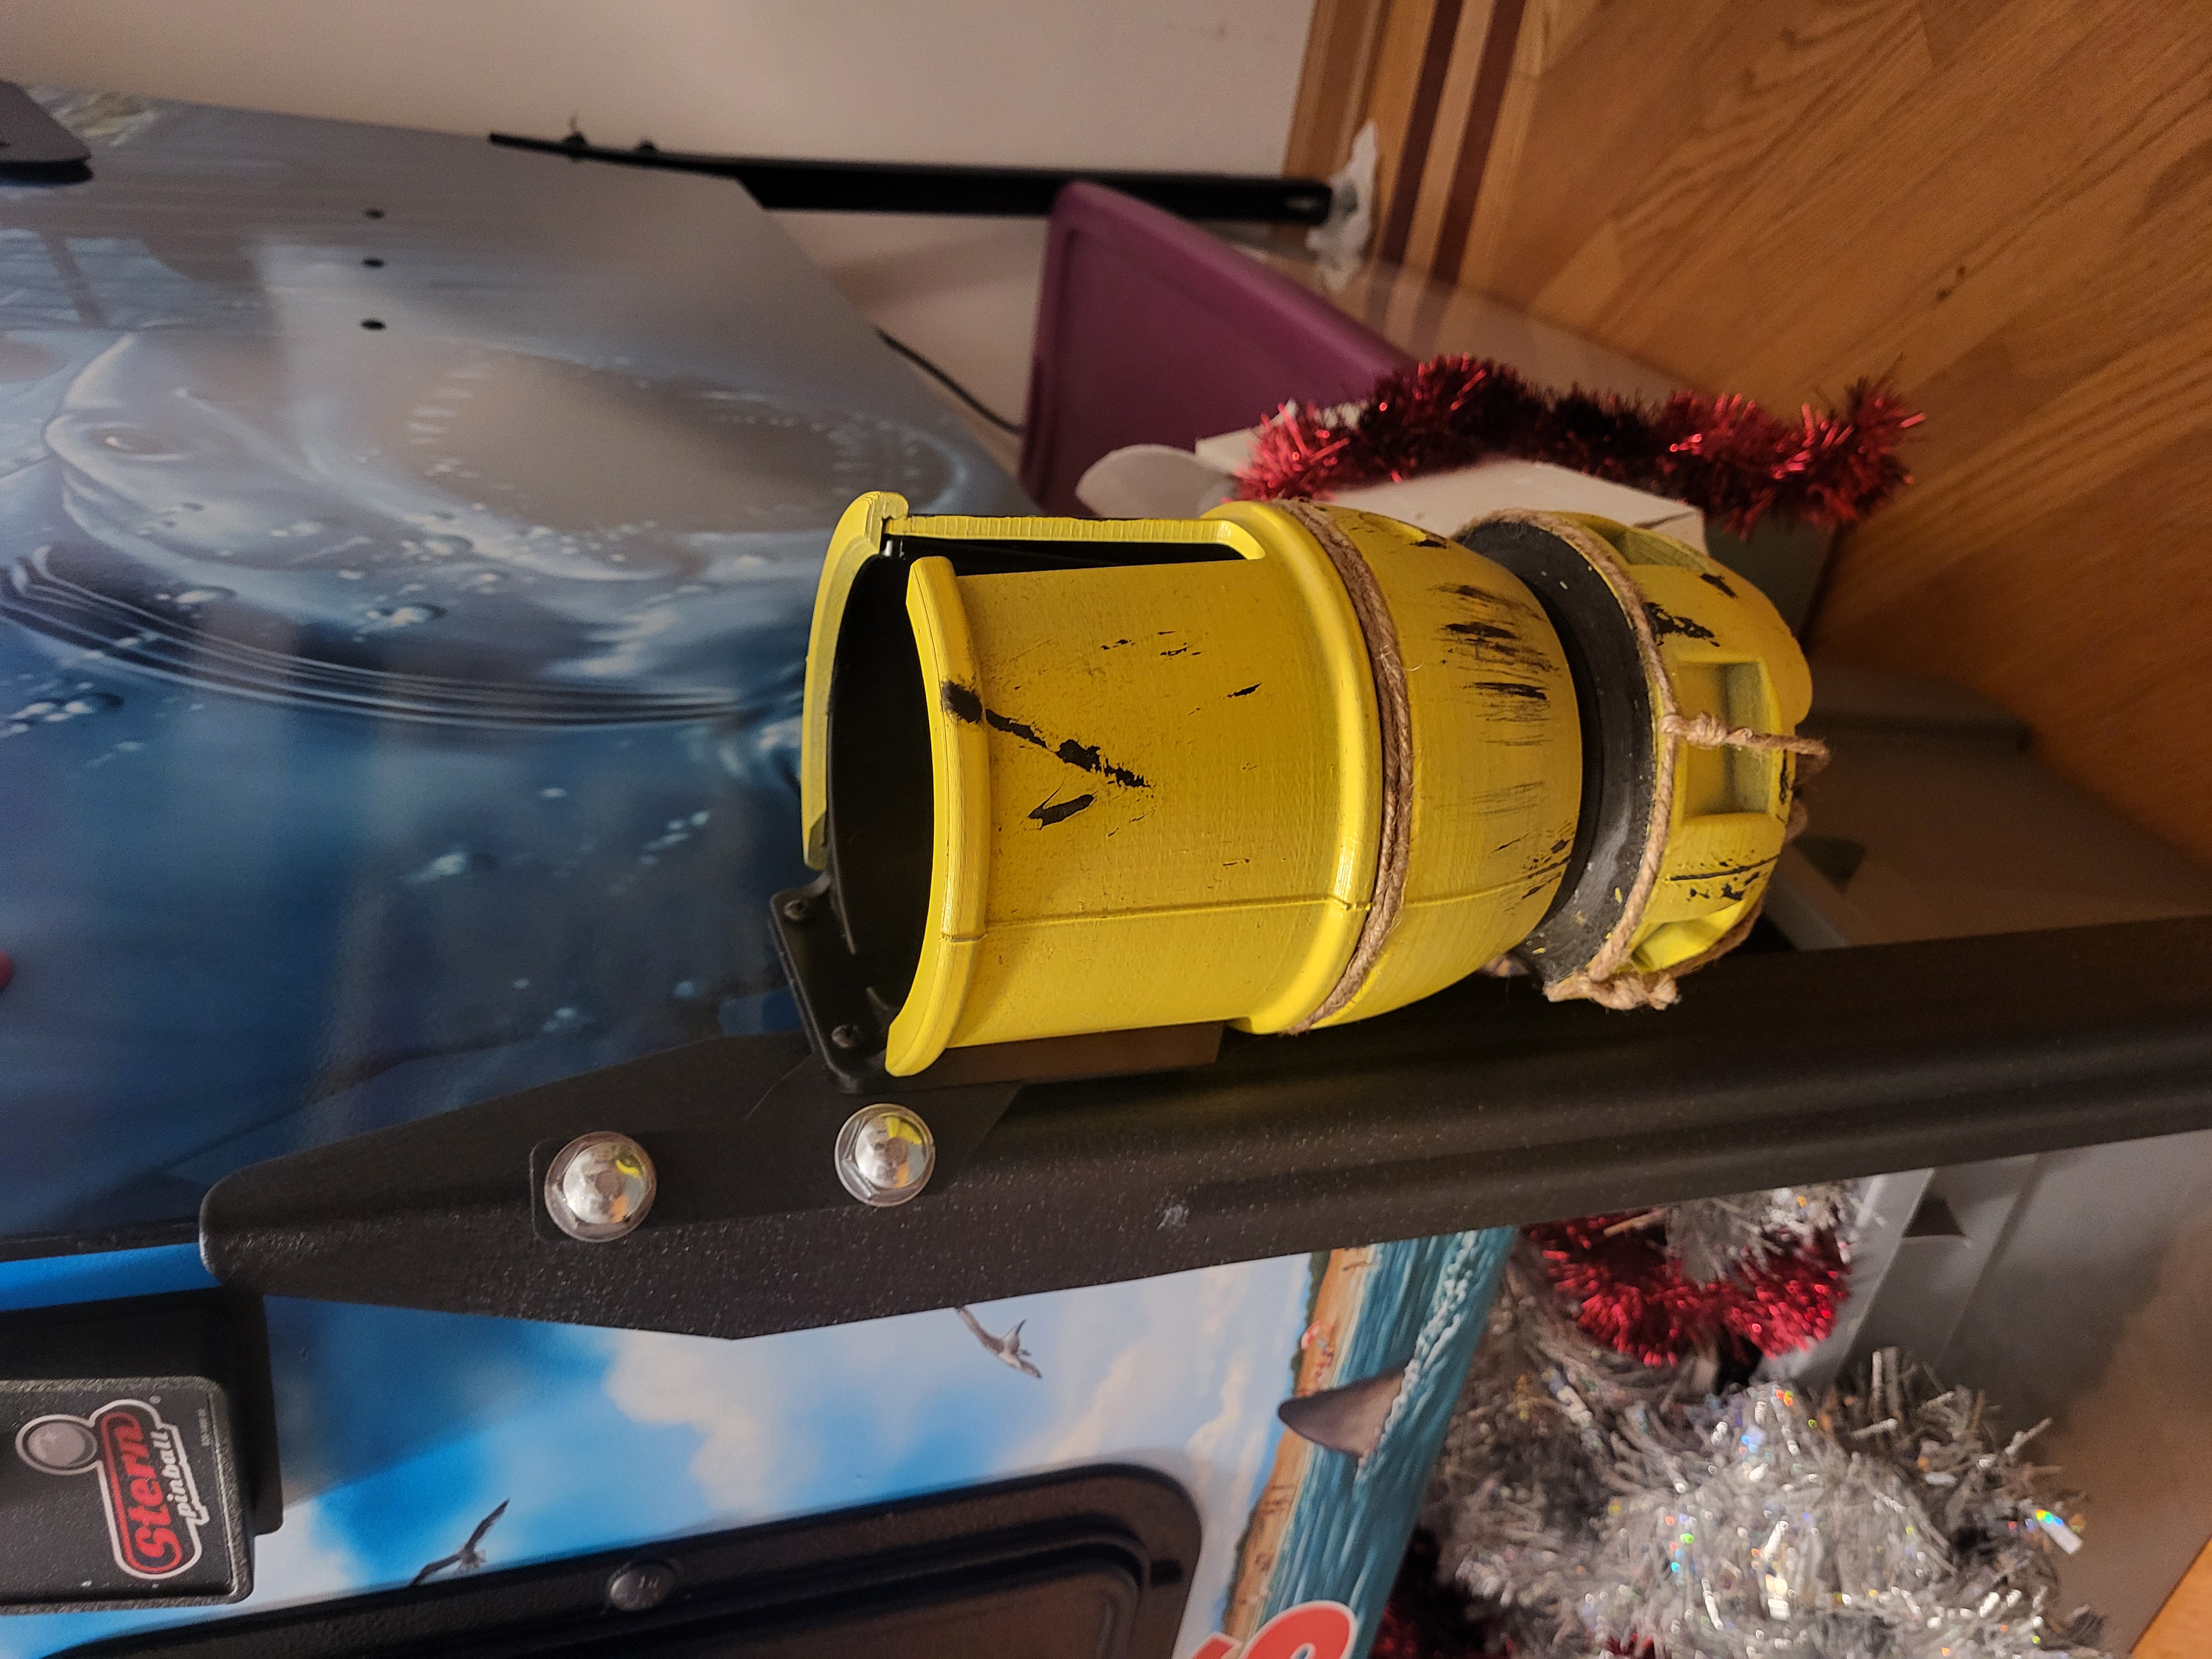
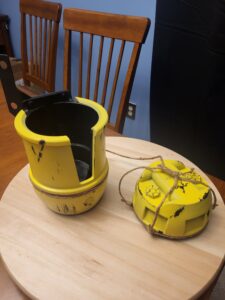
This project stemmed from the desire for this much-needed accessory for anyone familiar with the film and the nature of pinball. By leveraging the amazing pinball cupholders already available in hardy steel and injection-molded plastic, this cosmetic upgrade was an obvious must-have for a prop so iconic that it gets more screen time than the title character himself. The dual configuration of capped and stowed allows you to either have it available as an evergreen display or used to hold your frosty beverages during a long gaming session. The rope cord serves as a nice tie-in (no pun intended) with the film as well as insurance to make sure the lid never walks too far from its magnetic stowed position.
Overall, this project took just under a month from idea to completion and -unlike many of my other projects- I can ensure that it is completed as it was gifted away from my ability to keep tweaking it later. That said, this was one of the first projects that I think could scale as a product at a later date.
Purpose
The purpose of this project was to expand my skills in 3D modeling, modification of existing real-world objects, paint chipping, multi-material prop making, and multi-functional assembly design as a user-facing product. Coincidentally, it also made a good Christmas gift to appease the in-laws.
Process
Research and Inspiration
This project originally started by seeing if I could buy something off the shelf to satisfy this gift idea, as there are already many iterations of 3D-printed pinball cupholders and several generic factory-made versions. In my decade of working with 3D printing, I trusted my design skills and material selection for most use cases. Still, I also know that when giving it to someone else, you often create a better fool able to break it in unexpected ways.
These machines get thrown around during play, and plastic under the weight of a full tumbler moving around has a short life compared to the decades I expect the machine to last. Plus the Stern power switch location requires you to walk past this side of the pinball machine each time you play, making it a prime candidate for getting bumped and mistreated over time.
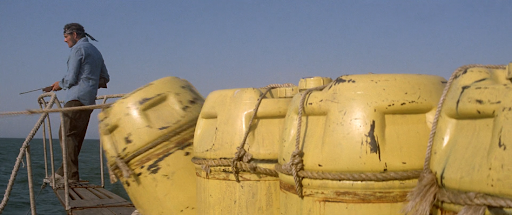
For these reasons, I elected to use a cosmetic plastic upgrade to the existing commercial cupholders which had many years of history supporting these environments. Fortunately, I had already done the research to find the PinGulp by Mezel Mods to be a very sturdy and reasonably priced option, that I had purchased for a previous machine.
The Jaws pinball machine at the time had only been out for a few months, so I knew my chances were somewhat limited but feasible. In my search I did find a couple of off-the-shelf solutions like the Jaws Cage by ModFather and more importantly a tutorial on how to model the Jaws barrels generously provided by fellow maker SoulRider911. This gave me the general framework but still required gathering intel from screen grabs, behind-the-scenes images, and even demos of scaled-down prints created by scanning the original props to get my specific version. Building mine from the ground up also allowed me to personalize bits like the text on top (originally DOT 34-30) to whatever I saw fit for future builds.
Tools List
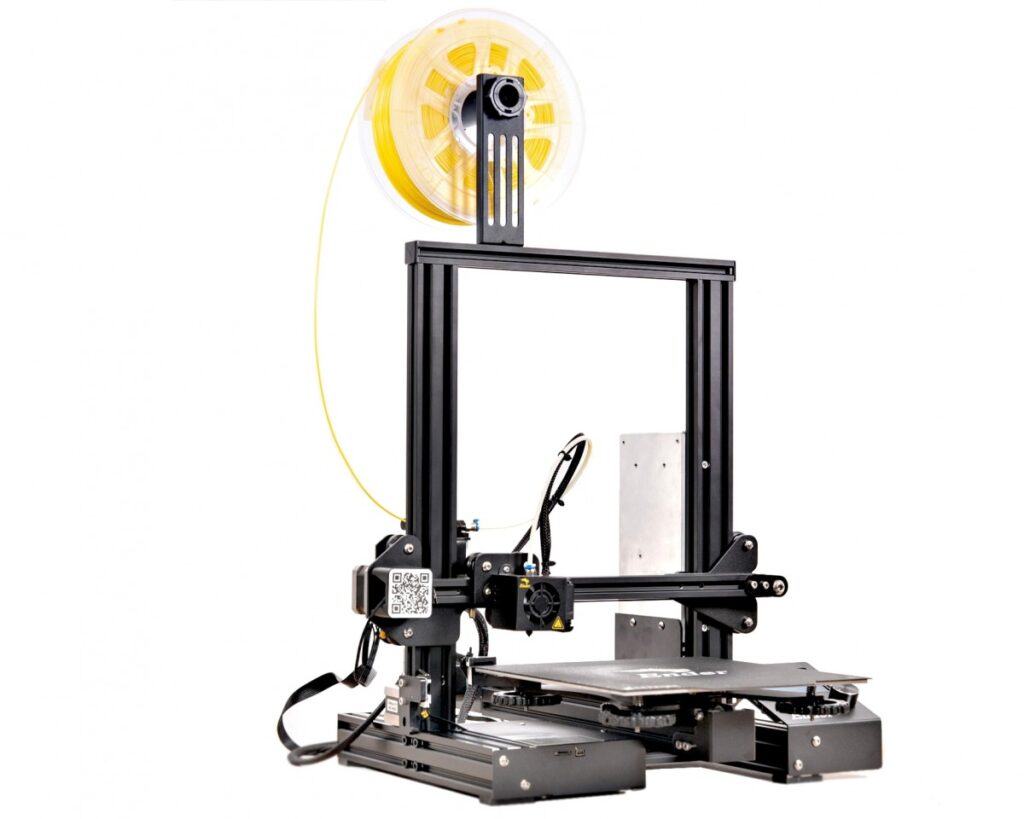
- 3D Printer
- Hatchbox PLA
- PinGulp (purchased)
- Jute cord (at least 10 ft)
- Yellow Rustoleum Paint Spray Can
- 2x20mm Magnets (Qty 2)
- Glue (cyanoacrylate or better)
Design Sequence
This prop was designed in Fusion 360, with six parts in total. First, I modeled the existing PinGulp cupholder after taking measurements with a simple set of calipers to use as a reference. The largest model piece was designed to slide over the bottom of the PinGulp, then two smaller pieces to hold onto both the base piece and either side of the top of the cupholder, as well as a sloped resting face for centering the final lid portion of the barrel. I also created two thin printed discs that narrowly extended the bottom of the lid and the base pieces.
These contained concealed magnets for holding the lid to the underside of the base while in use as a cup holder.
The trick with this design was to change the footprint of the cupholder as little as possible and maintain the proper proportions of the barrel, while still allowing the full use of the cupholder volume and the slot for beverage handles. Other considerations were made such as aesthetic consistency, clearance to objects like the metal bracket on the cupholder, drainage for spills, and minimizing supports to ease cleanup while printing.
Painting and Weathering
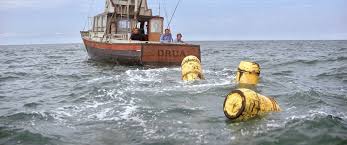
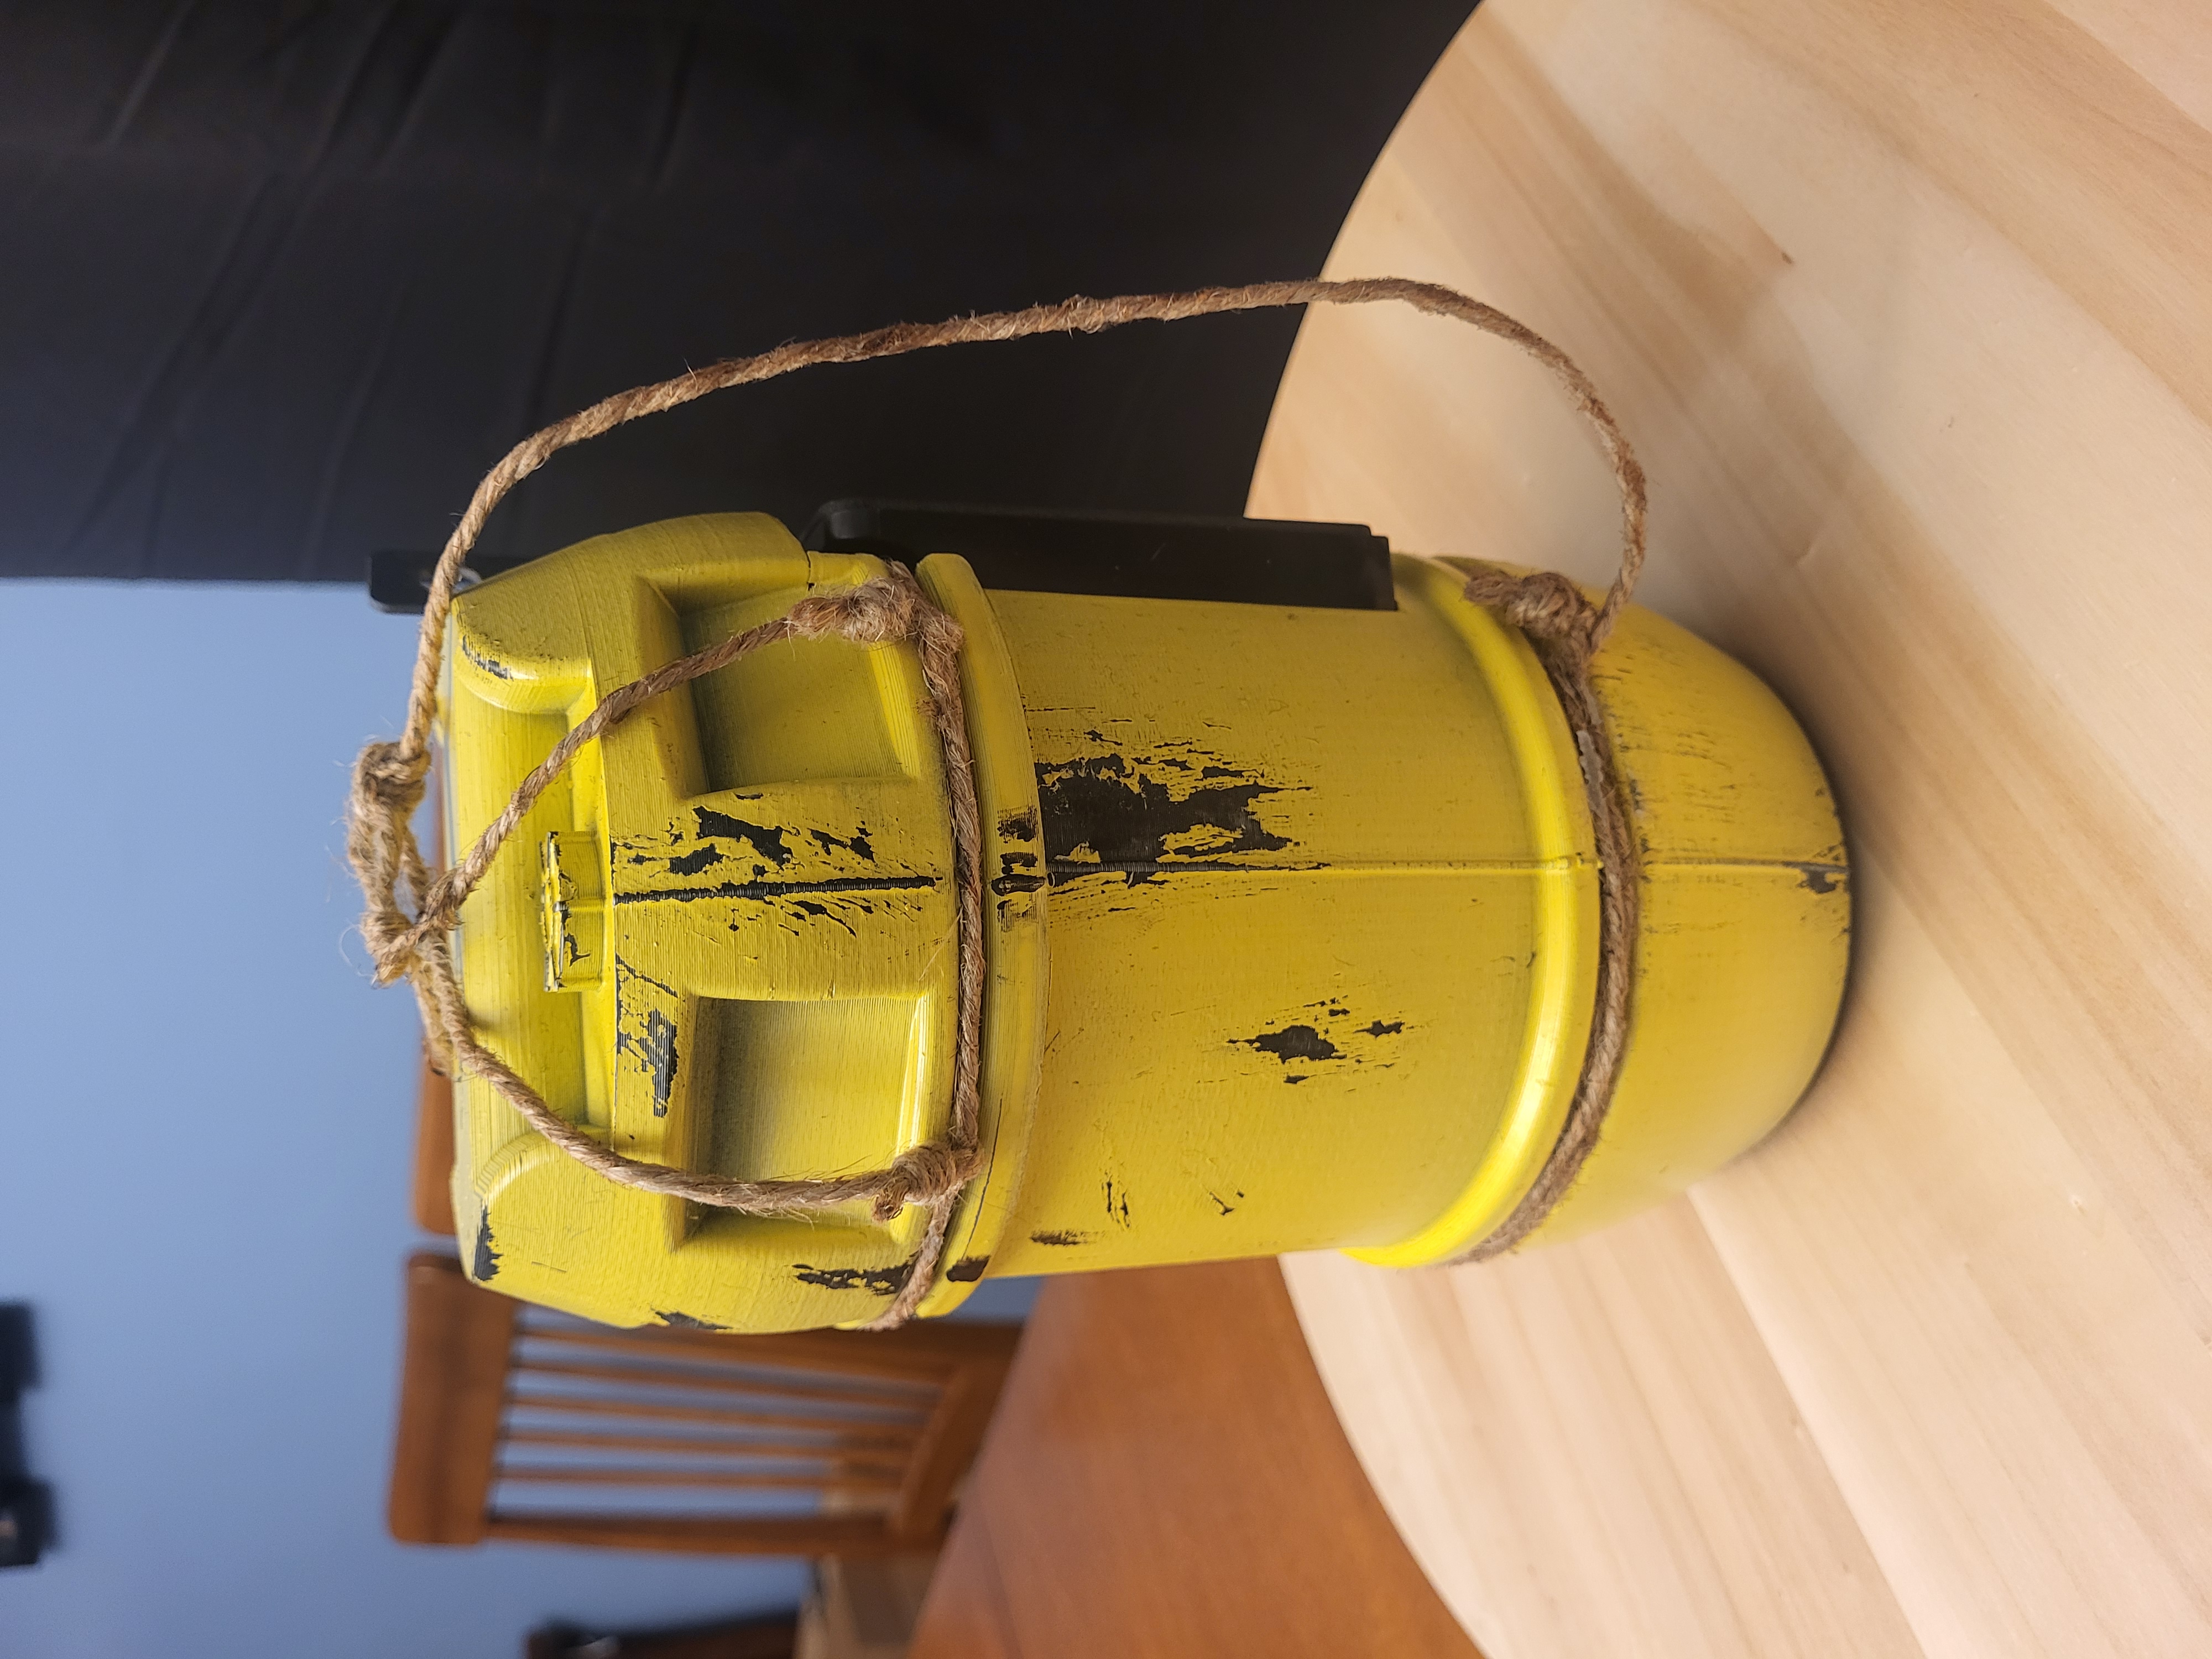
It wouldn’t be the Jaws “Born Free” Barrel if it looked fresh from the factory rather than the bow of the Orca, so this was also my first journey with paint chipping. This barrel started life as a white PLA (as it is both familiar for me to print with and what I had on hand) that was then painted black, selectively layered with toothpaste (thanks to a tip from Punished Props Academy), painted in multiple layers of rattle-can yellow paint, and then wetted and gently peeled to reveal the black underneath. As someone who is not particularly artistic, I found this to be a very straightforward approach that looked better than some of the painted-on chipping I had seen online elsewhere [as it was essentially authentic chipping]. I then sealed it with a clear coat to protect it from fading and unwanted extended chipping (though in this case, any wear over time would only add to the authentic look of those barrels throughout the film).
Final Assembly
After all printed parts were painted, I glued each into two final subassemblies (top and bottom), sealing the PinGulp into its tomb. I then purchased a jute cord from a local hobby store and learned how to properly tie a barrel knot (as seen in the film). I topped the barrel with the iconic bowline knot that Quint taught Sheriff Brody in the Jaws film and glued the rest in place for good measure. To clean up the fraying cord, I tickled it with an open flame to get it to look nice and tidy, which was by far the most nerve-wracking part of the whole assembly. The results do seem to speak for themselves though, as this was the talk of the Christmas party where it was gifted.
Lessons Learned and Future Plans
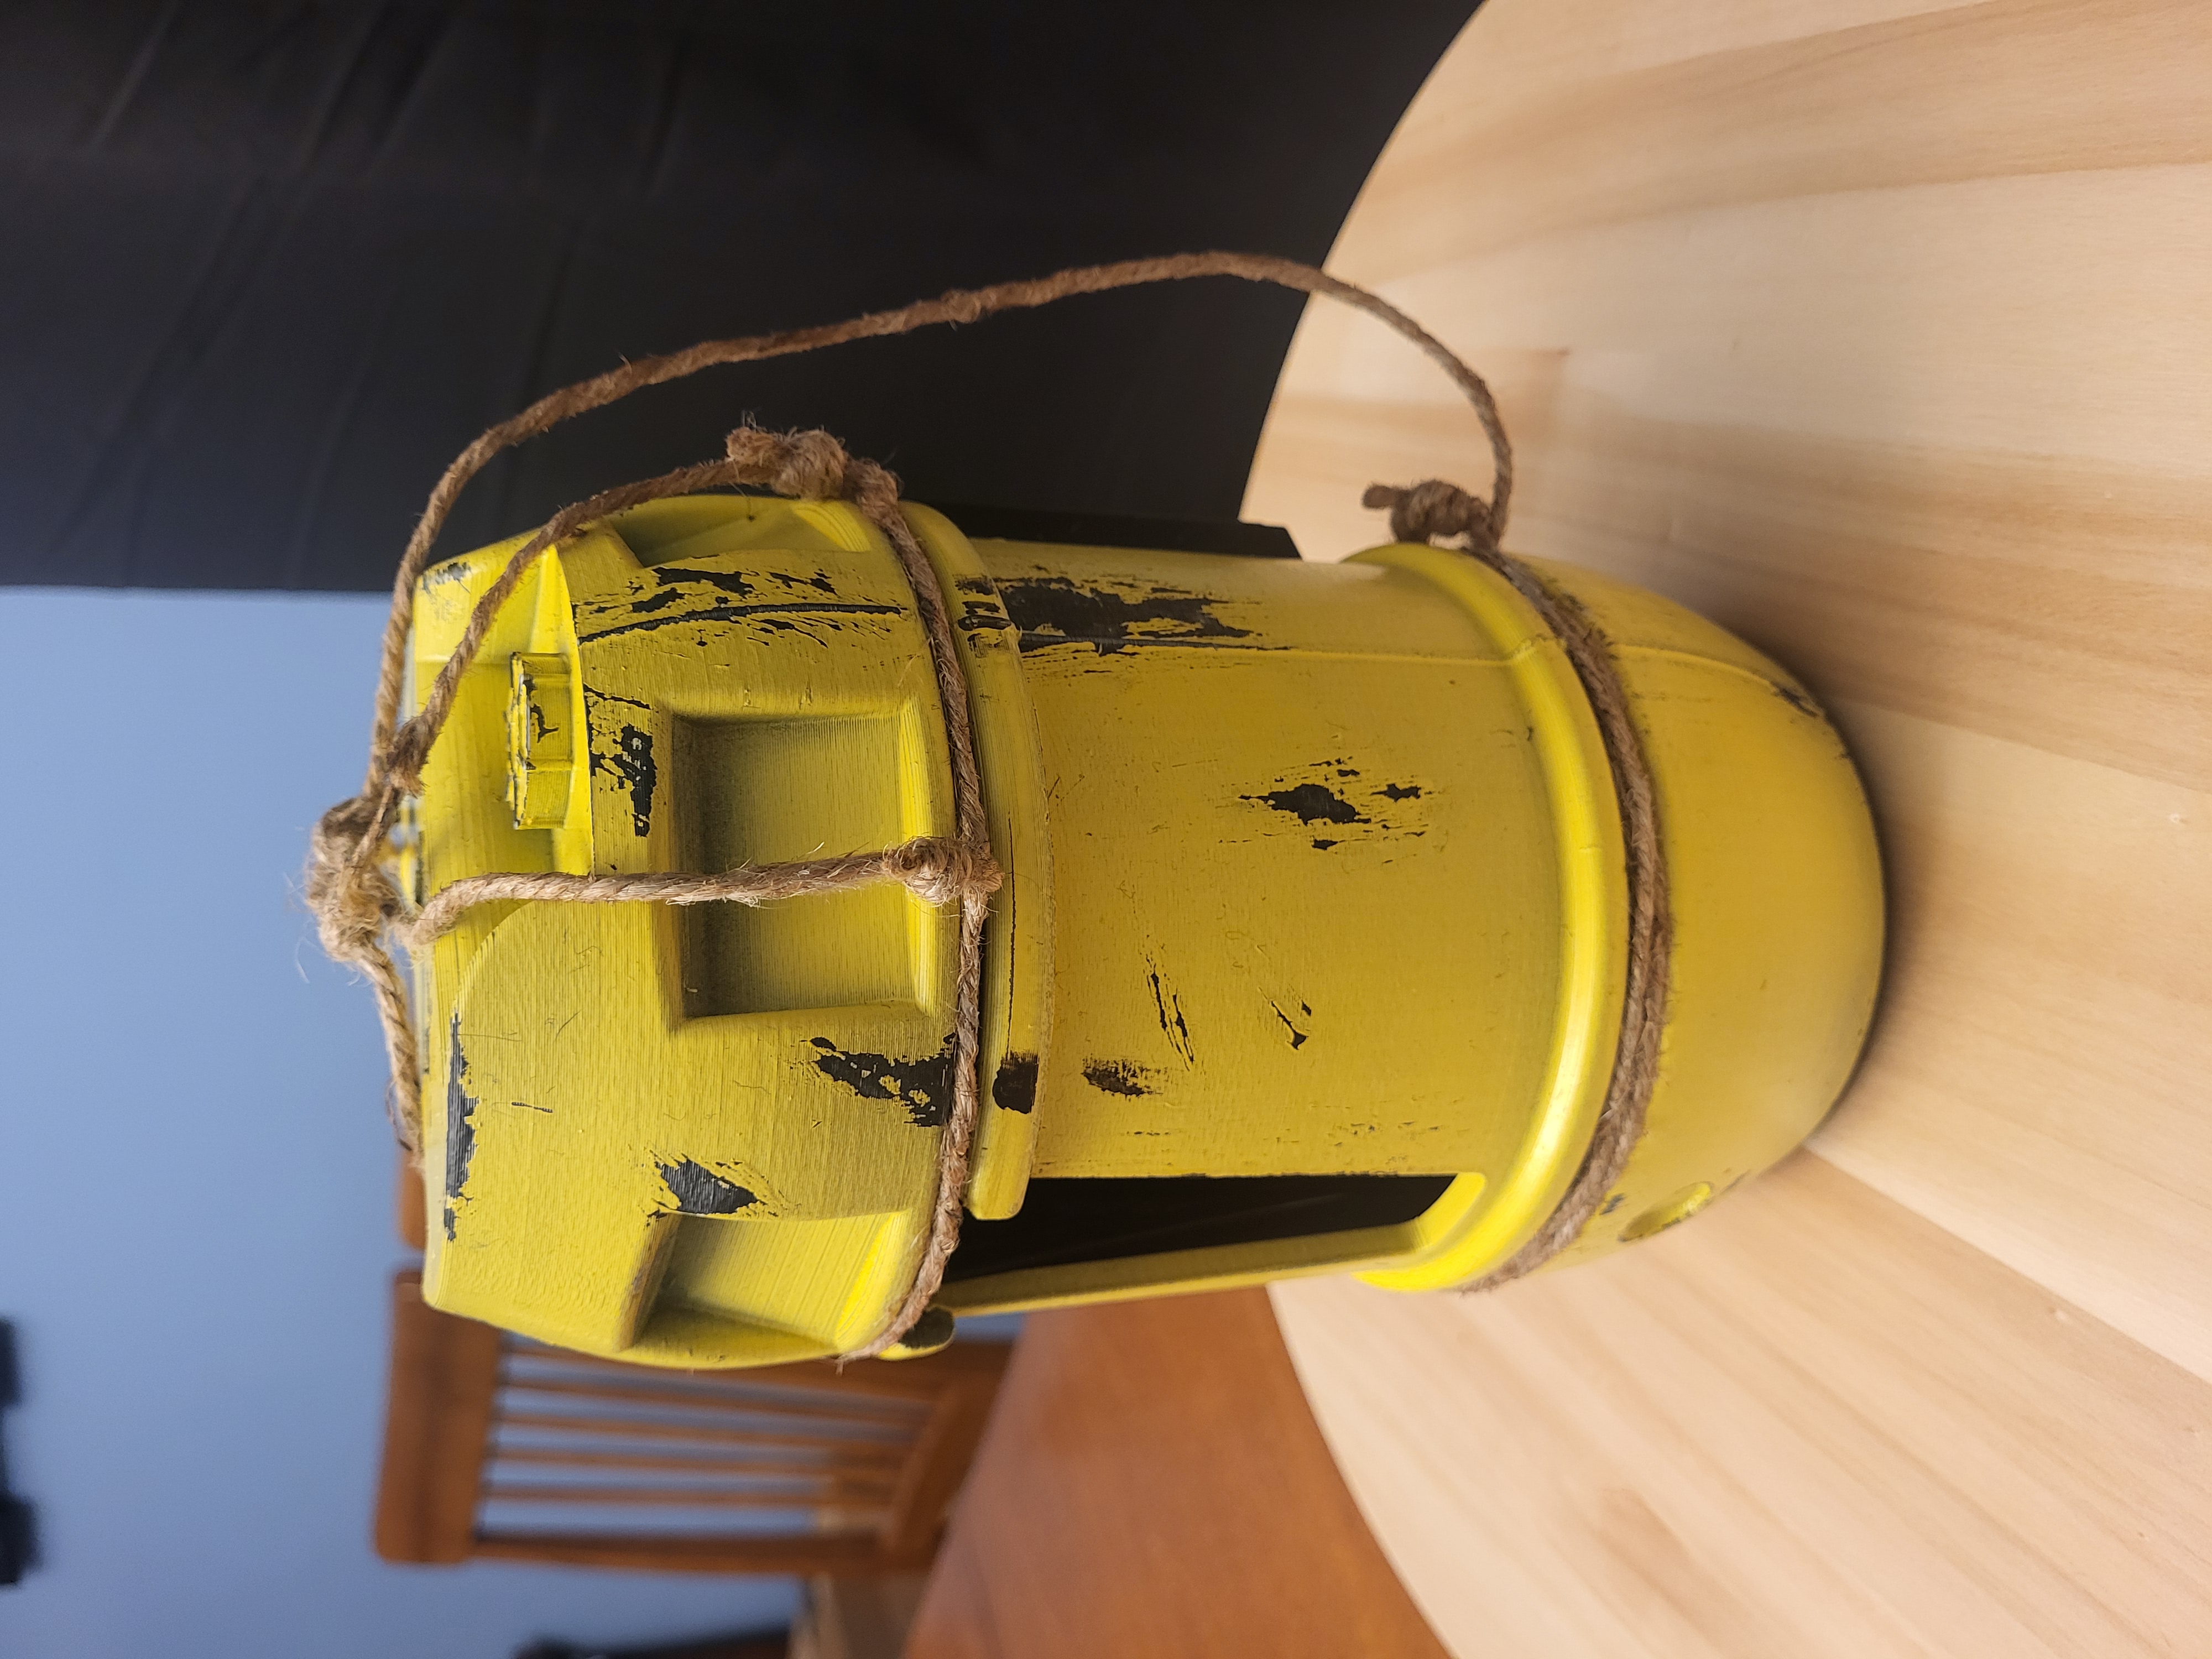
- Having chipping that runs across all individual parts helps to sell the cohesiveness of the finished product. For future builds, I will make sure to add chipping to the base, lid, and lip at the same time in an assembled configuration to maintain visual consistency across the piece.
- The personalization text on the top of the barrel made this feel like a gift rather than an off-the-shelf product. This added touch was immediately felt by the recipient of this gift and made it a significantly more worthwhile project.
- I originally looked at ‘removable’ fasteners for better utilization of the common cup holder rather than a glued/bonded assembly. This proved to overall be unfeasible for this project, as the cost of a new PinGulp was very small compared to the additional cost of fasteners and the time required to remove the PinGulp from the pinball machine if you were somehow inclined to swap it between multiple machines. It seemed simpler to buy another PinGulp at the time of this build.
I am considering a future commercial version of this project, but will need a few things lined up first.
- I am already considering a version incorporating the beacon that Hooper attaches to the barrel in the film, complete with blinking lights and potentially a sound effect. More research would need to be done on this and is planned for the near future.
- If I continue to print low volumes of this, I would likely switch to black filament (to remove the base painting step) and experiment with PETG or ABS rather than PLA for durability. Ideally, I would instead print and sand a single mold master that I would then be able to cast in black resin.
- The tradeoff for a cast vs a 3D print is that a cast solution would make personalizing more difficult. I would likely need a ‘non-personalized’ lid mold with the standard text, as well as a plugged mold which I would then need to print a personalized negative of before each casting. Getting the plug seam for the personalized version to disappear would require more post-processing and some clever design work, but may be worth the cost to the potential recipient.
- I would likely buy an airbrush to dial in the exact yellow desired for this piece rather than rely on a series of rattle cans, as well as enable highlighting and faster painting times.
For more posts like this, check out some of our other recent work as well!
