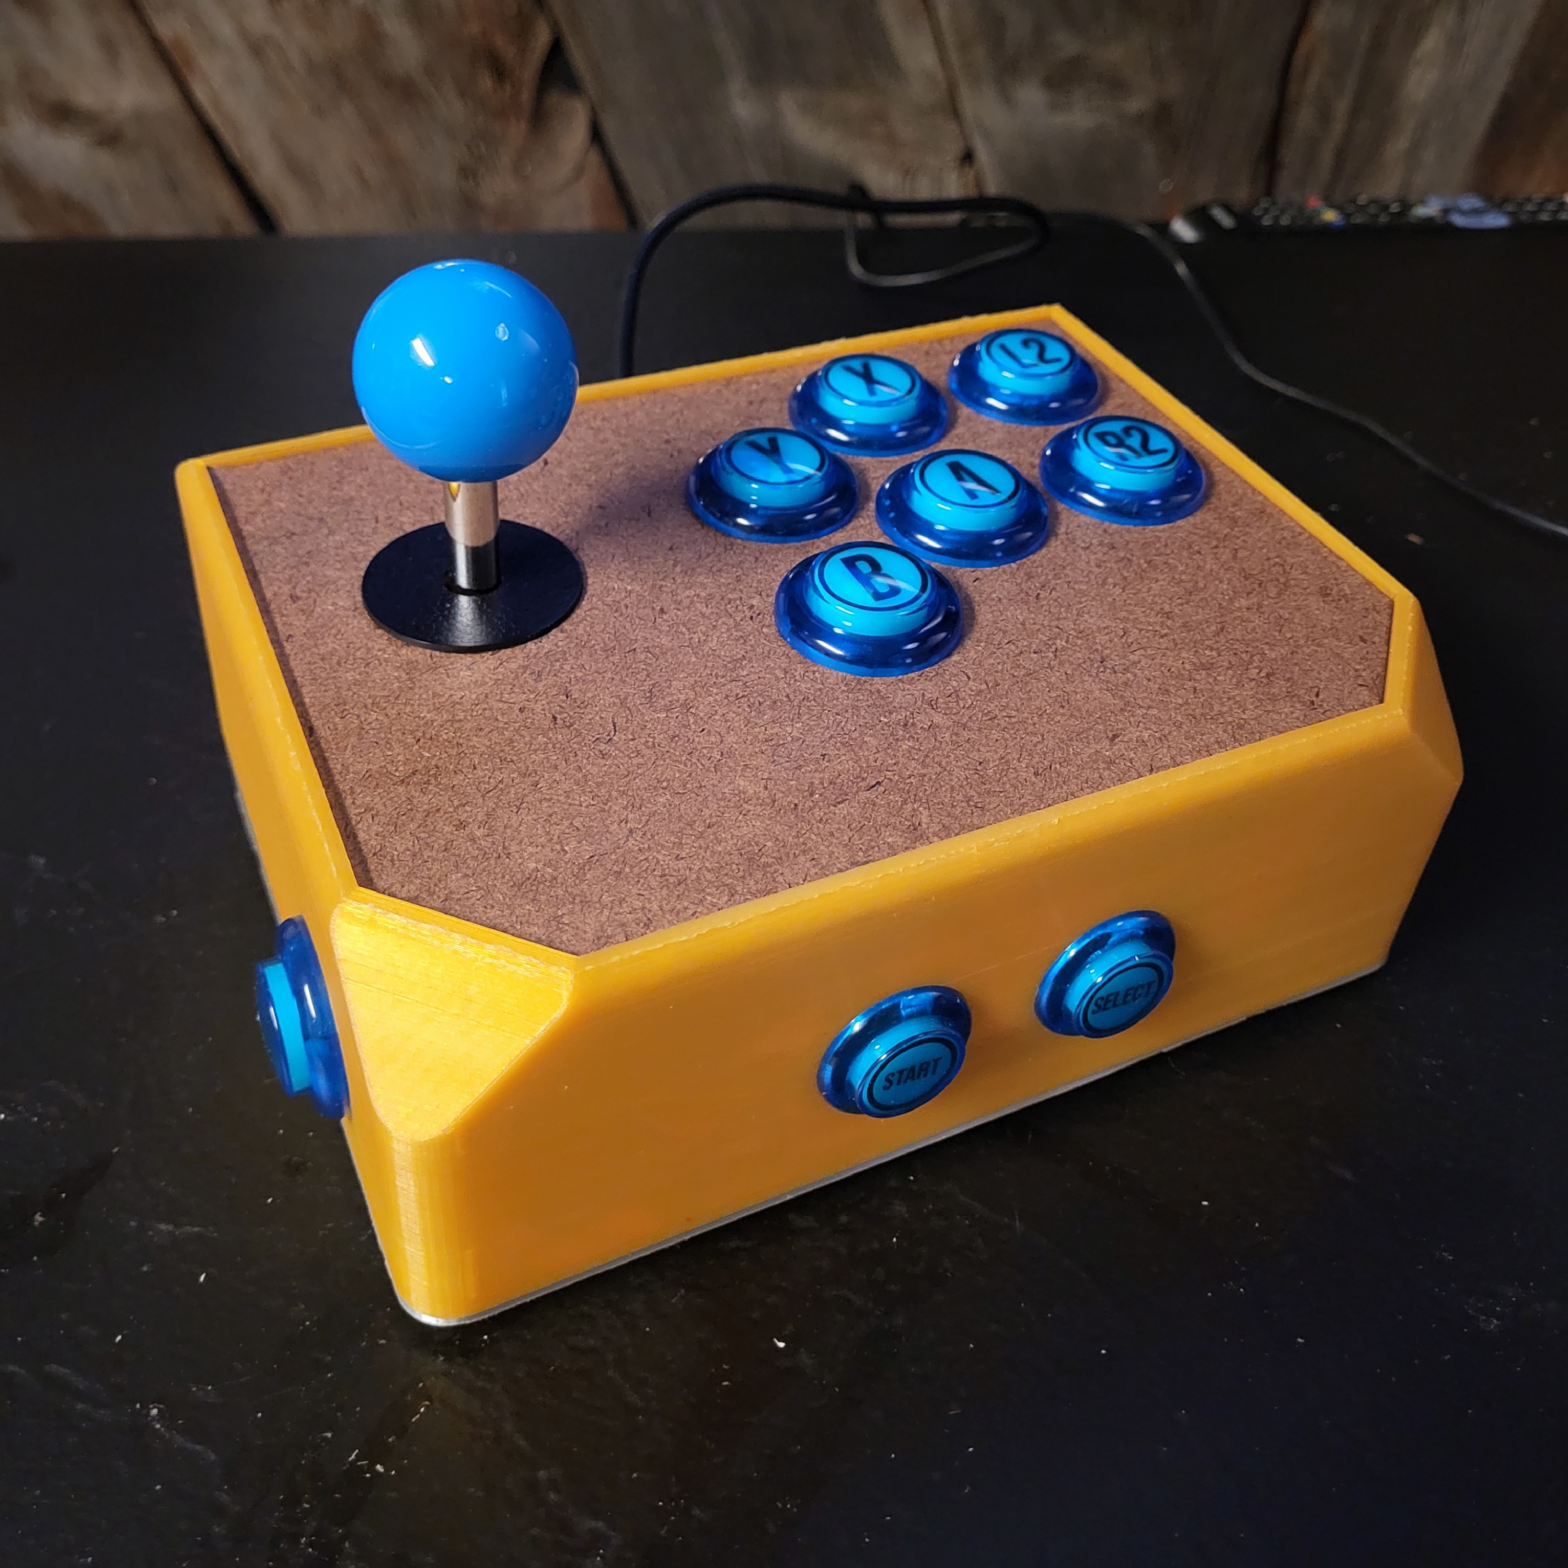
Arcade + Pinball Controller – Fun and Simple Wire + Print Project

Overview

This is a project that – more than any of my previous projects – served to satiate my duality of beliefs over having stuff that is cool and having a lot of clutter in my house. And when I say cool, I mean ‘I can’t believe my boyhood dreams of owning my own arcade have come true’ combine with ‘I don’t need that much stuff in my house and 1980s video game consoles are not exactly low maintenance’. So enter the world of: compact PCs and classic game emulators.

The hardcore among you may remember dropping quarters in the arcade and spending a large portion of your youth fighting with ninja turtles, shooting vampires, or just gobbling up the lines of white dots and arrant fruits. While I still have dreams of owning/building a full upright arcade, this was an opportunity to take the guesswork out of many sub-portions of the job as its own mini-project.

Overall, this project took just under a two months from idea to completion, plus another two months of trial testing with some revisions. This also served as the second project that I think designed and considered with future scaling as a product in mind.

Purpose

The purpose of this project was to expand my skills in 3D modeling, modification of existing real-world objects, electrical wiring, multi-material prop making, and multi-functional assembly design as a user-facing product. Coincidentally, it also made a good prototype for a real world arcade machine and virtual pinball machine that I hope to build in the not-too-distant future.

Process

Research and Inspiration

Before even beginning to embark on this journey, I had to first do a deep dive into the controversial world of -(pause for dramatic effect) – fight sticks and arcade button layouts.

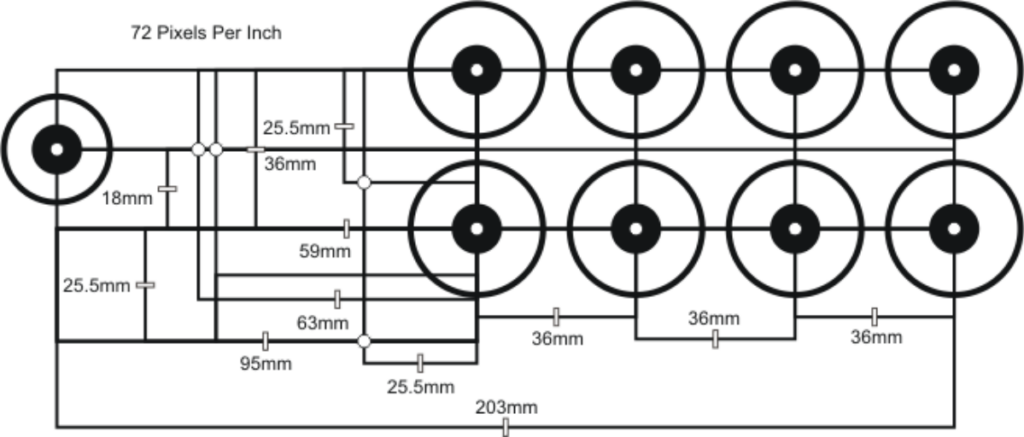
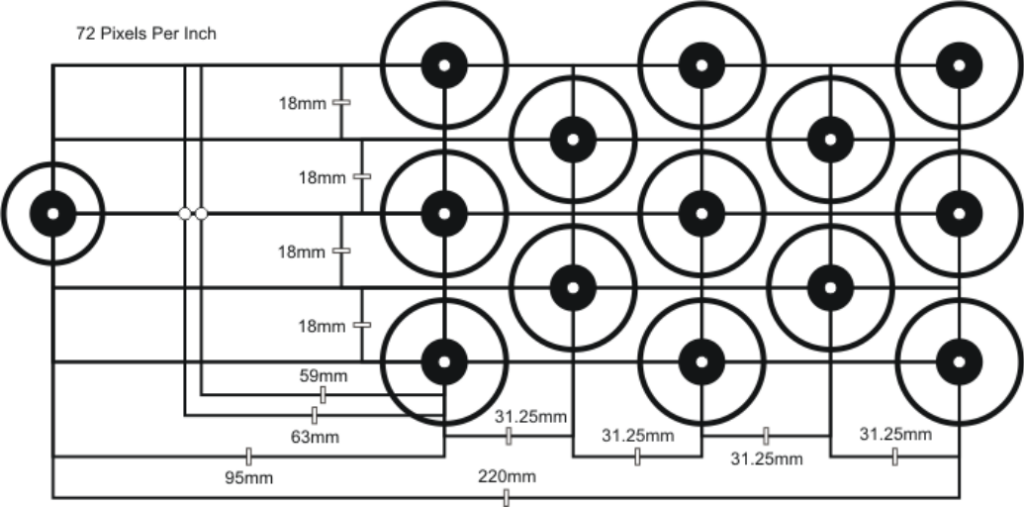
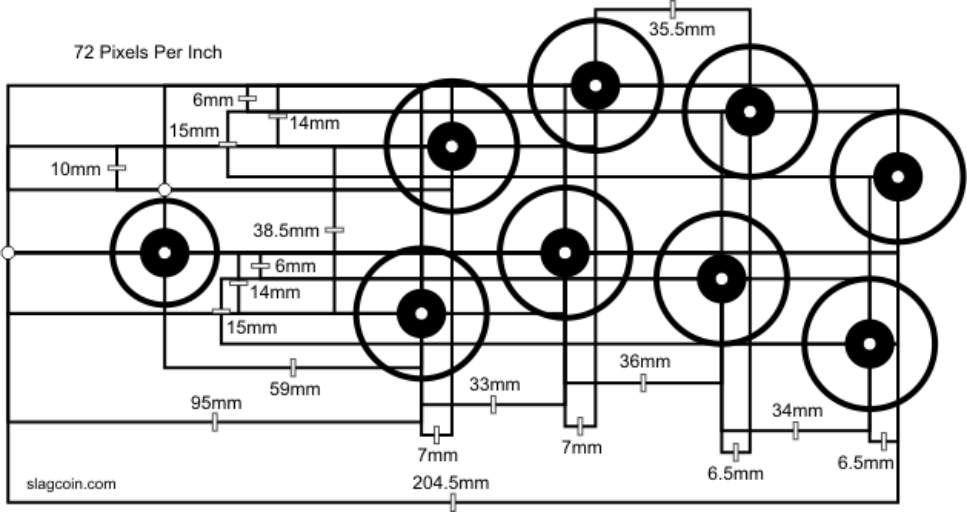
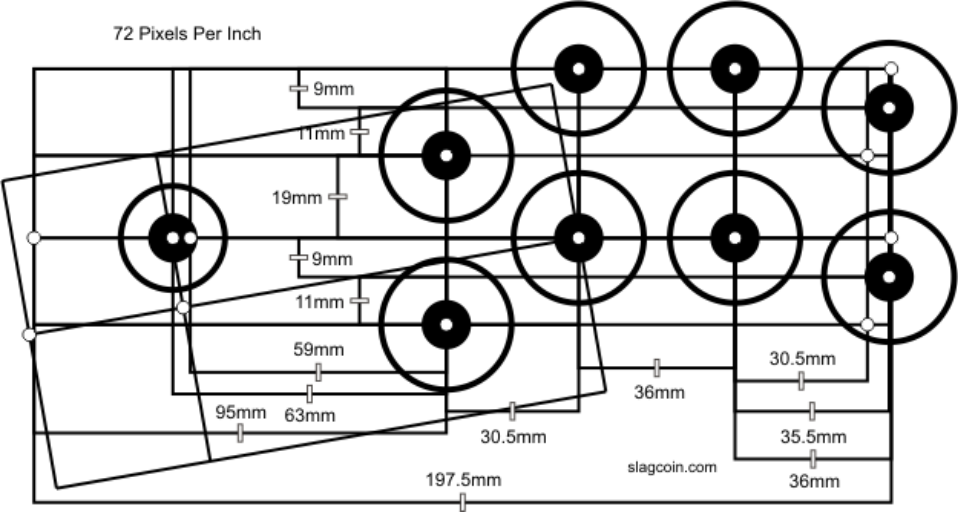
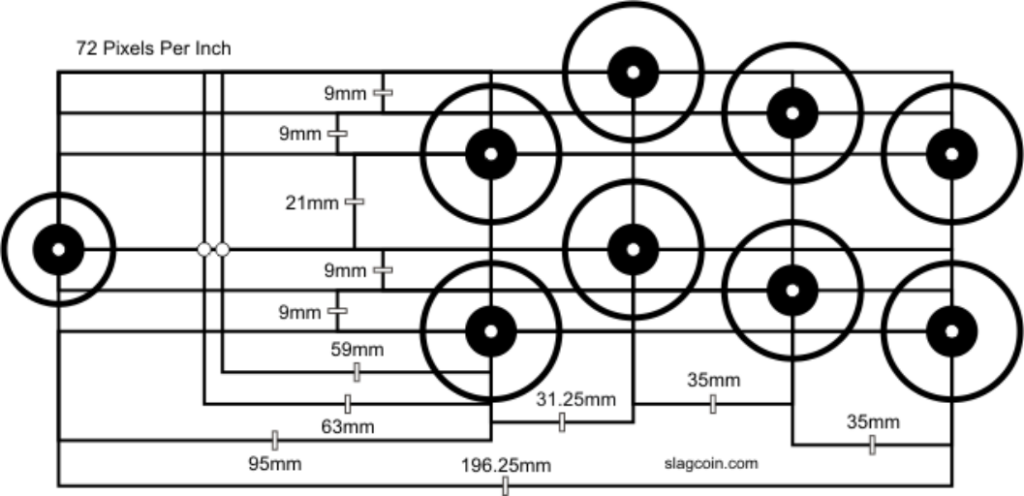
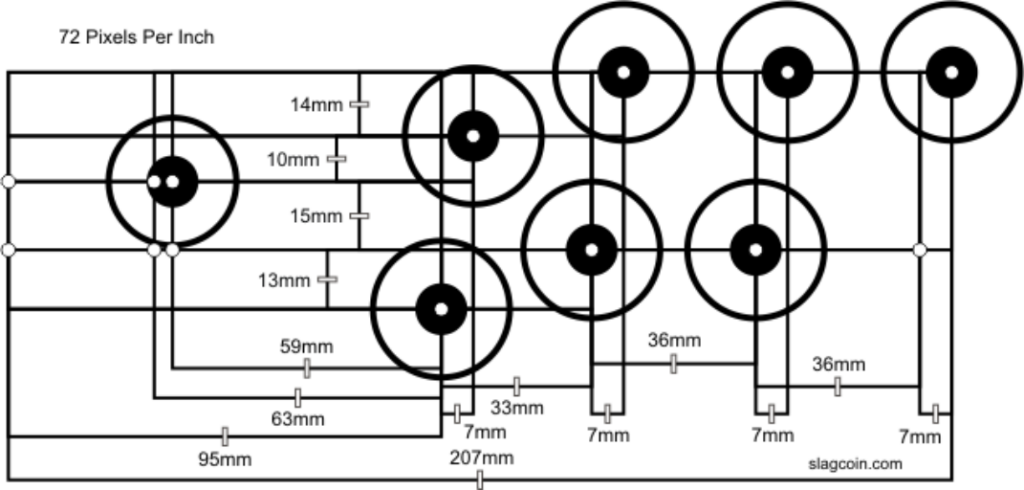
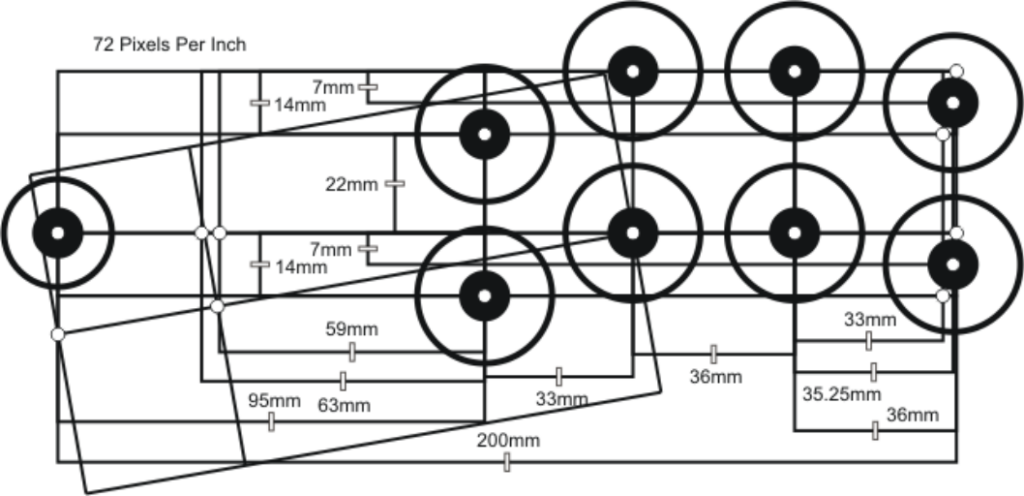
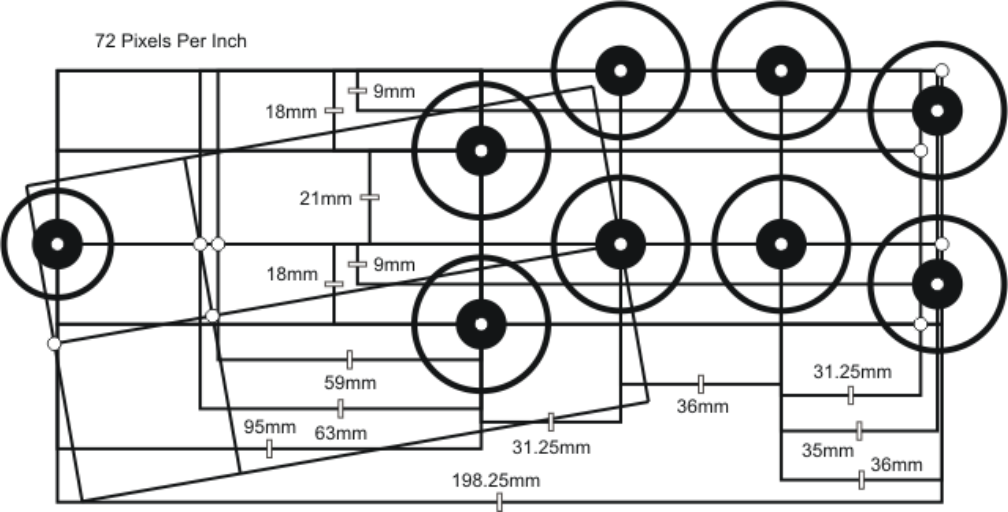
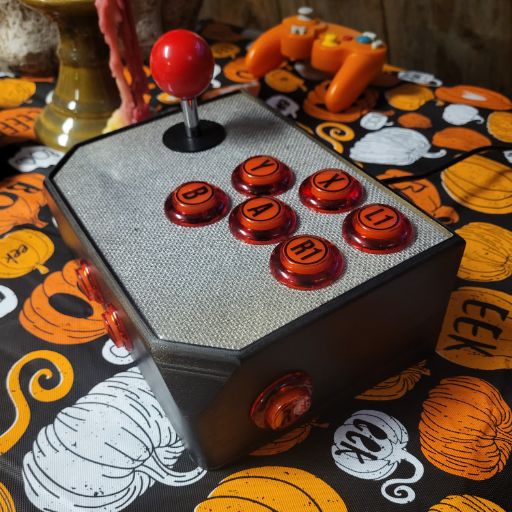
This project originally started by seeing if I could buy something off the shelf to satisfy my layout questions, and it turned out that there were many confident and differing answers on the internet. Many plans had rectangular layout (essentially a 2×3 or 2×4 rectangular grid), some an inclined slope, and others swore by something in between. Some had dimensions, others were (built by user/builders preference). I’m a big guy with big hands, but I also wanted this to feel as standard as possible for my much daintier wife and any guests in between. After much research, I was finally pointed towards SlagCoin’s Button Layout Guide which had an excellent chronology and technical detail of the layout needed. After much review, I finally settled on the Japanese Style with Additional Spacing as a nice comfortable-looking pattern that still allowed for some wiring clearance. I also settled on a gentle slope of the controllers to help with ergonomics.
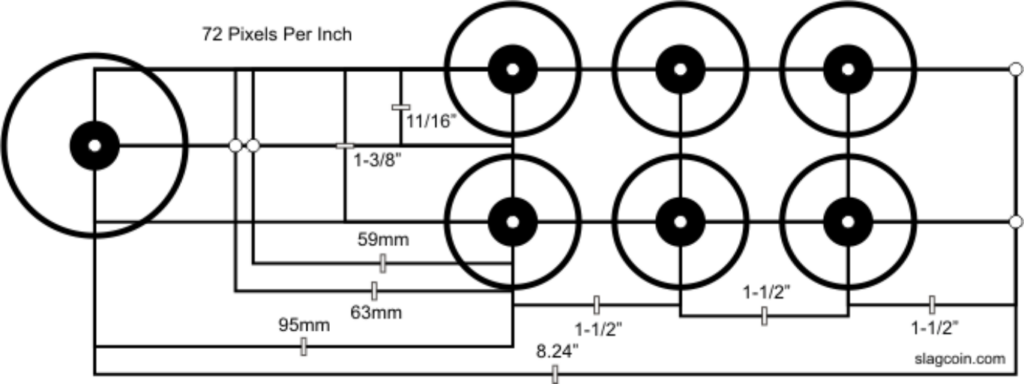
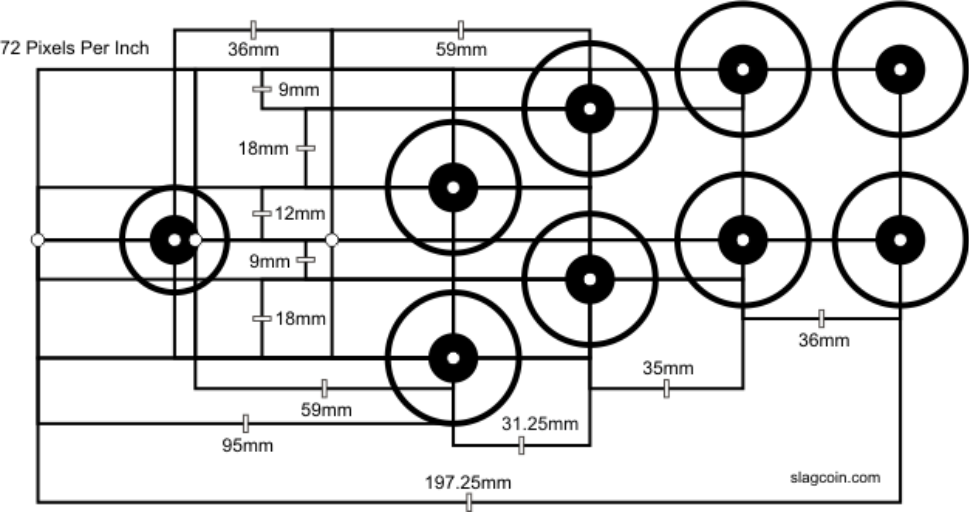
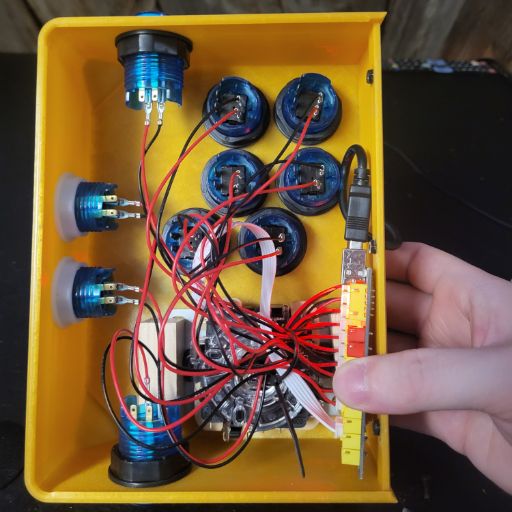
For electronics, some hobbyist and professional solutions were readily available. After researching a few options, I ended up going with a red & blue kit from GeekPub. Having a kit off-the-shelf allowed me to save time troubleshooting by having a solution that was tried and true, leverage multiple colorways to see what I wanted in a later version, and had the benefit of backlighting if desired. These came with a large selection of button labels that could be located underneath the translucent button caps, ensuring that they will always be visible and never peel up during gameplay. It’s worth noting that you still need a computer and screen to play your games on. Anything USB will work with this kit, so I opted for a Raspberry Pi 4 that I had laying around and installed the RetroPie software onto it.
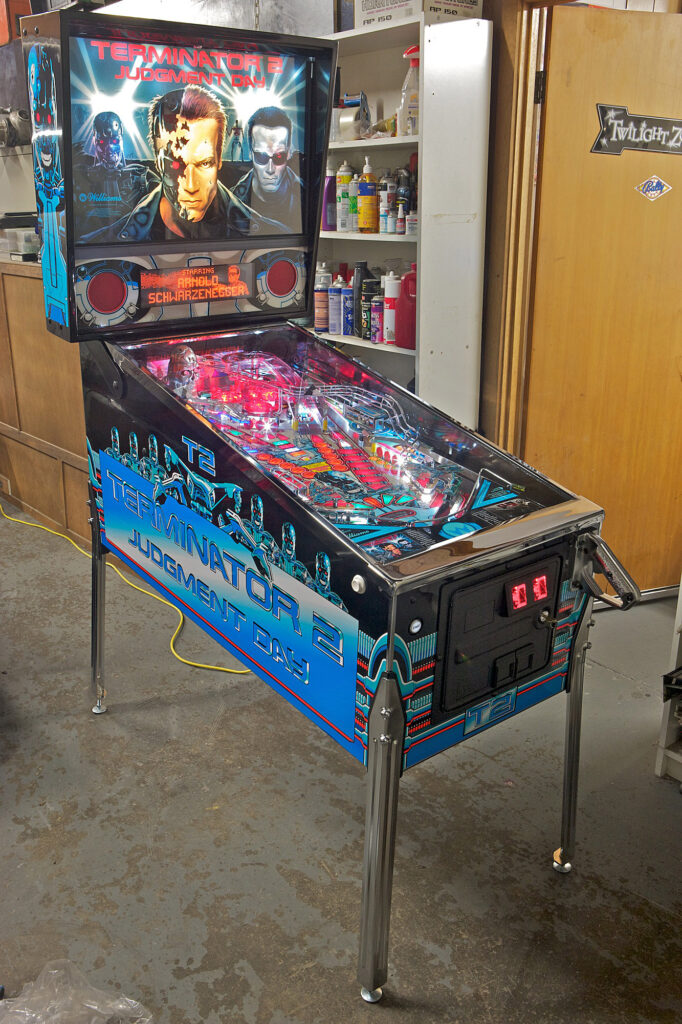
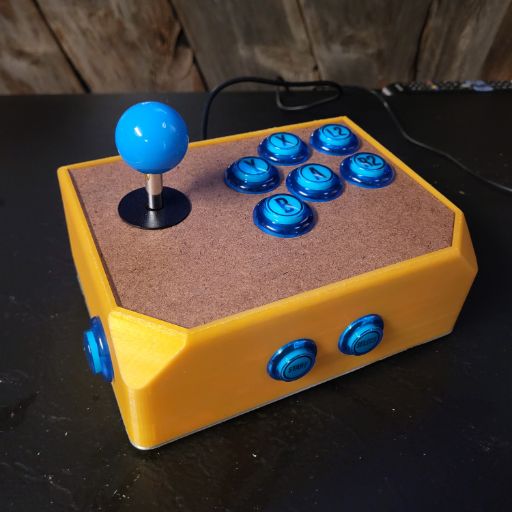
Finally, I knew that the majority of the games I was interested in were retro arcade fighting games, and as such I would not need more that a 2×3 layout. Rather than leave them in case of future need, I know that I also wanted some side buttons to pursue virtual pinball machines, and chose instead to repurpose the additional buttons from the set to add to the sides of the controller to emulate those bumper action buttons. Like both arcades and pinball I wanted tow buttons on the front of the controller to emulate the start and select [aka coin insert] usually on the front of those machines.

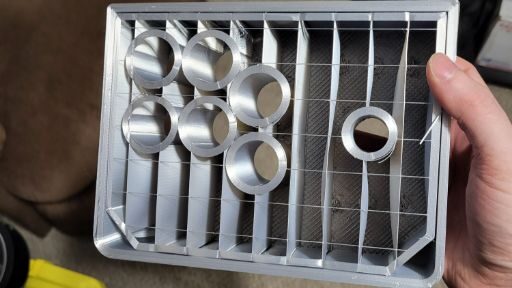
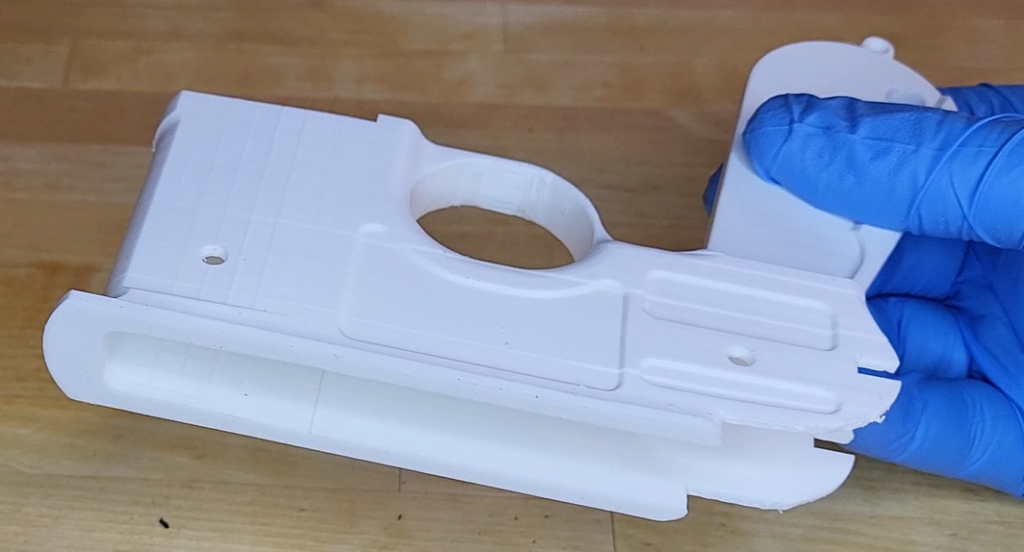
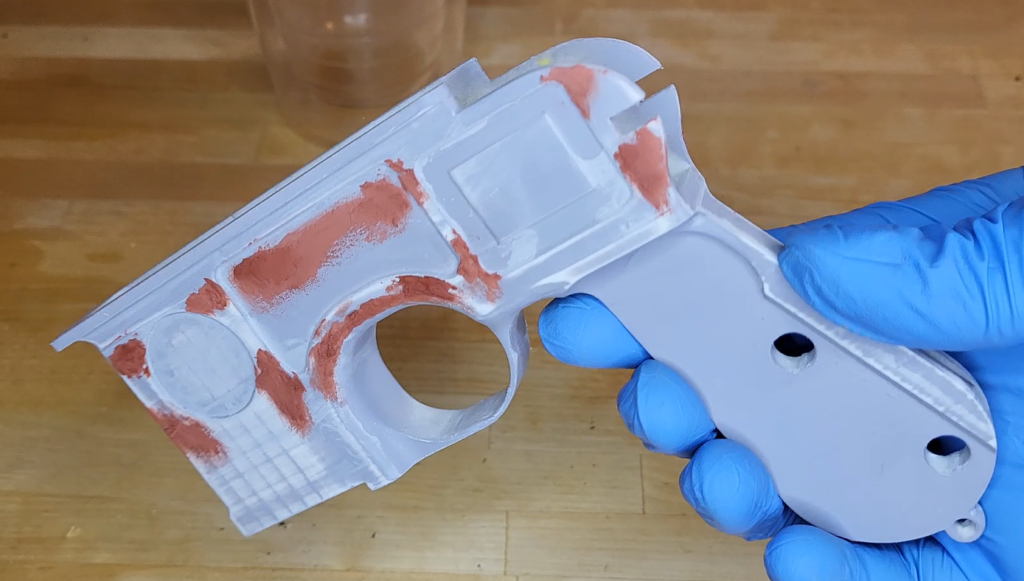
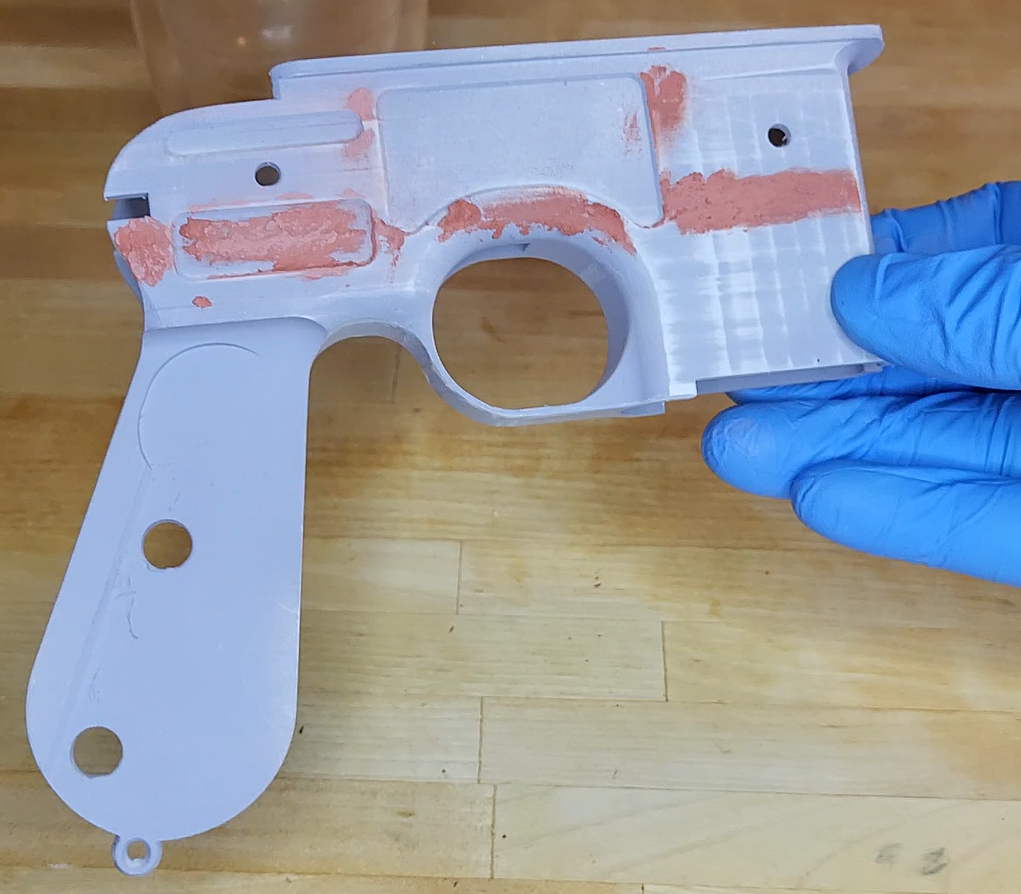
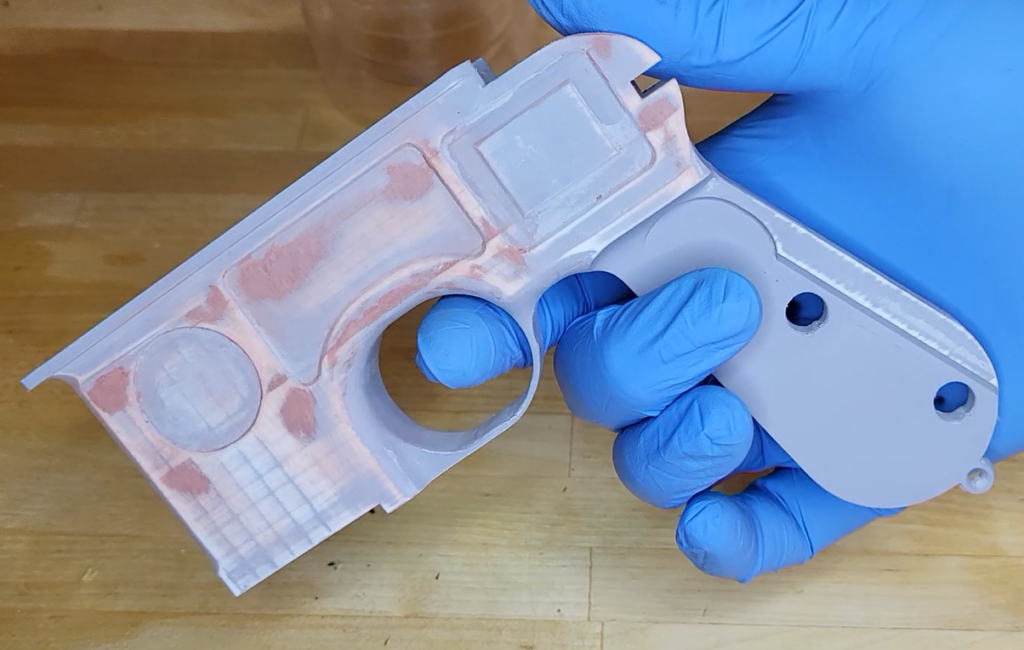
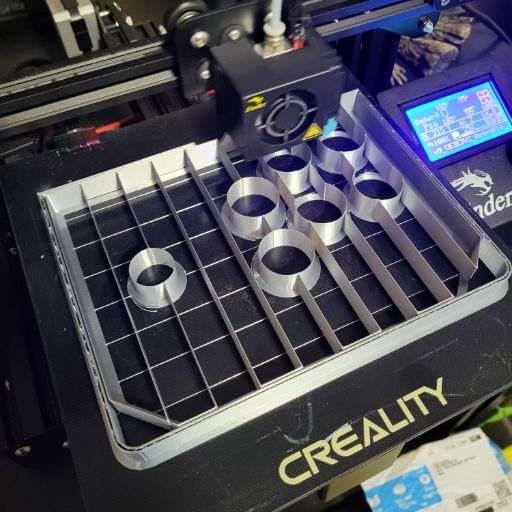
As a final test of my own hubris, I decided to print the entire controller shell in two parts, one of which being a sliding base plate and the other being the rest of the controller – essentially all five other sides holding all of the electrical components. And I wanted to be printable on the most accessible printer around – the Creality Ender 3 stock build plate. And with that in mind, we were off to the races.

Tools List

  • 3D Printer [Creality Ender 3 or larger]
  • Hatchbox PLA
  • Brew Pub 2 Pack Controller Kit
  • 90760A170 Steel Hex Nuts [or equivalent, QTY 8]
  • 92210A148 Flat Head Screw [or equivalent, QTY 8]
  • [Optional]
    • ~24 x 24 in MDF
    • ~4 oz Resin
    • 2x20mm Magnets [QTY 4]
    • Threaded rubber feet [QTY 4]

Design Sequence
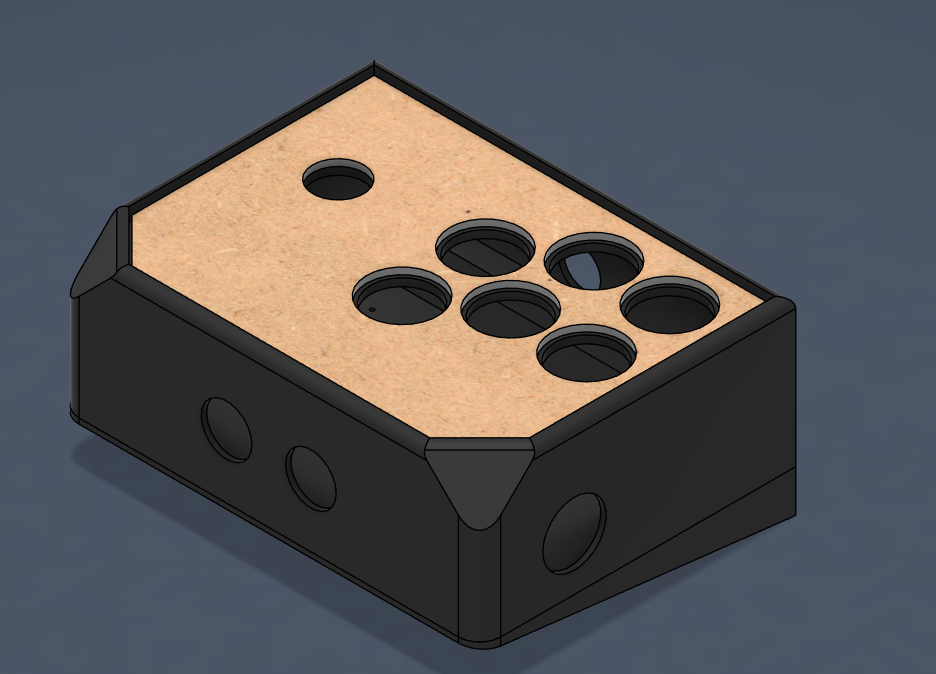
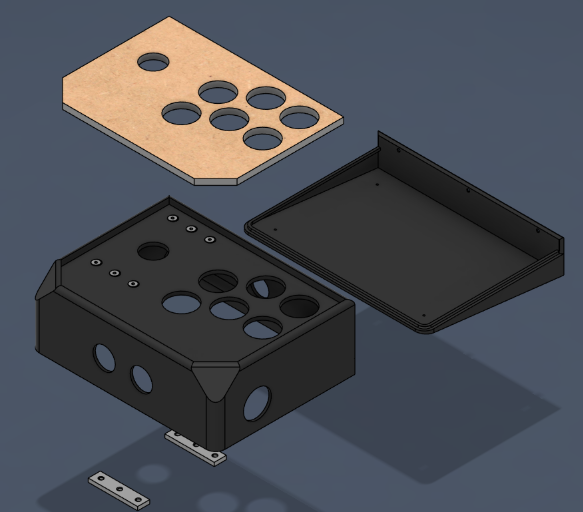
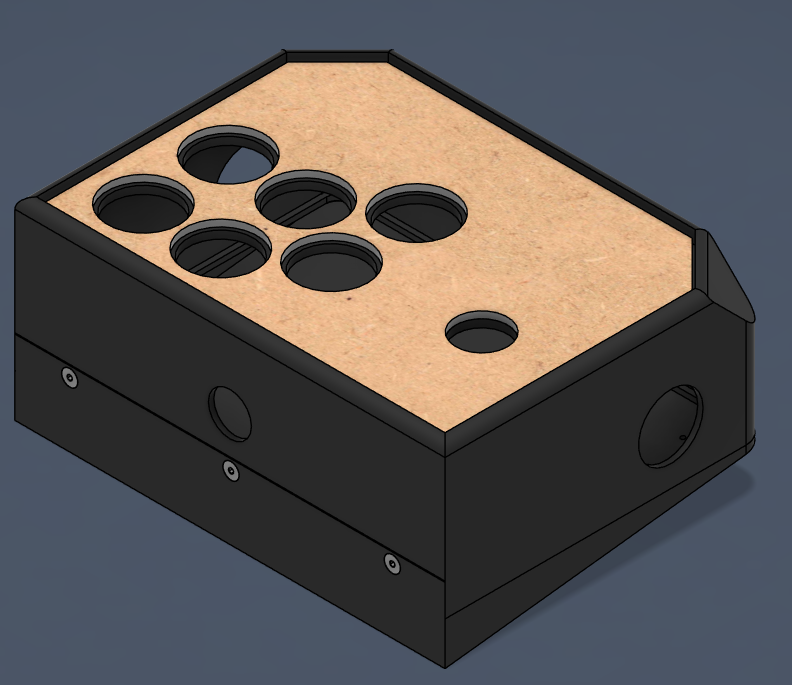
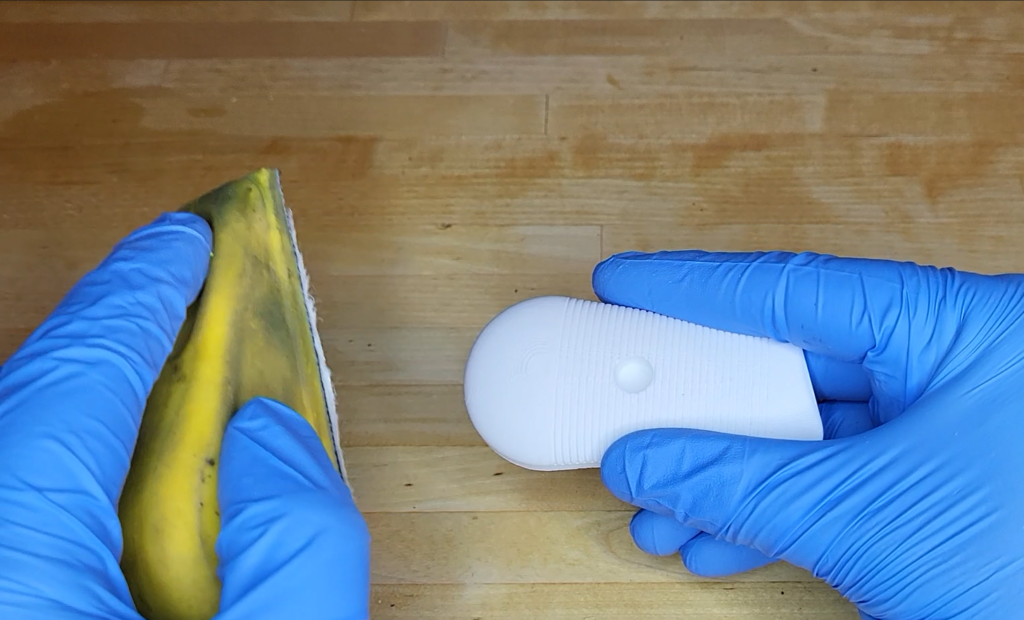
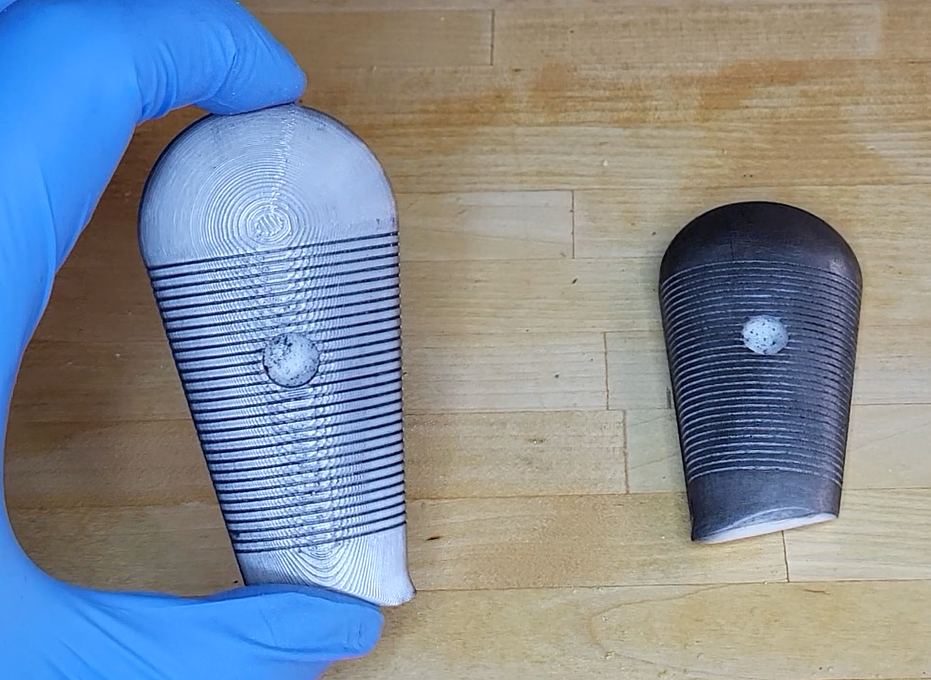
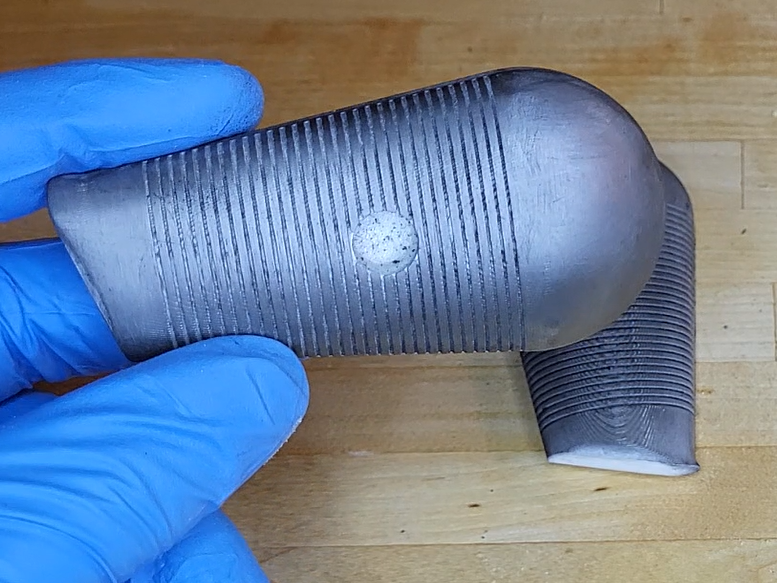
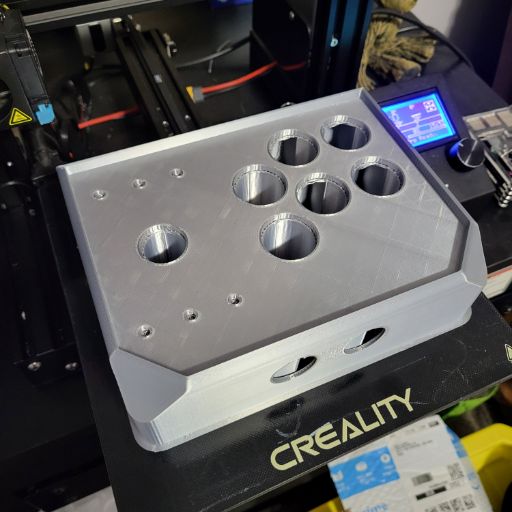
This prop was designed in Fusion 360, with 4 [optionally 5] printed parts in total. Two being the aforementioned shell, and the other two being the small floating supports to hold the joystick seamlessly to the top of the controller shell. I opted for an aesthetic where all the fasteners are invisible to the player, the only exception of which being to remove the base from the rest of the enclosure for any maintenance. To achieve this, I planned to cover all the joystick fasteners with a cut sheet of MDF to get the tactile feel of an arcade machine, though I also ended up trying out resin pouring as well which had a similar nostalgic feel. You could also just print the top plate if you wanted, every tool being a hammer and whatnot.

The prints came out great on the first try (well actually second, through just user error) and the MDF came out great as well. All it took was patience, screwing up, phoning a friend with a laser cutter, screwing tat up as well, and then finally post-processing to get it to fit right. And then modifying the design files to need none of that re-work for the second one.
Post-Processing and Assembly

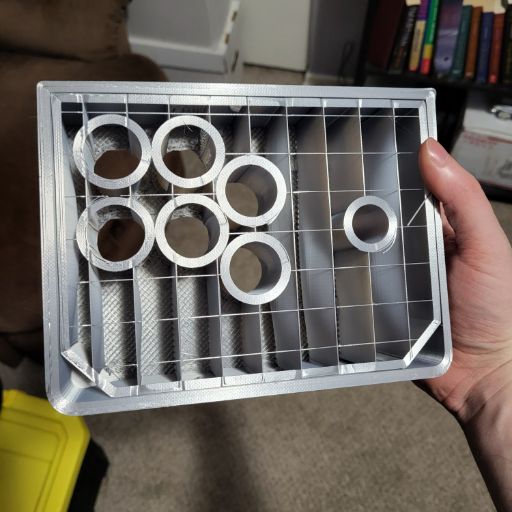
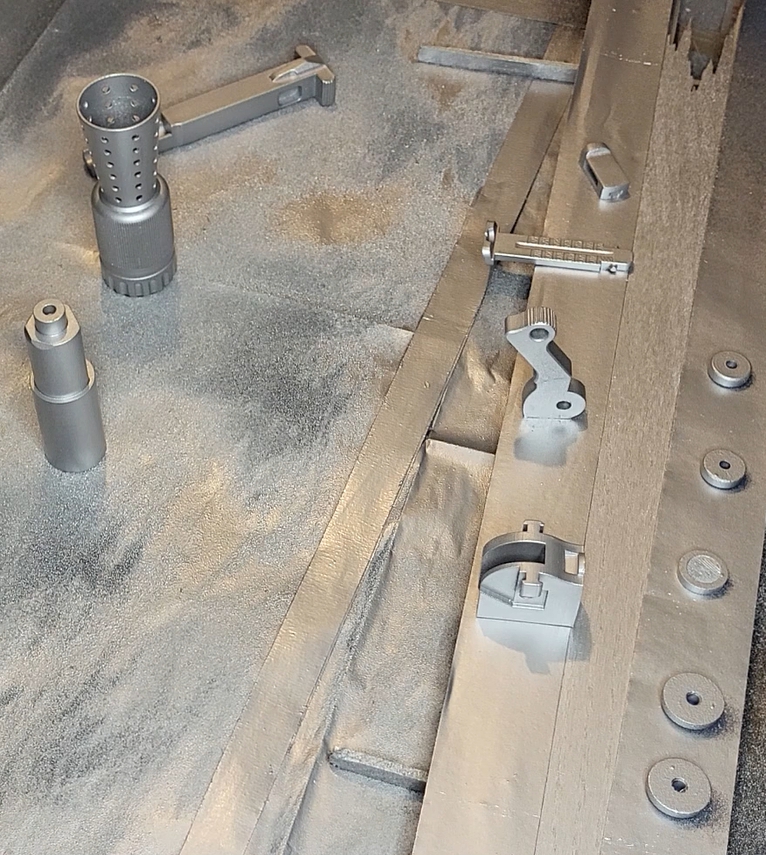
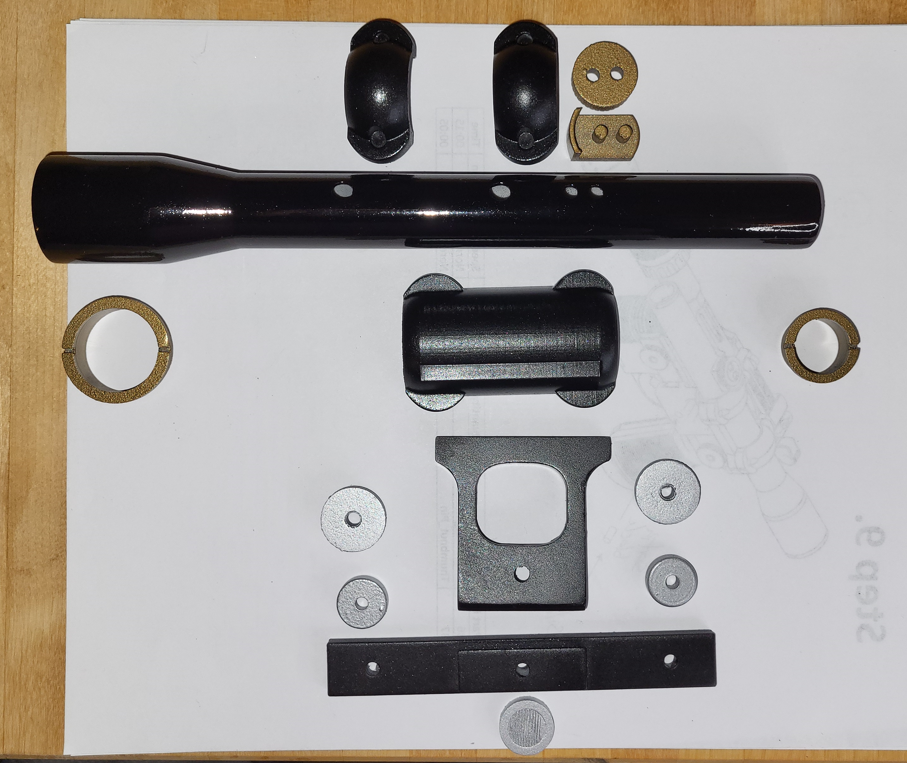
This project went together surprisingly well, and it was only the mundane issues that seemed to surprise me. An example of this was that I originally did not model nut housings on the base plate, thinking I could simply glue them in place. They of course snapped the glue immediately on any sort of torque and I spent time trying to convince it not to free-spin in the enclosure. You can see the results of me assembling a dry fit with the buttons in grey and no cover, which certainly looks fine on its own for the particularly impatient.
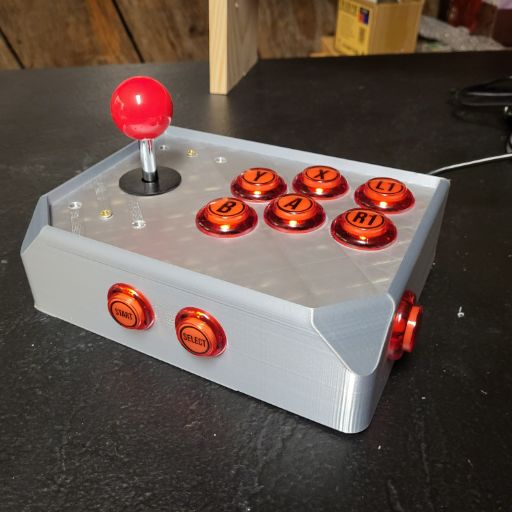
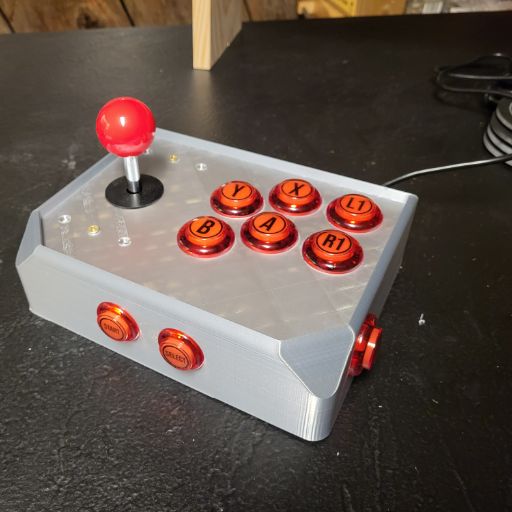
One of the features I was more proud to model was the sliding lip interface between the base plate and the top enclosure. This is the secret sauce that allows it to hold the base onward, keep the controller box square, and allow all the fasteners to be on the back and simply retain the base plate. This helped to keep the rest of the area very accessible for electronics wiring, which went together as expected thanks to the instructions provided by GeekPub. This wasn’t quite a struggle to fit, but I’m glad I didn’t have to go any smaller. Especially with the retaining rings for the buttons so close together.

Overall I’m very satisfied with this result. This looks perfectly at home on my basement bar next to the television, and tucks away easily when not in use. It’s been a hit with friends who have come by and I look forward to iterating on it in the future.
Lessons Learned and Future Plans

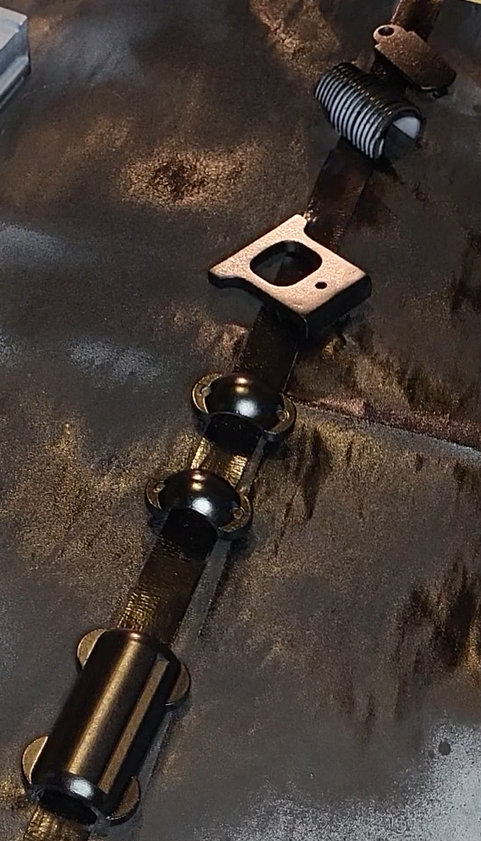
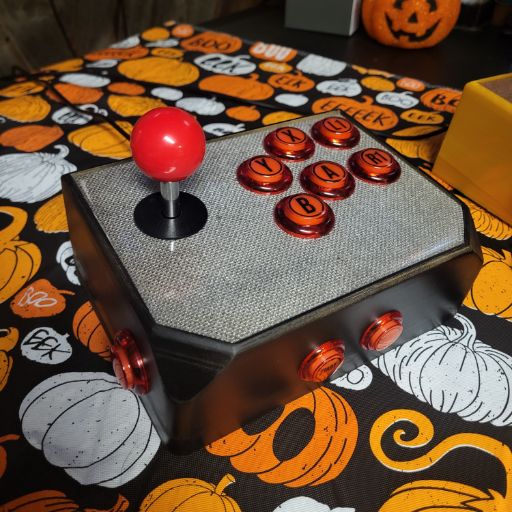
  • Accidentally laser cutting my first MDF upside down actually became one of my favorite aesthetic alternatives. By painting the ‘rough side’ in a spare rattle-can of metallic silver, and then covering the whole thing in resin, it gave a very grungy look and yet a very smooth and 80s lacquer feel. The discoloration on the photos is likely due to the camera trying to adjust to that table mat, as it looks very consistent in person.
  • Playing with the color choices of the arcade buttons was great, but ultimately I probably won’t go with either of them if I were to build my own. The plastic works fine but doesn’t have the high-quality feel or weight that I would want from an upright arcade machine. It works great as a small controller though, and if anything works best for this small scale controller.
  • I made a revision to allow the cover to be removable and a non-printed material is exactly what this controller needs. If it were something like wood or MDF to be cut by hand, the ridges of the buttons any joystick cover plate were designed to hide exactly these imperfections. Making this a removable piece also allows infinite personalization, which I think is perfect for gift-giving while still feeling like an off-the-shelf product.

I am considering a future commercial version of this project, but will need a few things lined up first.

  • If I continue to print low volumes of this, I would likely offer a variety of filaments with reliable printing properties (to remove/mitigate any base painting step) and experiment with PETG or ABS rather than PLA for durability.
  • Separating the covers from the print means that the personalization could also be an upgrade for a later date, or a customer could continue to order different plates as desired. Since they sit flat, they could easily be stored away when not in use or used as a display of their own.

For more posts like this, check out some of our other recent work as well!
Loki Mask from “The Mask” – Strikingly Simple Wall Decor

Overview

One of the favorite films of my youth was watching Jim Carrey flail around as a character both completely detached from reality and very grounded in the spectacle of 1990s comedy and semi-realistic special effects. This balance of real-world props flowing into CGI allowed me to suspend disbelief and truly lose myself in the theater – between roars of laughter of course.

Purpose

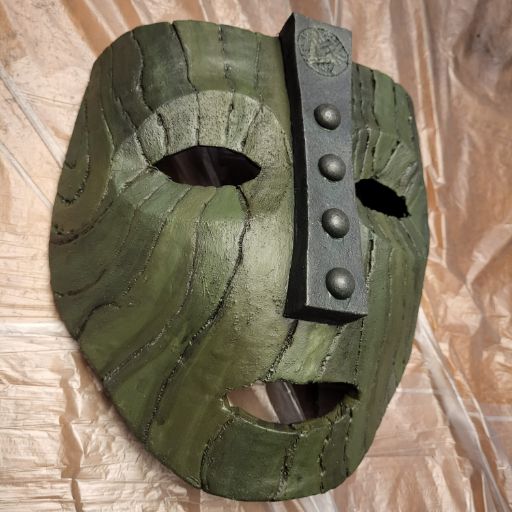
To fulfil a childhood dream of owning a Loki mask. Additionally, to develop skills in foamsmithing, sanding, painting, and matching screen-used props.

Process

Research and Inspiration

The Loki is a beloved prop and and sets the anchor of a comedic and silly premise with a simple and banal aesthetic. In the 1994 film, Dr. Arthur Neumann informs Stanley Ipkiss of the mask’s 4th or 5th-century Scandinavian origin. Dr. Neumann goes on to speculate that the mask was fashioned to depict a Norse night god [Loki] who was banished from Valhalla by Odin forever for causing too much trouble. Loki created the mask to sow chaos and destruction among the people of the Earth realm Midgard.

While this introduction never materialized on-screen, a deleted scene of The Mask has a group of Vikings in the 10th century arrived at a place they call “the end of the world” [aka modern-day Edge City that the film/comics are set in]. They carry a chest containing the mask, and the Vikings bury it as a witch prays for heaven to help whatever fool finds it. This brings some [in my opinion, much welcome] context to the opening scene in The Mask when a diver discovers the chest in river and subsequently perishes.

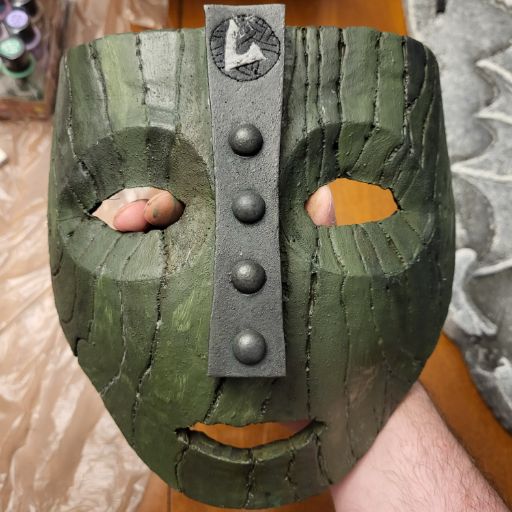
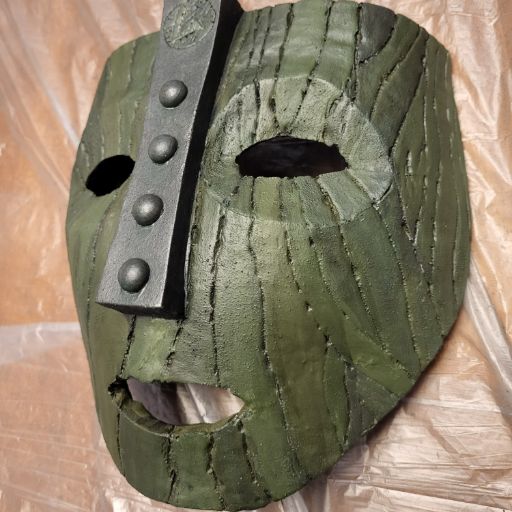
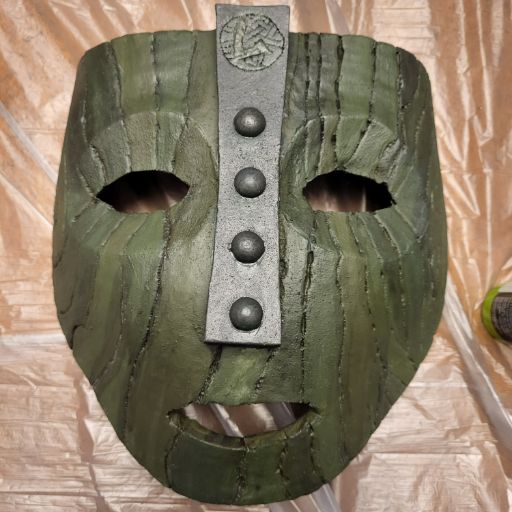
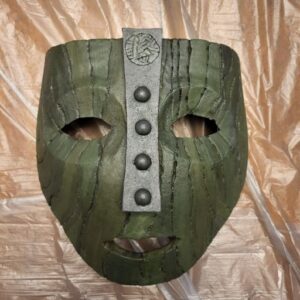
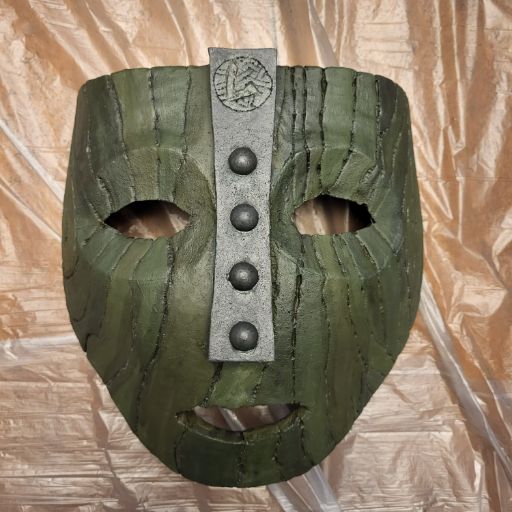
There are a variety of shapes that the unworn mask has taken over it’s iterations in the comics and on-screen, as well as the unique personas it emulates when worn by each ‘fool’ wearing it. For the sake of the 1994 film though, it does appear to remain relatively consistent.  The mask is a concave cracked wood triangle with the top cut in a straight horizontal line with wide, distorted vertical bands on the front surface. With deep grooves on the front and back, all the wood is aged/stained to a dull dark green color with only three small holes on its surface; two for the eyes and one for the mouth. Front and center sits a rusted metal nose plate with four spherical metal points stamped below a fifth larger spherical point with an “L” letter stamped at the top.

Tools List

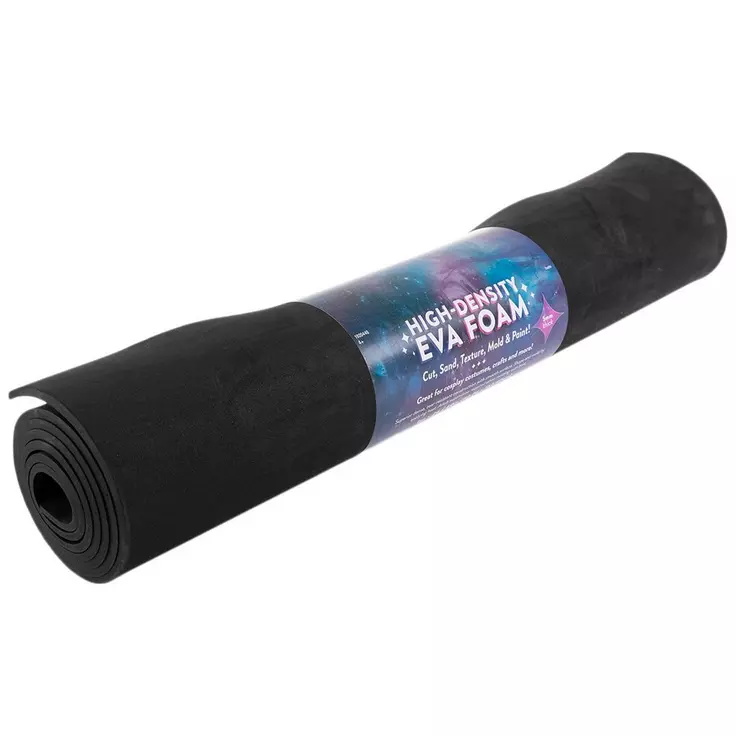
  • EVA Foam
  • Xacto Knife
  • Contact Cement
  • Wooden Screw Hole Plugs
  • Hot Knife
  • Black Rattle-can Peel Coat
  • Green Acrylic Paint
  • Silver and Bronze Acrylic Paint
  • Shimmering holographic acrylic paint
  • Black Acrylic Wash
  • Small Paintbrush
  • Medium Paintbrush

Fabrication and Assembly

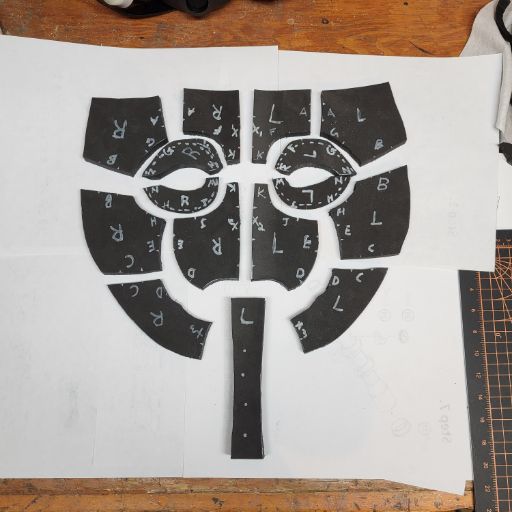
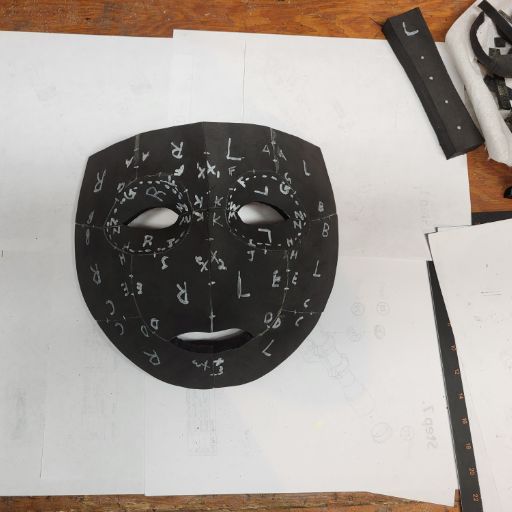
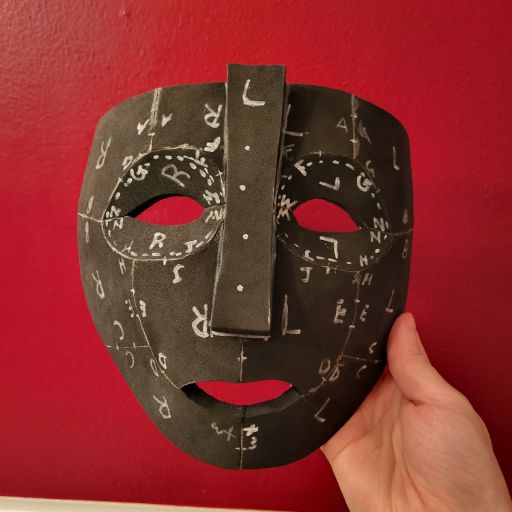
Thanks to a fantastic tutorial and template by Punished Props Academy, I was able to skip design entirely on this project and go straight into cutting foam from the template. I used a 10 mm EVA foam exclusively for this project, making the shopping trip simple and affordable. Aside from the nose plate, the right hand side was a mirror image of the left, making it even easier to cut the paper template and trace both sides.

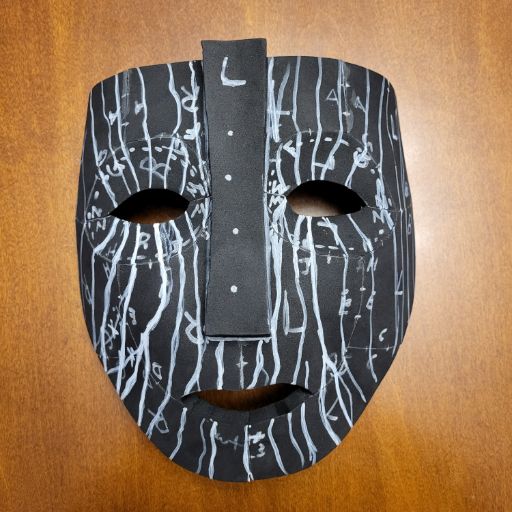
From there assembly was as easy as pressing together with tacky contact cement and using a heat gun to form into roughly the desired shape. I then used as many screen references as possible to mark the major contours of the wood grain used in the film prop, tracing first with a paint pan and finally cementing them with the hot knife. This also included some very careful work with a blade knife and some leftover foam clay to capture the detailed “L” and background threading adorning the top of the Loki mask. For the embellished round points on the nose plate I used some spare wooden hole plugs that happened to fit perfectly in that scale.

Once I had carved in all the major grooves I expected to be seen for this model, I sealed my work with several coats of black Peel coat. This gave the prop slightly more texture, while also sealing the pores of the foam and maintaining some of the flexibility needed for not cracking on the foam model.

From there it was a matte of painting, blending, painting, texturing, and painting some more.

Finally I added some holographic paint on the backside to replicate the ‘shimmer’ in the film right before Ipkiss puts on the mask for the first time. It’s mostly a gag just for me, but does seem to get a rise out of the undiscerning guest if they do take it off the prop display wall.

Lessons Learned and Future Plans

I do like the simplicity of this project, it made for a great dip into the world of EVA foam props and following simple tutorials. One of the areas that I felt this fell flat however was that while I was looking at references to the screen used prop, face shape is quite different from this simplified template version. I did try my best to recover this with the paintjob and any course corrections beyond that point, but I did feel like the die was cast and I was disappointed that I hadn’t noticed until I was well into it.

If I were to do this again, I would aim for a more realistic sculpt to start on, and then still probably screw it up in painting and weathering. Until then, I can say that from a distance this prop looks S-ssss-ssss-sssss-smokin’!

For more posts like this, check out some of our other recent work as well!
Personal Halo Plasma Grenade – Easy Video Game Scale Prop

Overview

For me, this was a must-have icon of one of my favorite games ever in my formative years. Being able to hold as my own what was otherwise only ever a digital idea is some of the most fun I’ve ever had as a maker. This document is the third in retroactively documenting work performed over the 2020 extended indoor period. I hope to update it with a more recent high-fidelity model that I can practice slush casting and perhaps even levitating platforms in the near future. In total, I would estimate this project took ~20 labor hours to post-process, paint, and assemble (not counting print time, which I would estimate to be ~2 days of part time effort).

Purpose

To have a really cool plasma grenade. Additionally, to develop skills in 3D printing, assembly, sanding/filling, and painting, matching screen-used props.

Process

Research and Inspiration

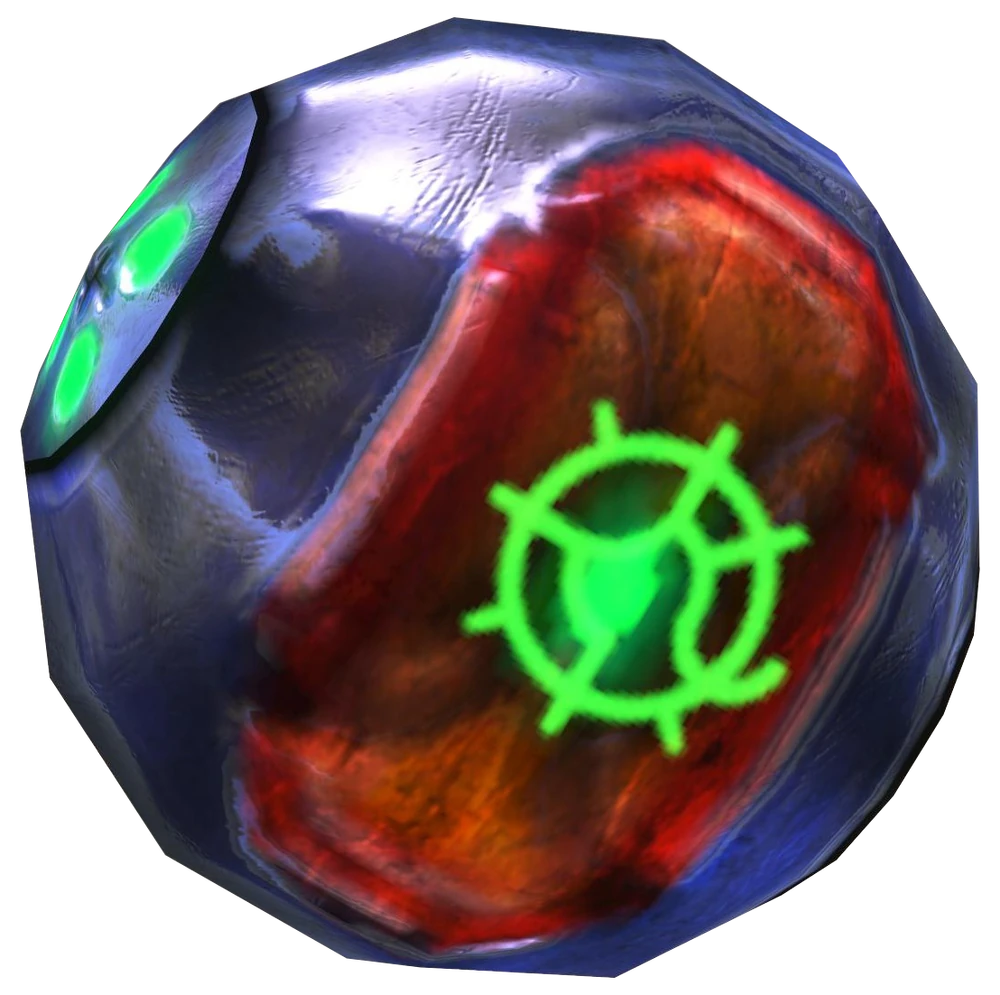
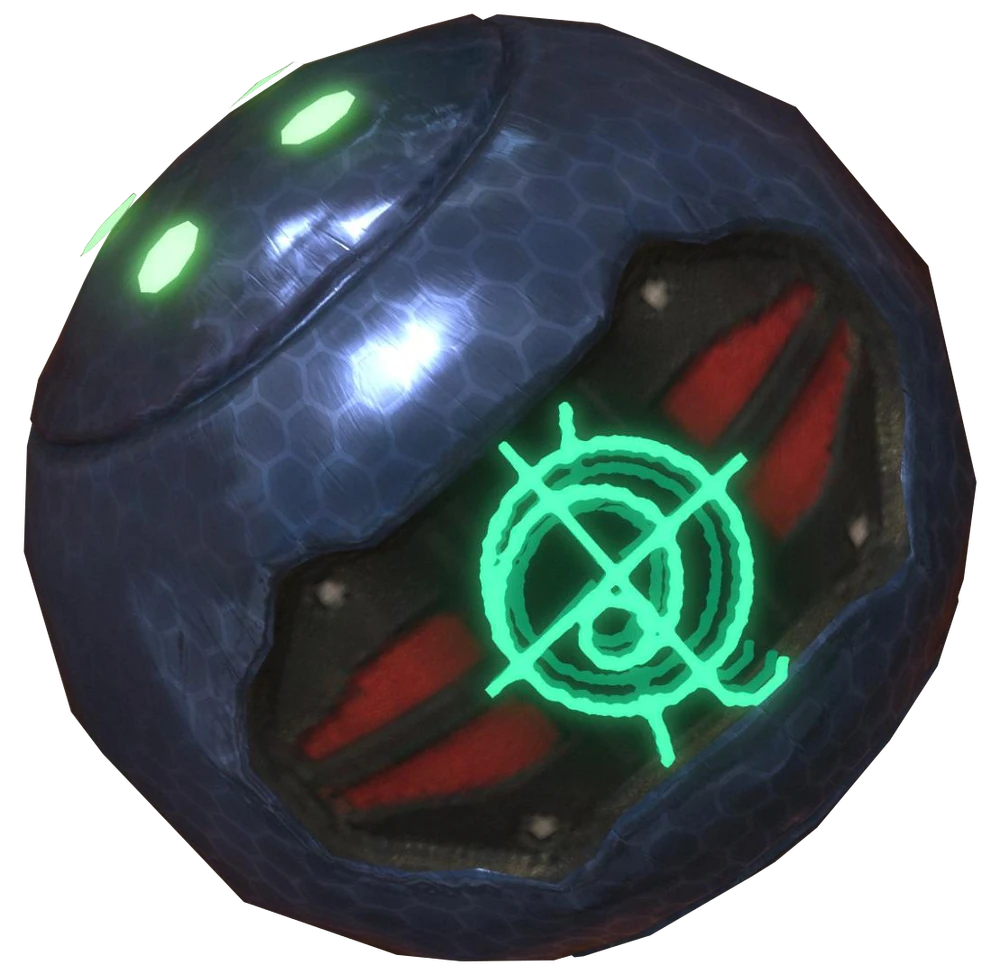
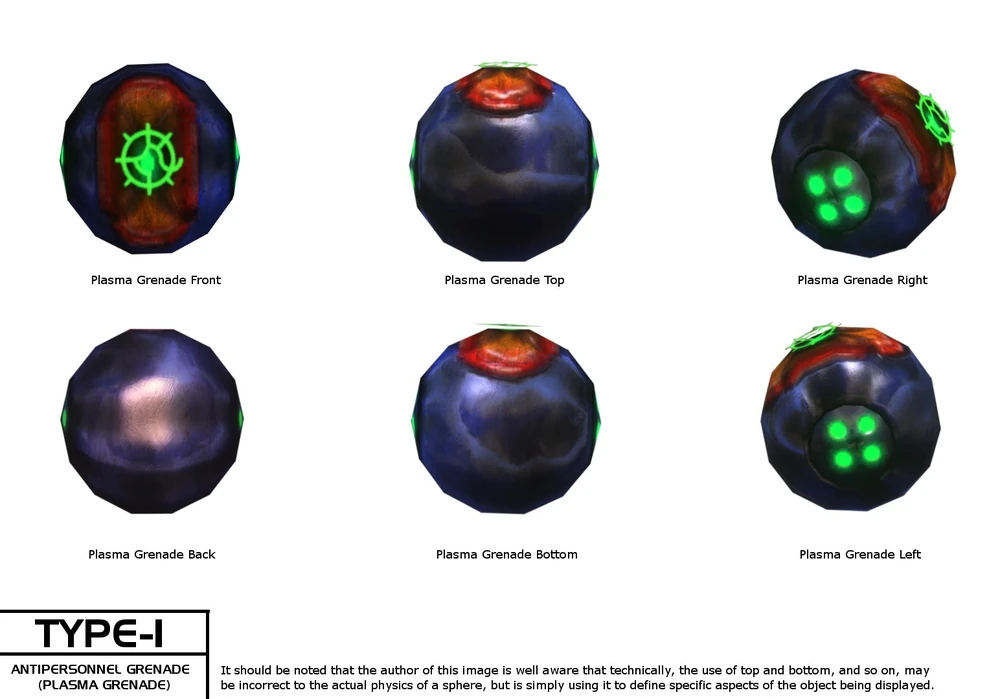
There is a lot of material out there for the plasma grenade, and its design changes significantly with each major game adaptation. More technically known as the “Type-1 Antipersonnel grenade”, there is a lot of good starting information on the Halopedia fan site for the differences over the years.

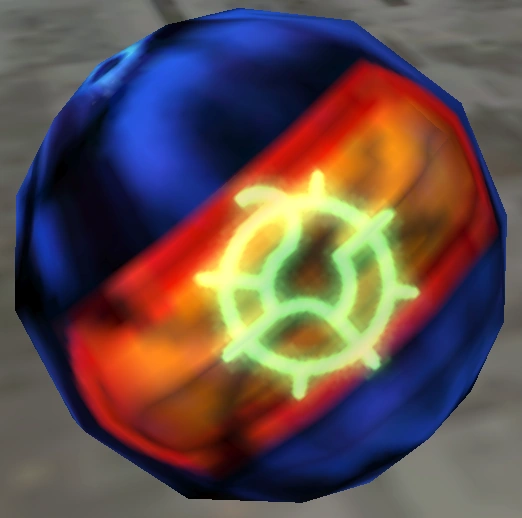
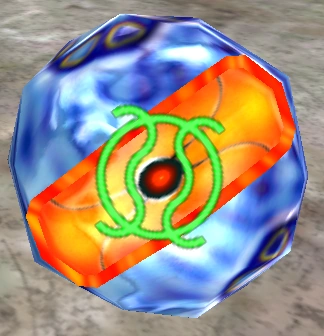
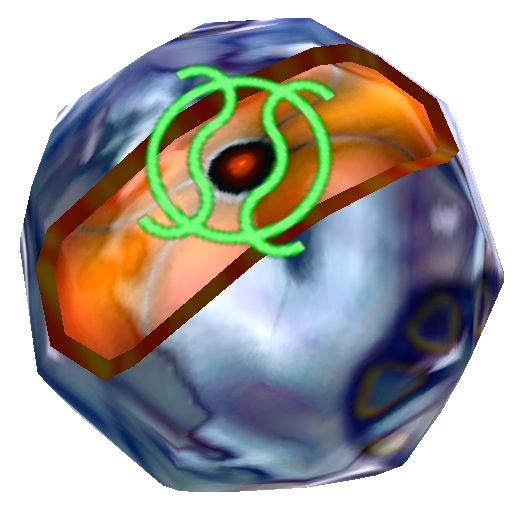
I really love the digital textures that are present on the fist several iterations of the plasma grenade, and plan to someday replicate them using a method similar to the one that Volpin props did for a similar (Covenant) needler. I could honestly do a whole series on Bungie’s Halo series, as many have done before me. I love their attention to detail and their dedicated fan base for bringing such a rich catalog of high-fidelity props into reality.

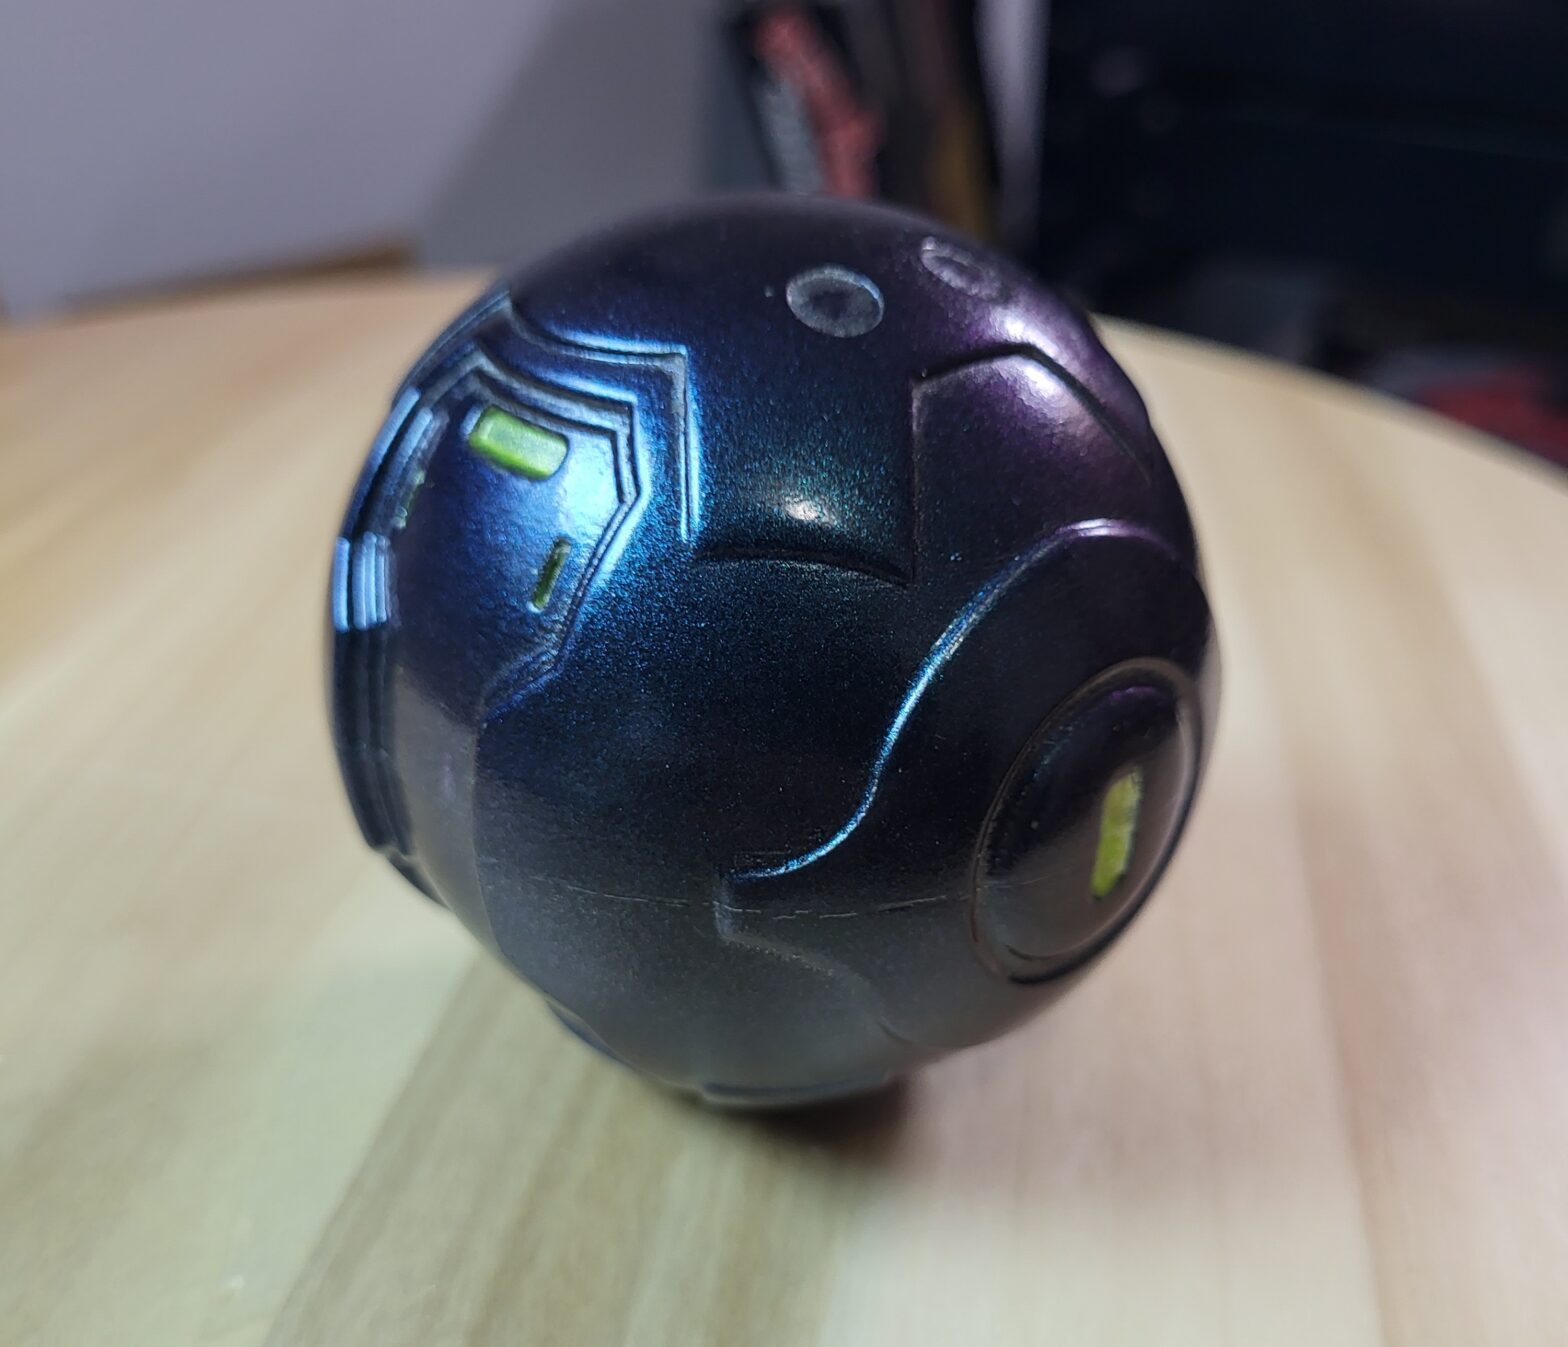
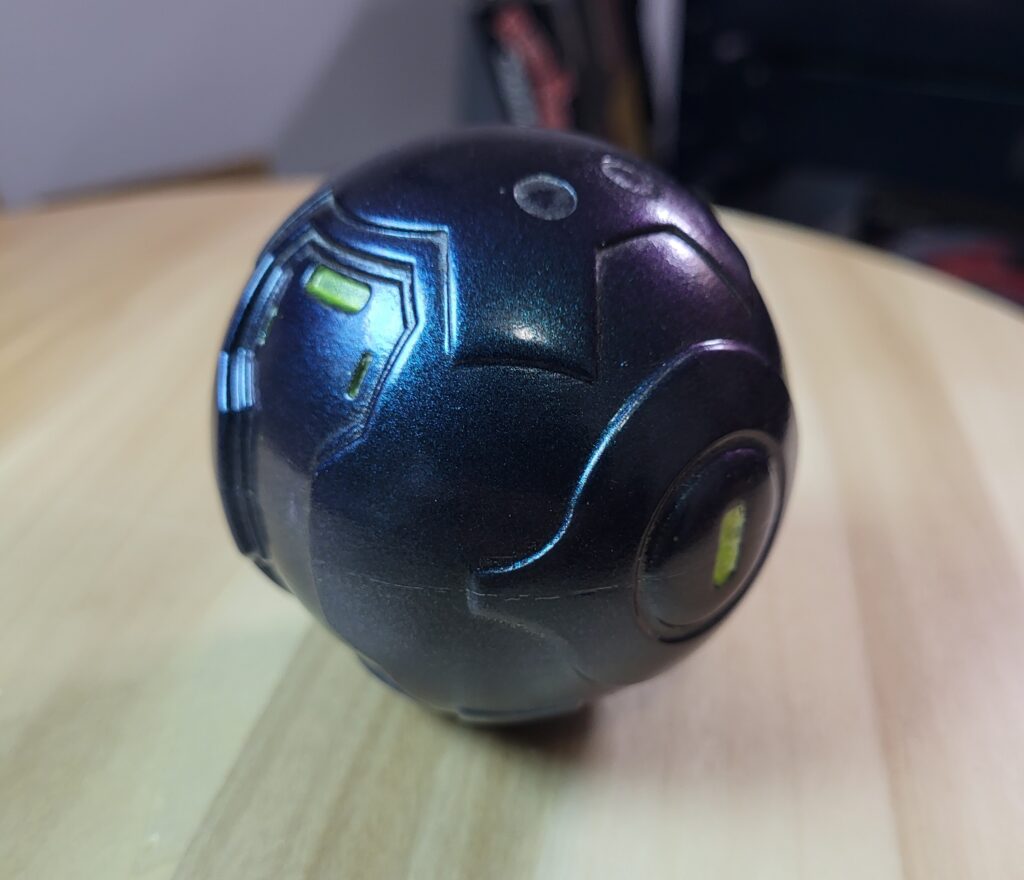
But perhaps the hardest truth to reconcile is that the old Halo plasma grenades as a standalone object were…hideous. And by that I mean that if they existed in the real world, they would either be a huge [game accurate] mess of polygons and glowing glyphs, or a smooth tangible object that would not be recognizable as a Halo game object. This has changed somewhat as remastered versions of the game are released on more high-performance platforms, but the developers at the time prioritized performance over aesthetics here, and it is not a decision that I disagree with. They ended up being some of the most fun weapons in the campaign, creating the nostalgia for me to make it here in the first place. It just means for me that I either need to take some creative license or start from a more manageable place for my skill level. I chose the latter.

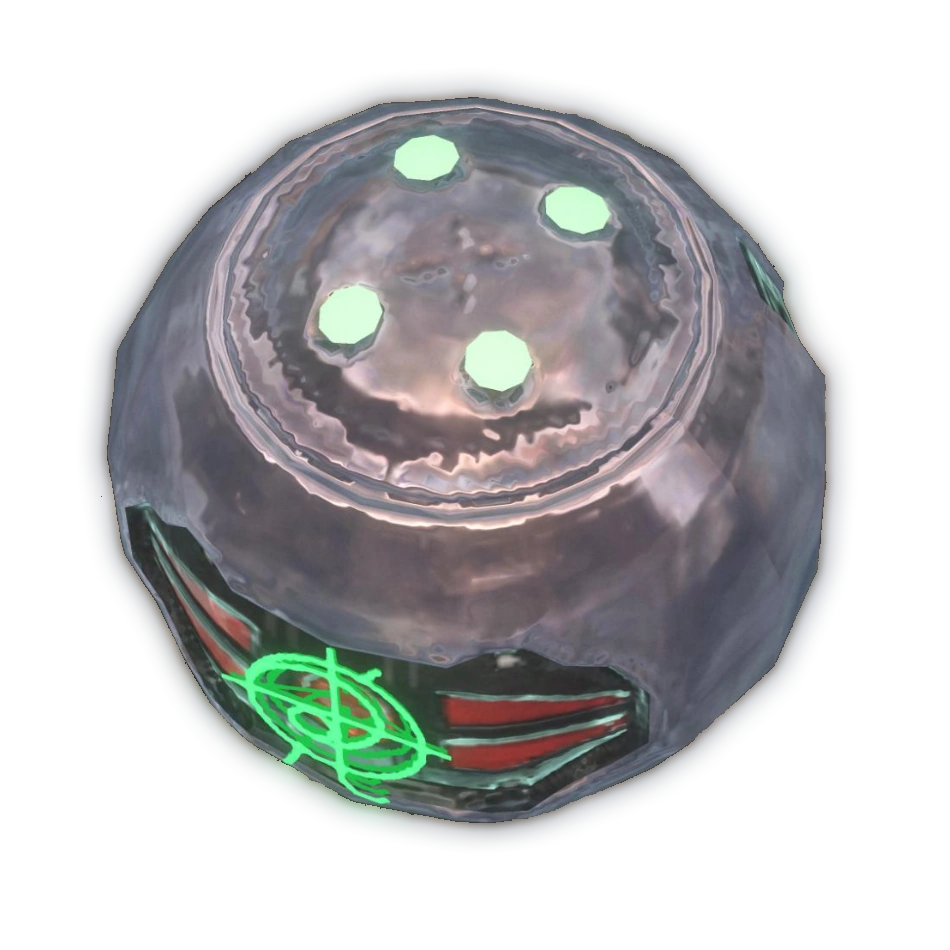
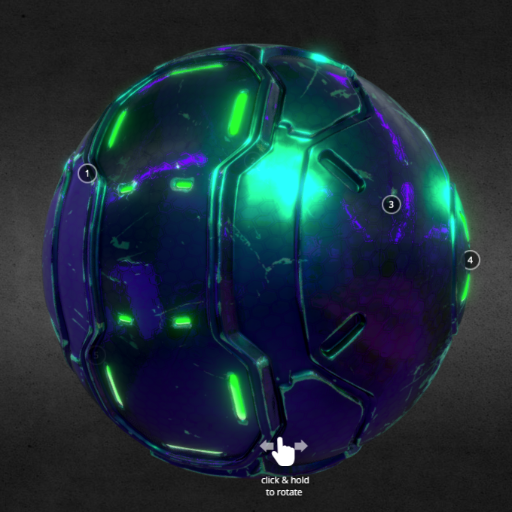
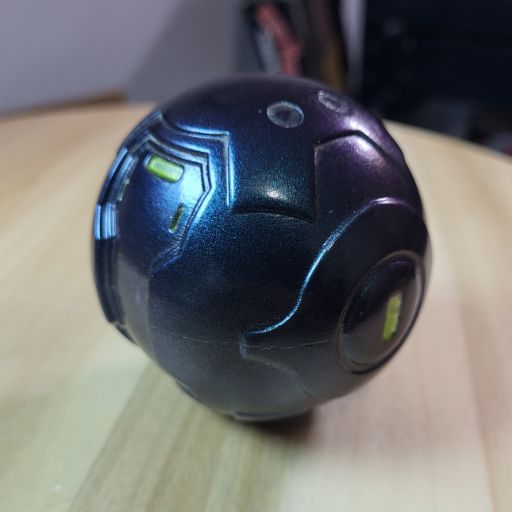
It wasn’t until the original graphics for Halo 4 were released that this felt like a real-world object that could be created. There were several models available at the time of this build, with varying degrees of screen accuracy. Ultimately I ended up going with this model from T-E-C as it had the best fidelity, and using painting inspiration from this easily navigable Sketchfab model by GHEDANO. This was an aspirational paint scheme to attempt to capture in reality, and I think that my next foray into this prop will have even higher to stride to reach the original design intent.

Tools List

  • 3D Printer
  • Hatchbox PLA
  • Bondo spot putty
  • Sandpaper (150, 220, & 400+ grits)
  • Black and Pearlescent Paint Spray Can
  • Green Acrylic Paint
  • Small Paintbrush
  • Glue (cyanoacrylate or better)

Painting and Weathering

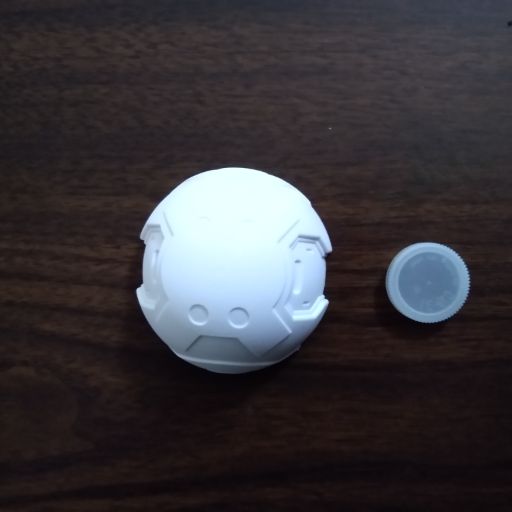
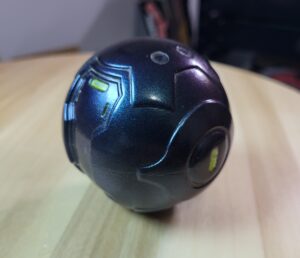
Being able to leverage an existing design allowed me to jump right into printing and assembly. This print started life -like many of my other projects up to this point – as a white PLA. Once both halves were printed, I designed a set of large pins (in lieu of the originally anticipated stack of pennies) to align and then glue the identical halves together. The bottle cap was added for scale, to show how this compared to my Men in Black Noisy Cricket build.

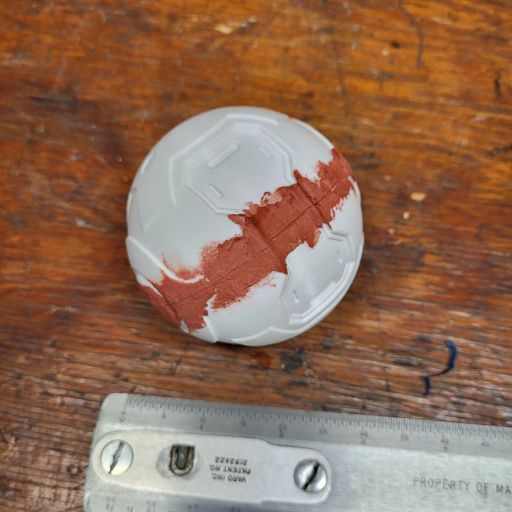
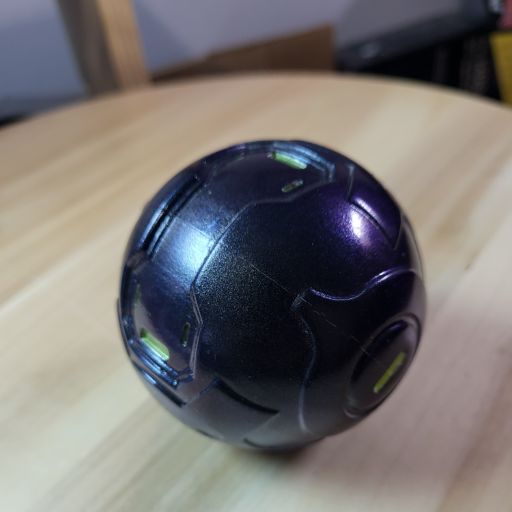
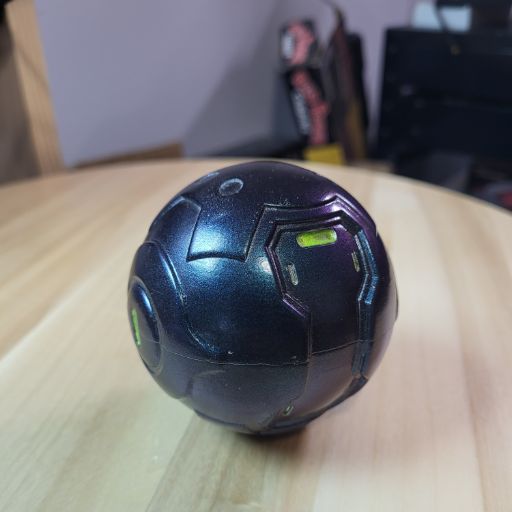
Since I was still dialing in the settings for my 3D printer during this build, there was still a bit of a a gap in the center that was filled with Bondo spot putty. The part was then incrementally sanded from low to high grit until the desired gloss effect was achieved. The majority of the part was painted black as a base layer for the multicolor overcoat. This was still a very novice painting experience for me, and as such it took a lot of patience and multiple layers. I added the glowing green neon acrylic into the crevices of the model, and then sealed it with a clear coat to protect it from fading. Despite my lack of artistic ability, I found this to be a fairly straightforward process. It currently sits on my prop wall in constant line of sight, when I don’t take it down to play with.

Lessons Learned and Future Plans

As already mentioned, I plan to tackle this project again, maybe when I dust off the games for another round of play. Improvements in my tool used and my skill with them will certainly help speed things up, though I am mostly pleased with the results here. My biggest complaint about the final result is that there are some areas that are starting to chip from mem throwing it around, and the split between the two halves that is either from poor painting or general expansion over the seasons (I honestly can’t remember which). I would also like to make some improvements to either make this more like the in-game version or try a different version that was closer to my nestalgia of Halo 3. I have already given one of these away to a family member to take it to conventions, so I am satisfied that it will get to live new life there. It does make a great photo piece, when it’s not in the hands of a charging suicide Grunt.

For more posts like this, check out some of our other recent work as well!
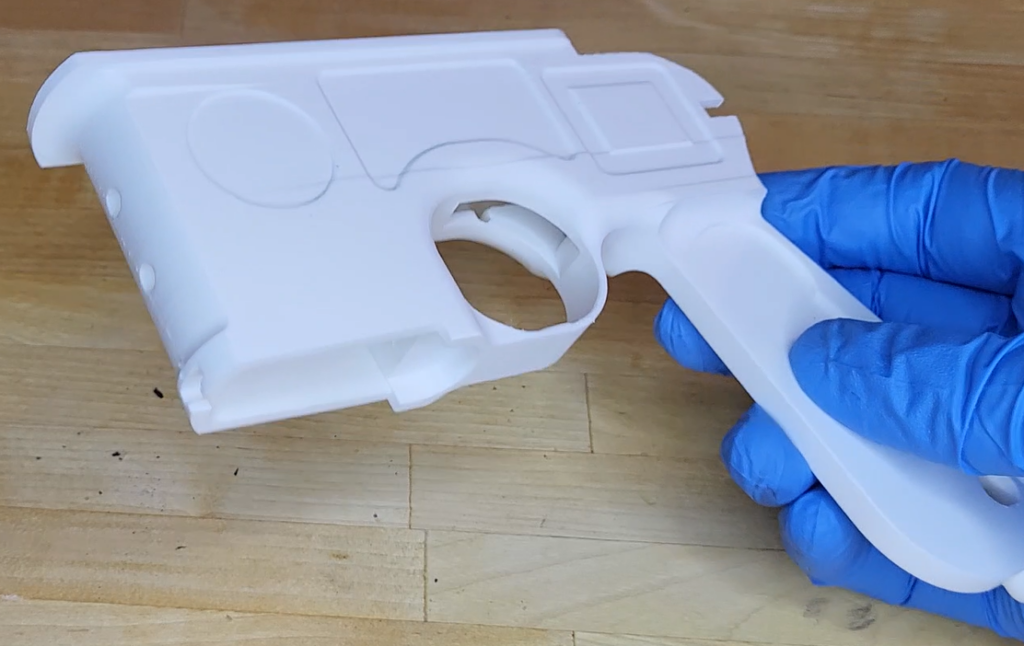
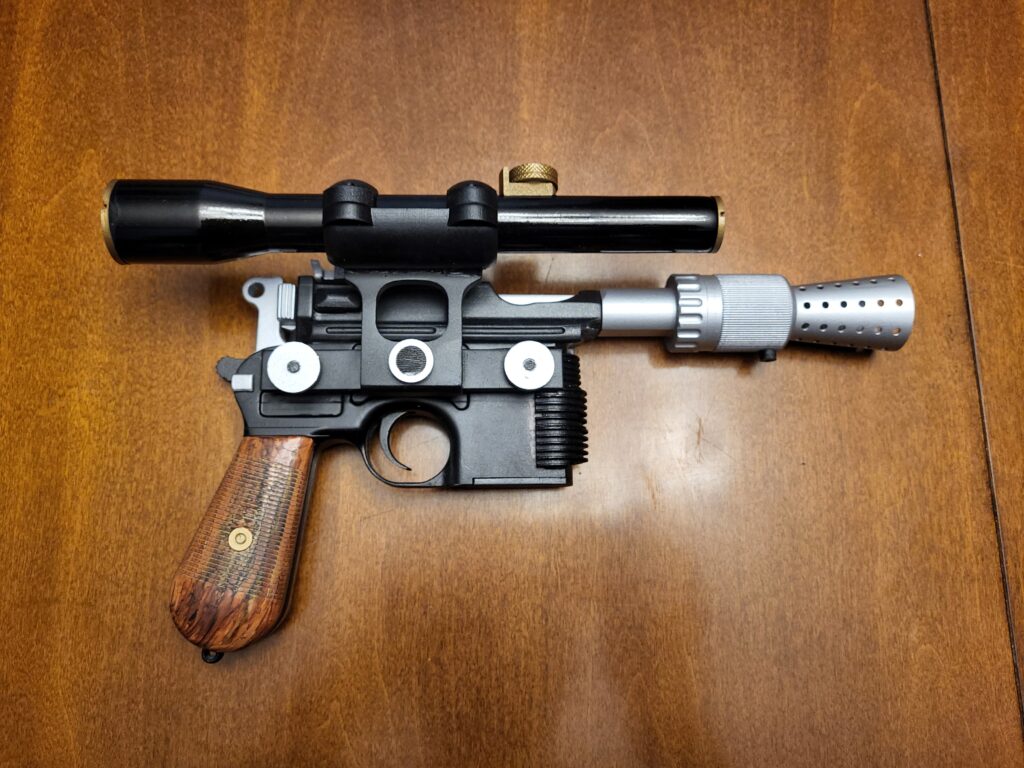
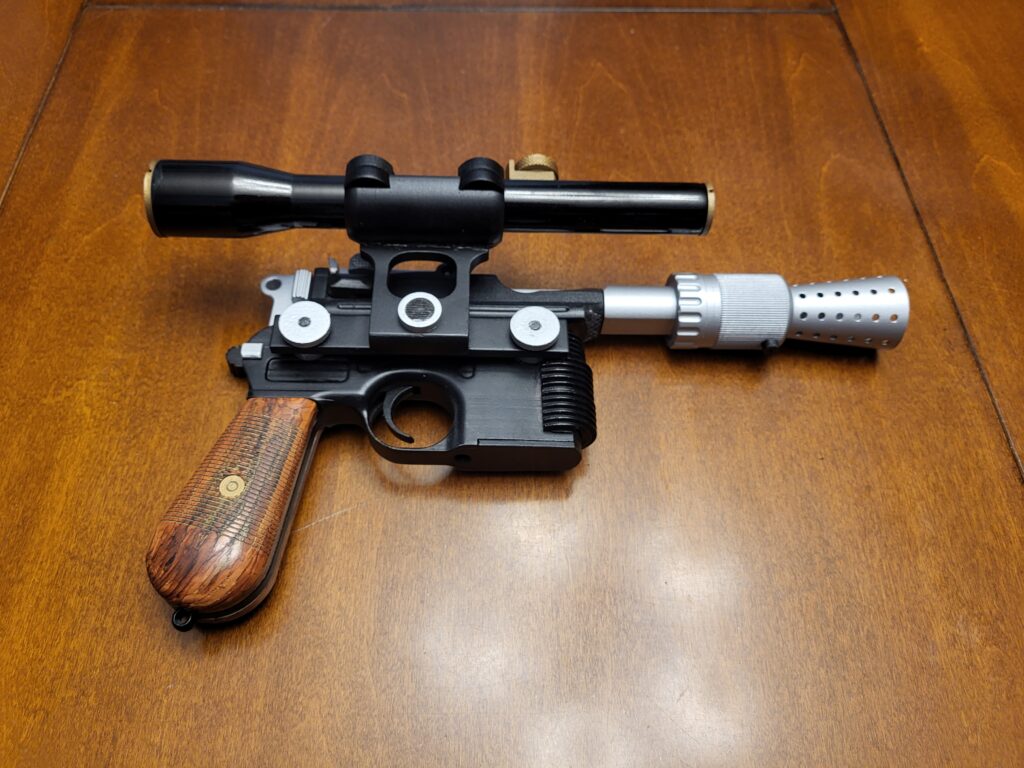
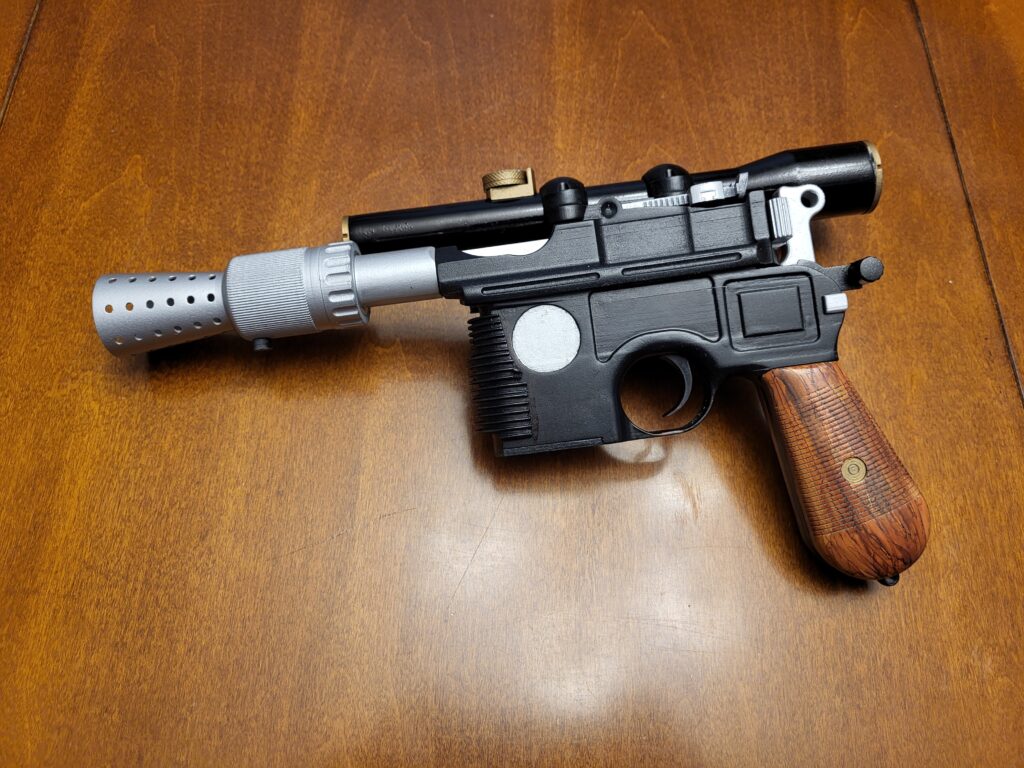
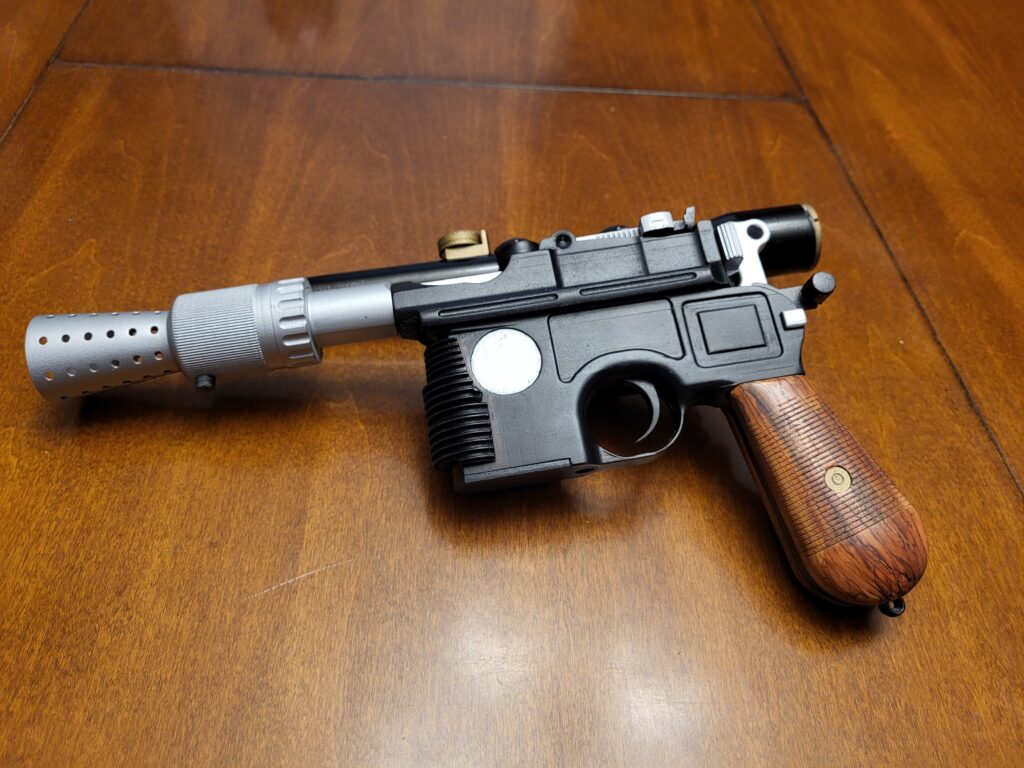
Star Wars DL-44 Blaster – “Greedo Killer” Fun Simple Prop Replica

Overview

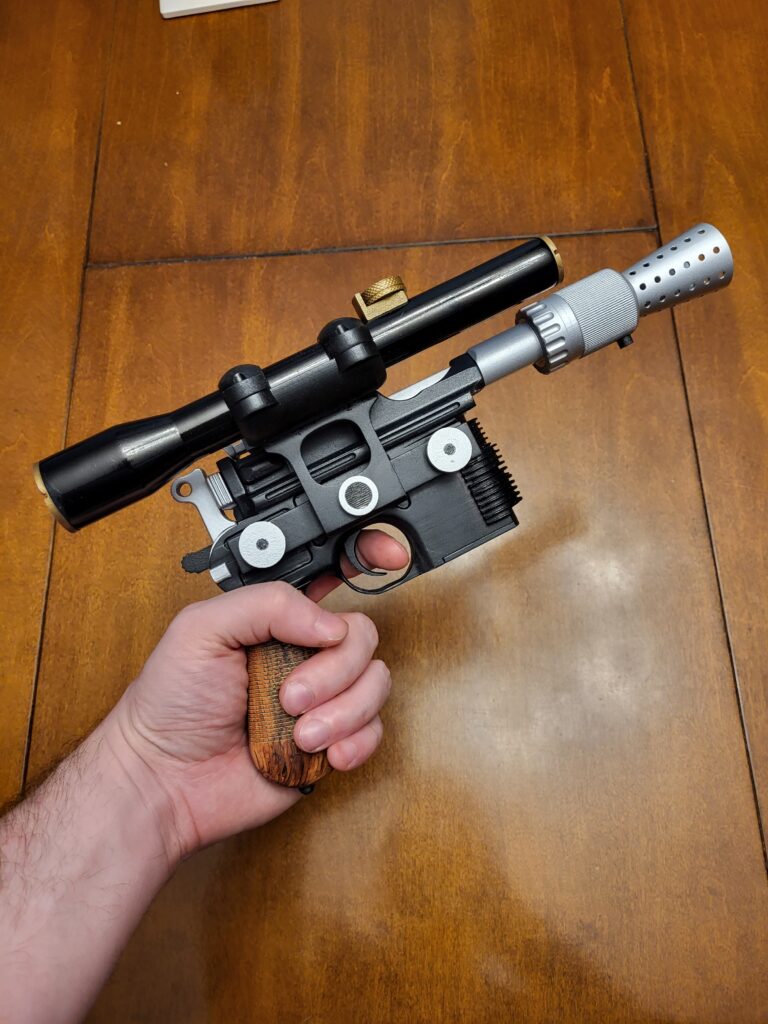
This intrusive prop icon was a a stand-out accessory for anyone familiar with the 1970s Star Wars films, and my very ambitiously early into my work as a prop collector/creator. This document actually serves to capture the work performed in 2022, and I may provide an update in the near future with skills developed over the last several years, as well as better initially producible parts from my new resin printer. In total, I would estimate this project took ~30 labor hours to post-process, paint, and assemble (not counting print time, which I would estimate to be ~2 weeks of part time effort). Some of that was me learning the ropes, but the majority I would assume is unavoidable for a hobbyist setup.

Purpose

Practice 3D printing, assembly, sanding/filling, and painting, matching screen-used props. Also to have a really cool prop on my wall or to take as part of a costume.

Process

Research and Inspiration

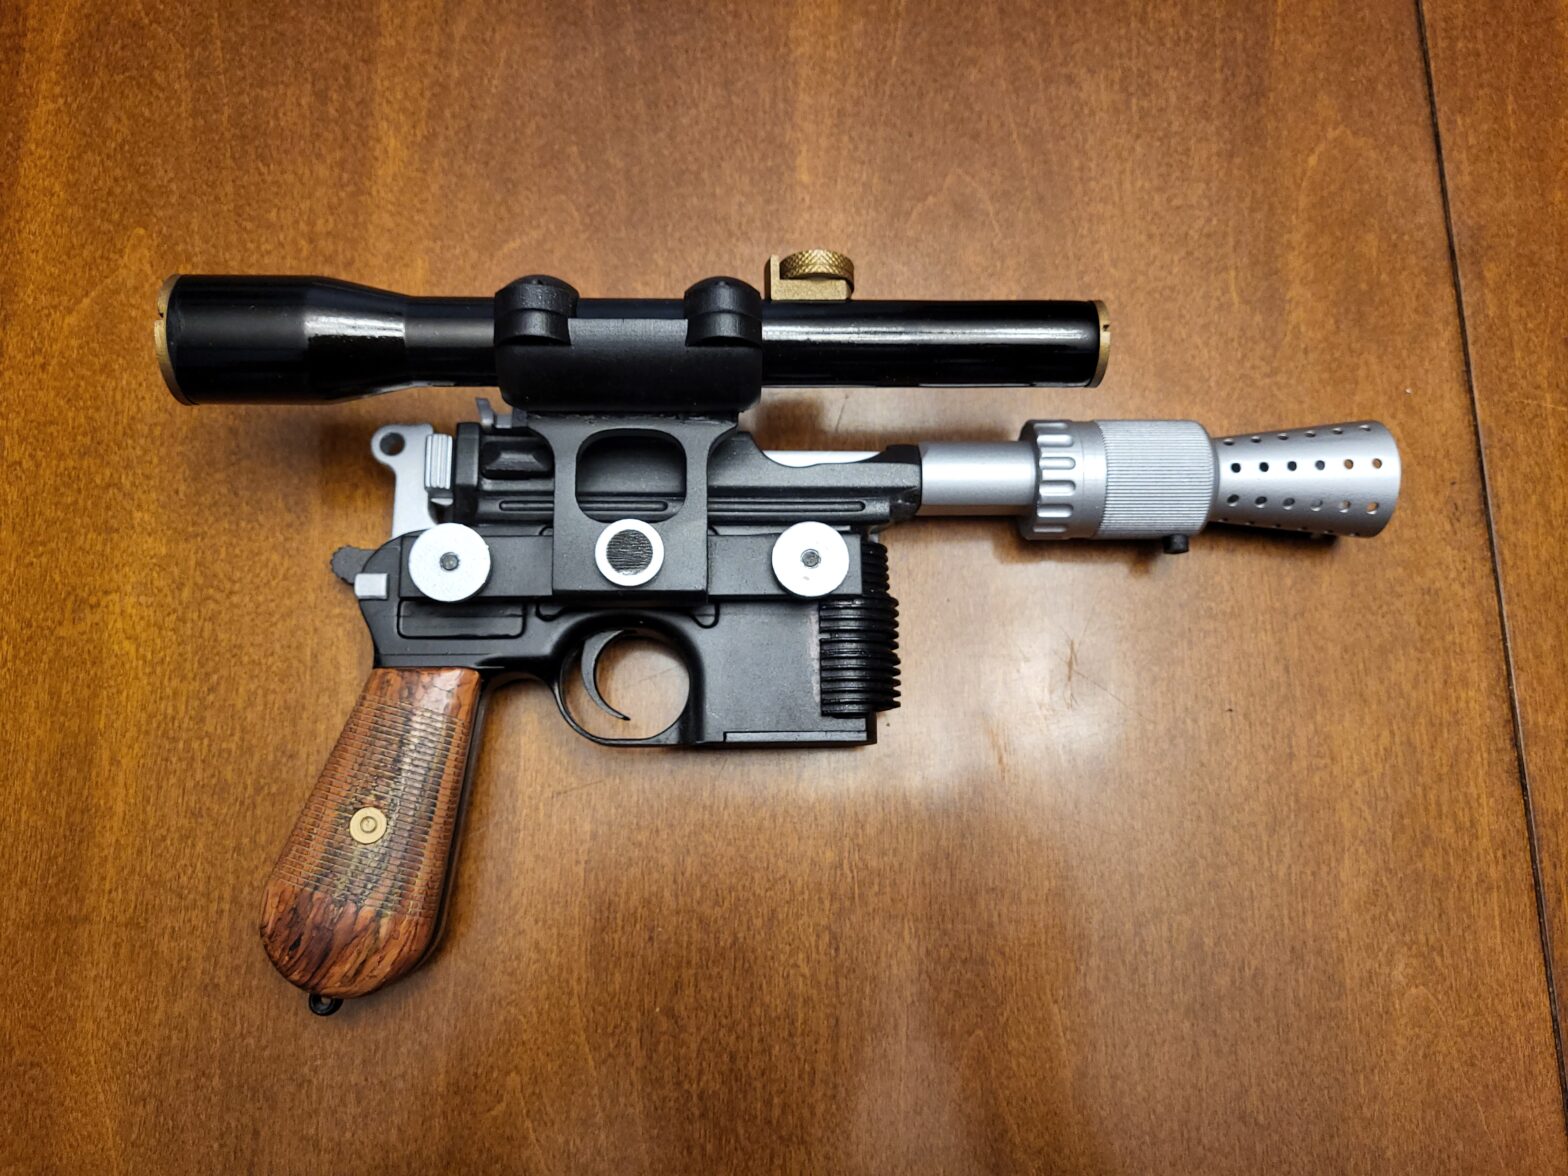
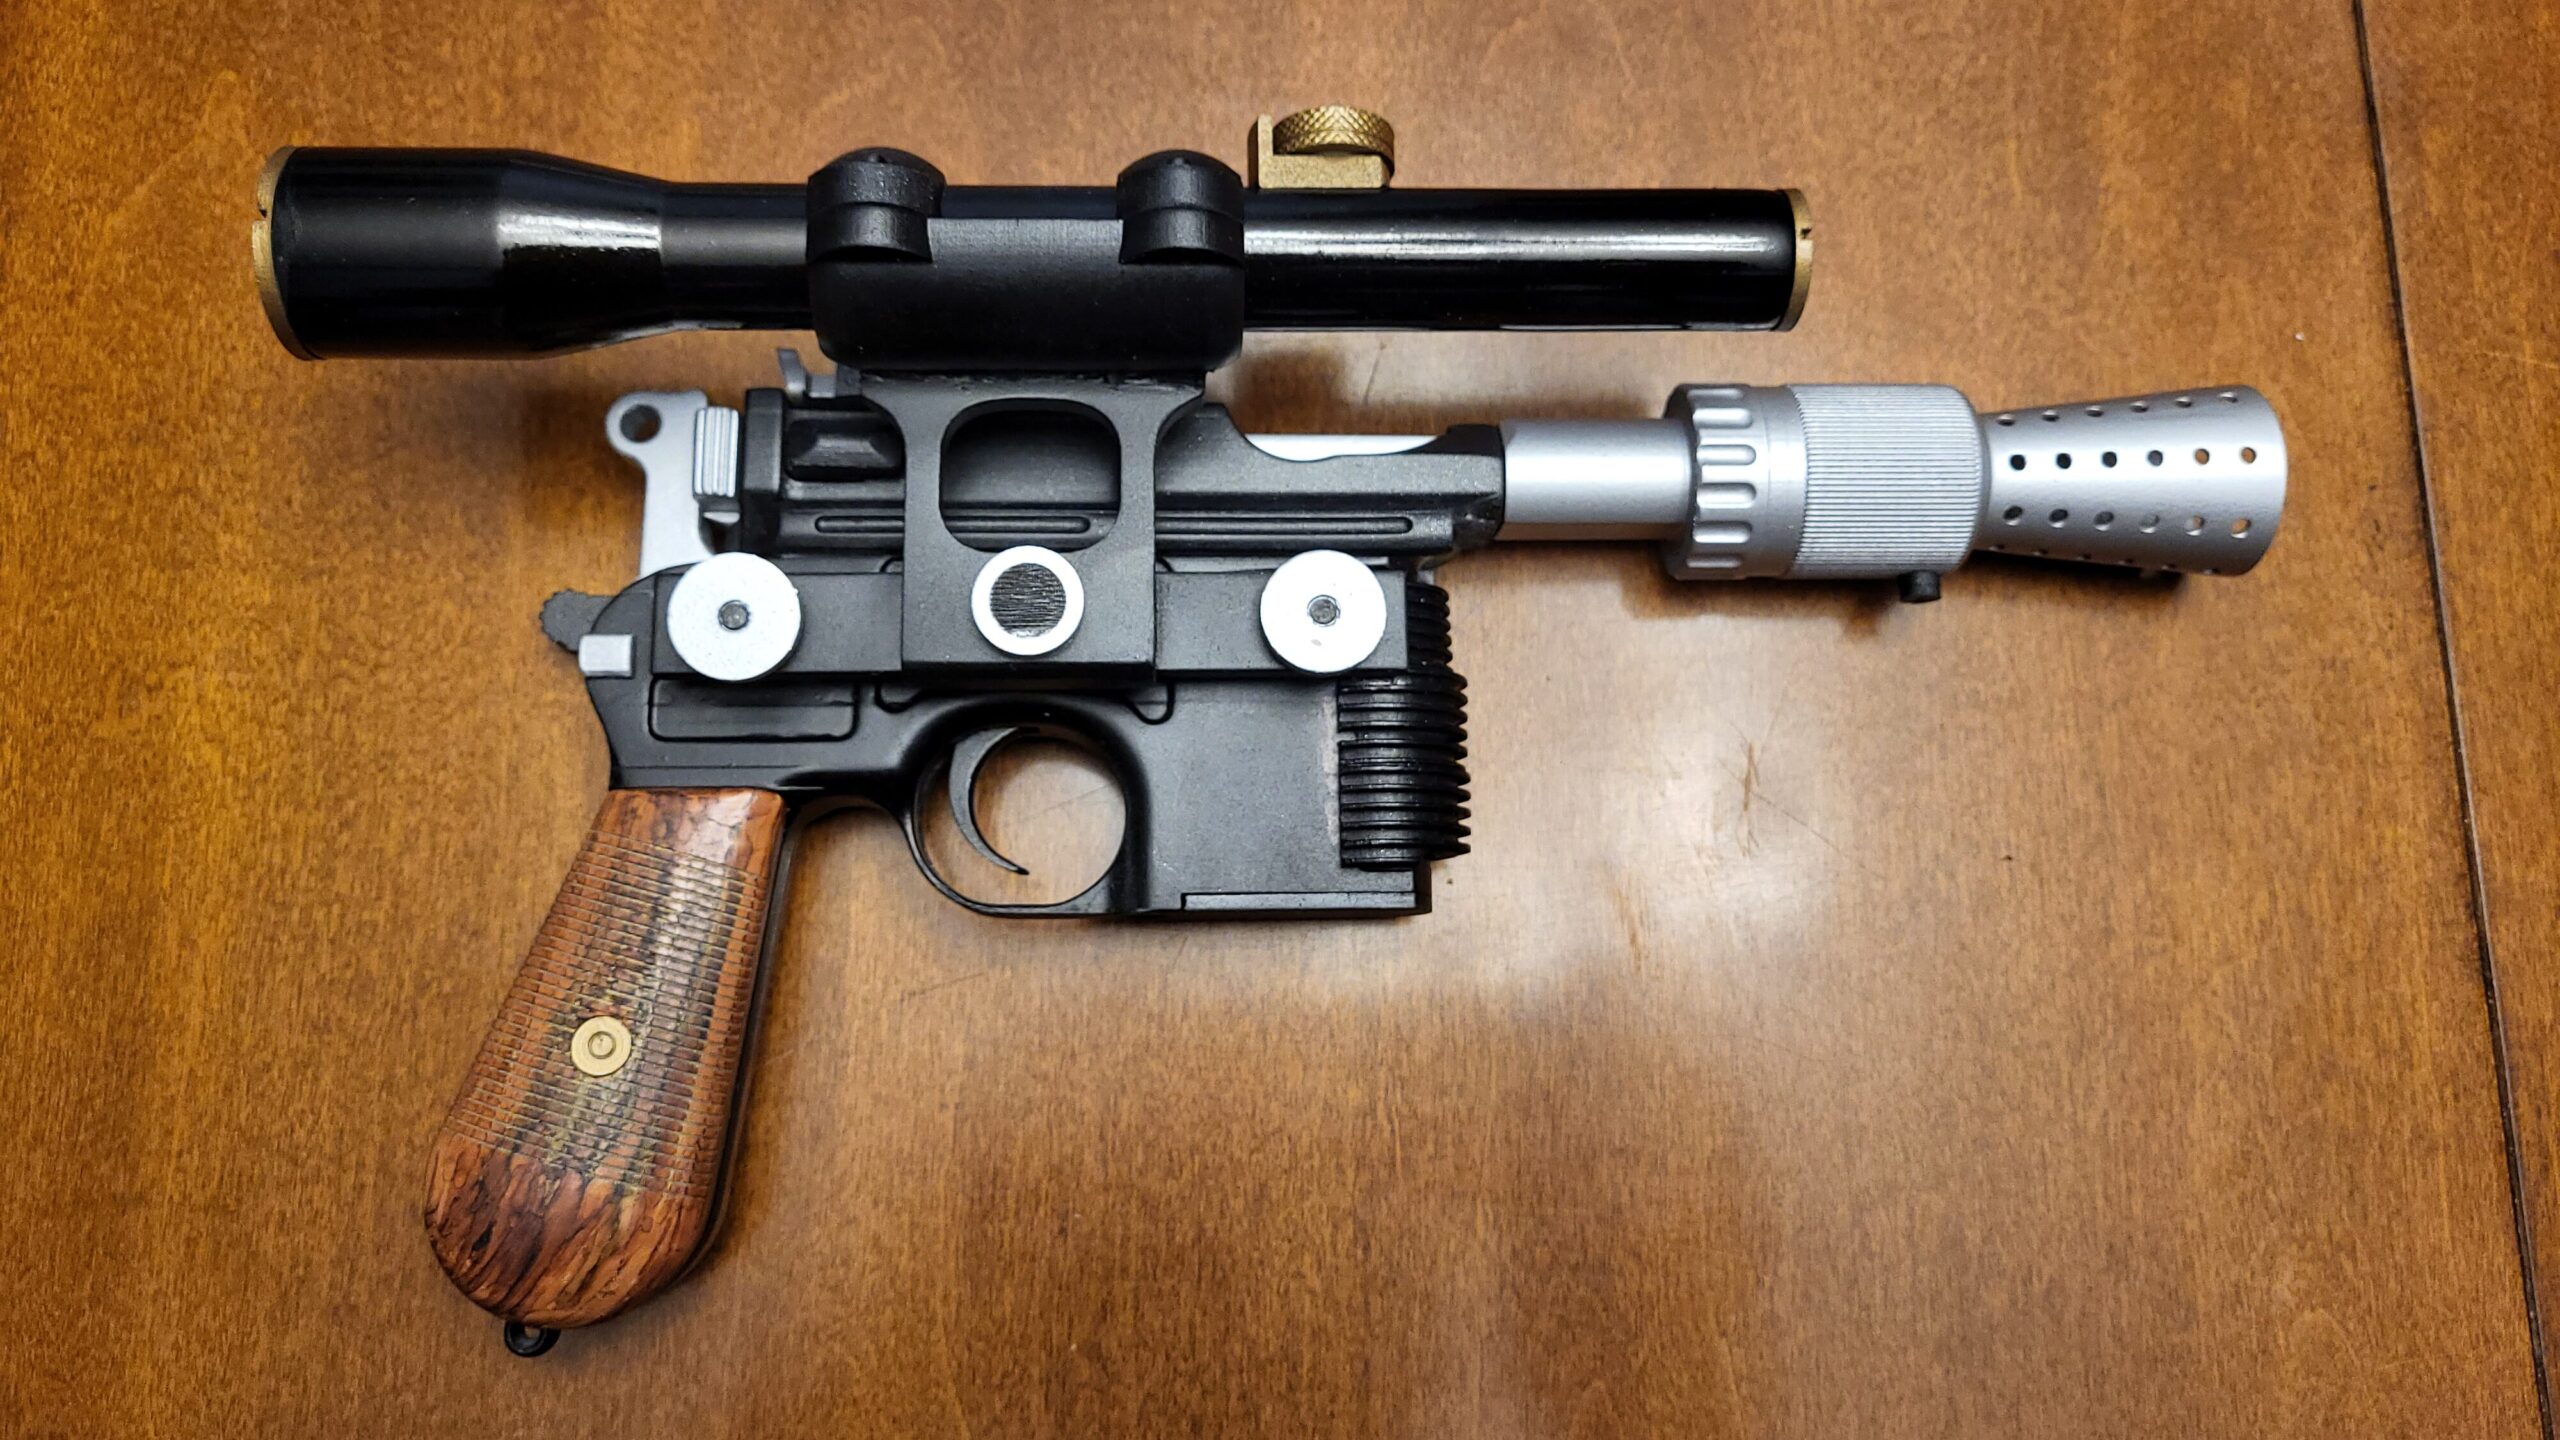
There is a lot of material out there for the DL-44, both good and bad. Adam Savage has famously scoured the internet for some of that knowledge on sites like the Realistic Prop Forum [RPF]. There are several variations on the blaster used by Has Solo throughout the film, making an exact match essentially impossible. So rather than hunt for screen accuracy at this sophomoric point in my prop journey, I instead went with the best available model I could find for free on the internet. I believe I settled on this model by PortedtoReality as being the closest to the screen version and by far the most popular.

Being free from needing an exact match to the screen, I was also able to tell the story of my DL-44 as a plausible alternative model floating throughout George Lucas’s universe. Seeing as how the original blaster was a modified version of the real-life  German C96 “Broomhandle” Mauser pistol, that gave me another jumping off point when the well had dried for areas like color matching and cohesion of the prop.

Tools List

  • 3D Printer
  • Hatchbox PLA (White)
  • Sandpaper (150, 220, & 400+ grits)
  • Paint Spray Cans
    • Gloss Black
    • Satin Black
    • Bronze
    • Metallic Steel
    • Tan/Beige
  • Wood Paint Pens (Variety Pack)
  • Glue (cyanoacrylate or better)

Painting and Weathering

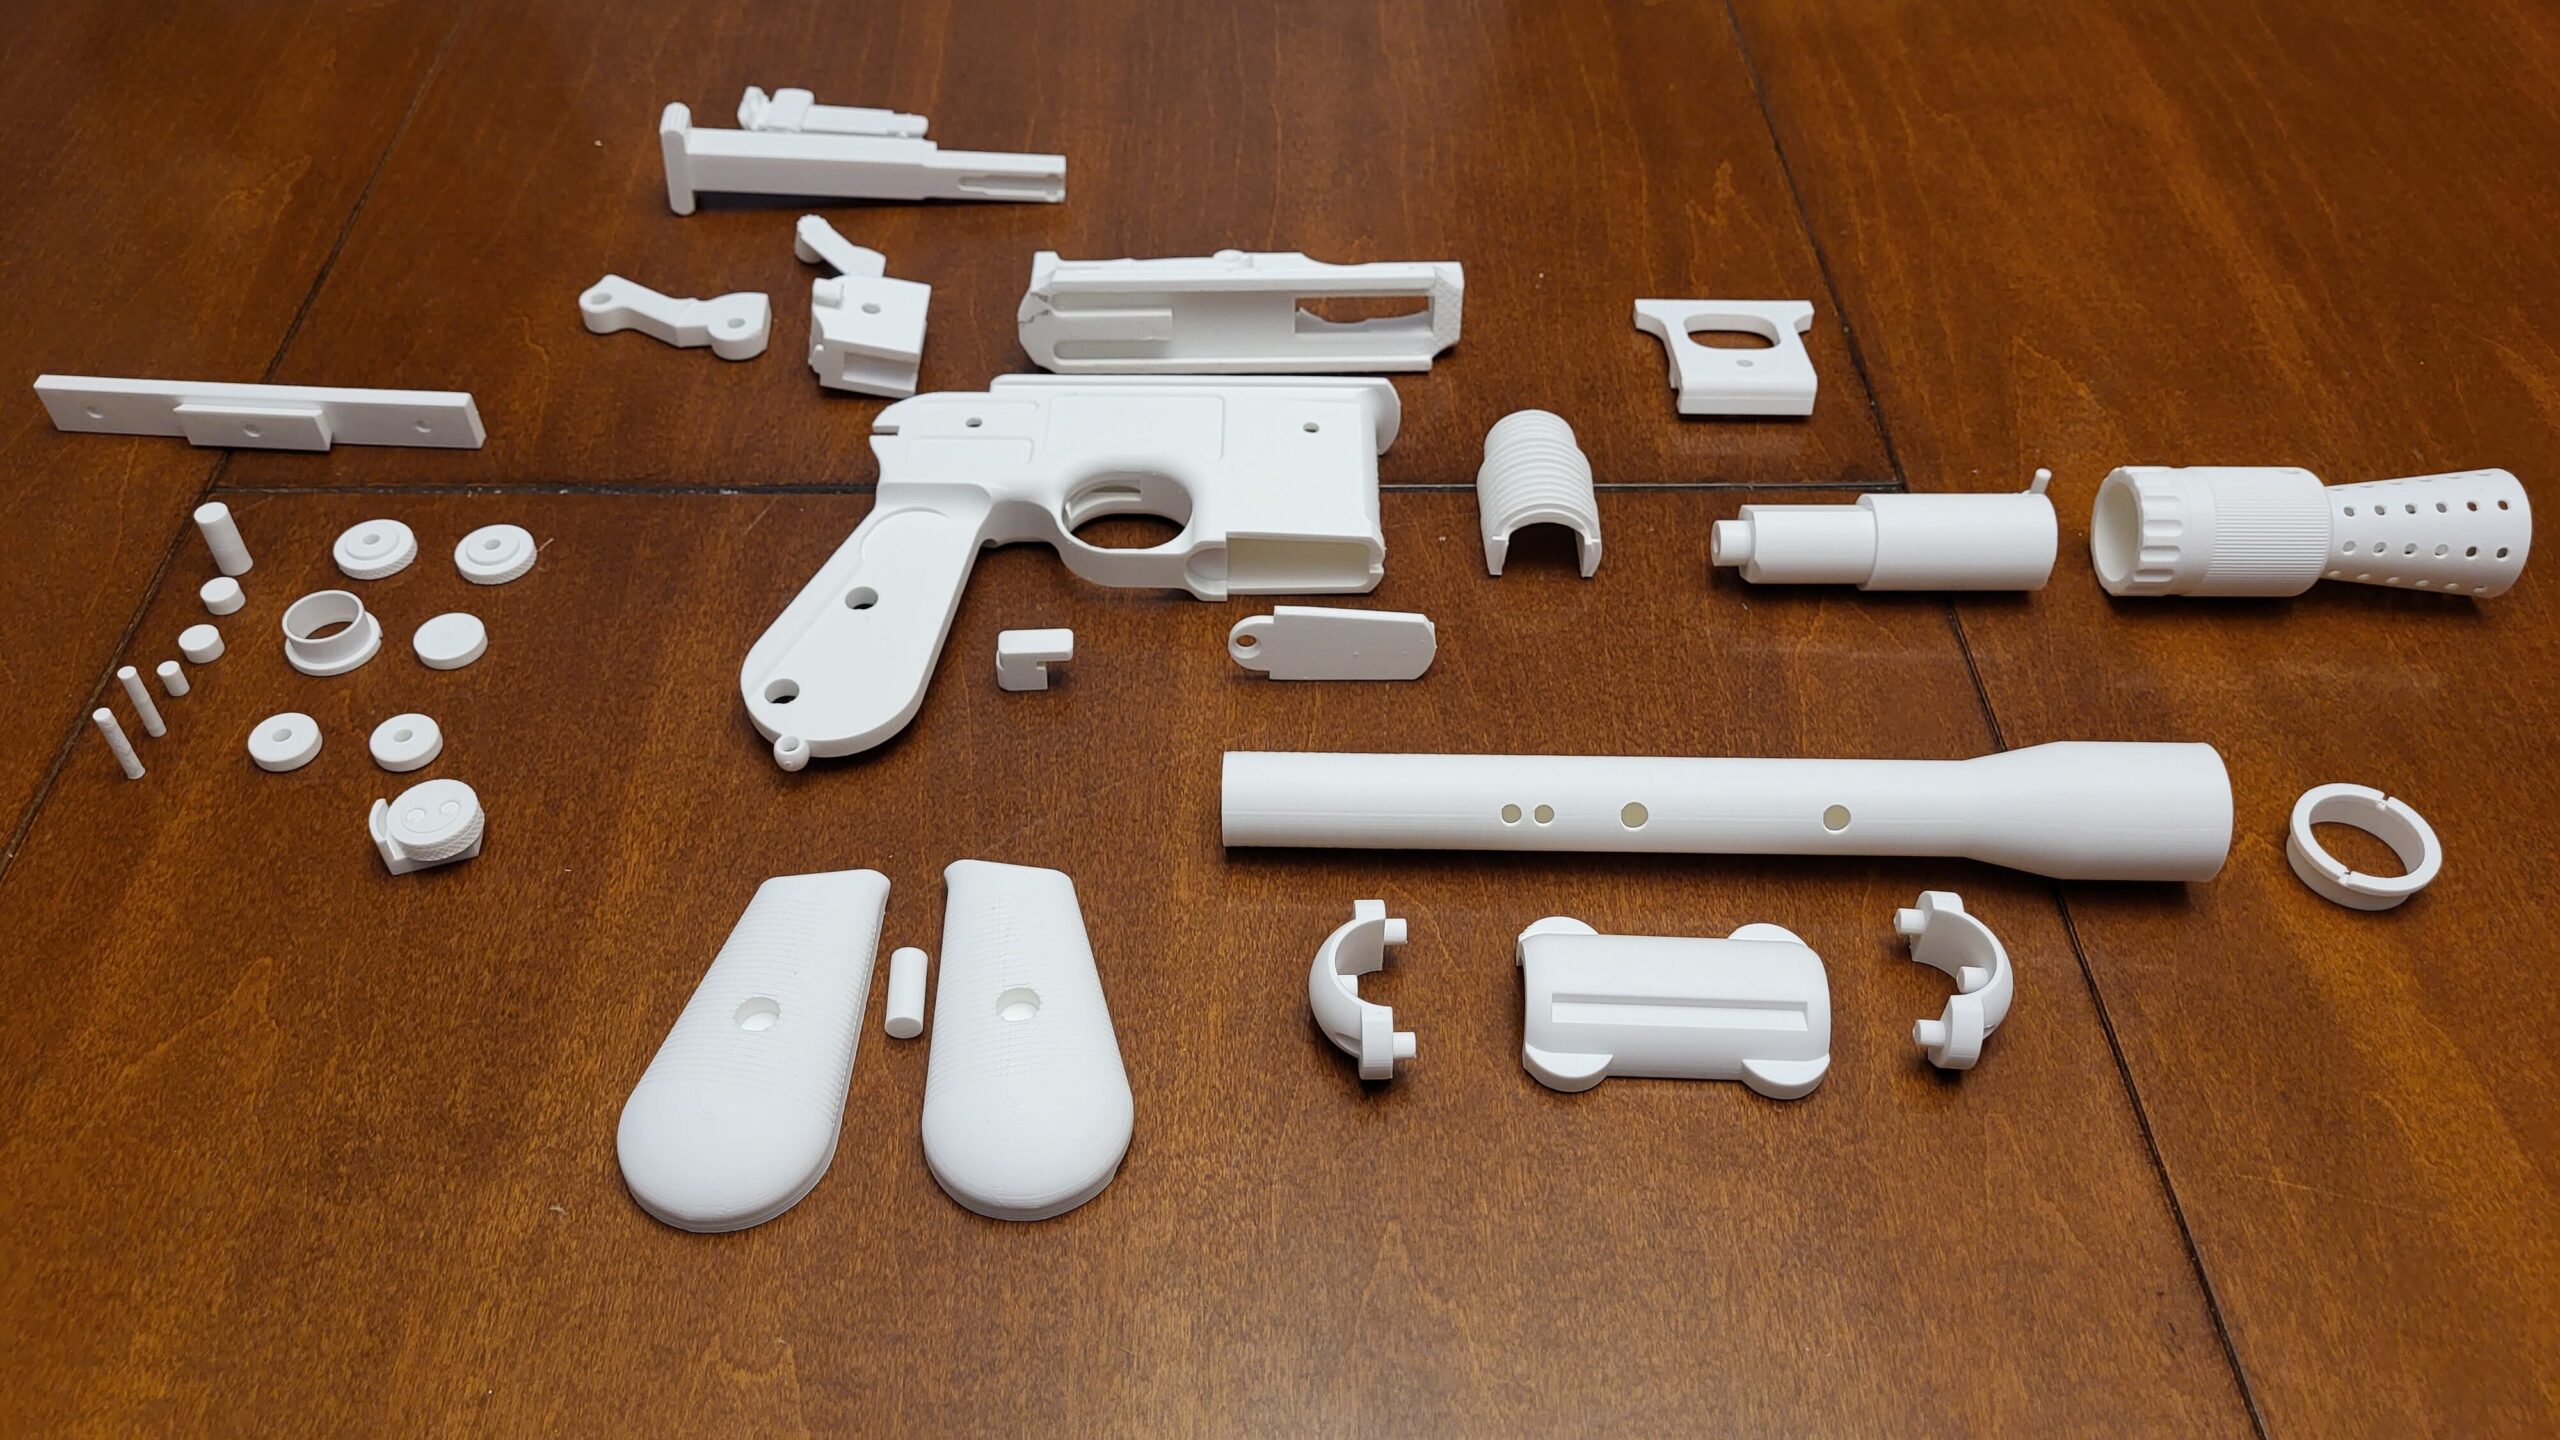
Since this design was not my own, I was able to jump right into post-processing once everything was printed. Like many of my other prints, this prop started life as a white PLA.

Once I was sure that I had every part required, I began painstakingly sanding all of the parts required to get a finish I was happy with.

[Insert thrilling video montage of sanding process]

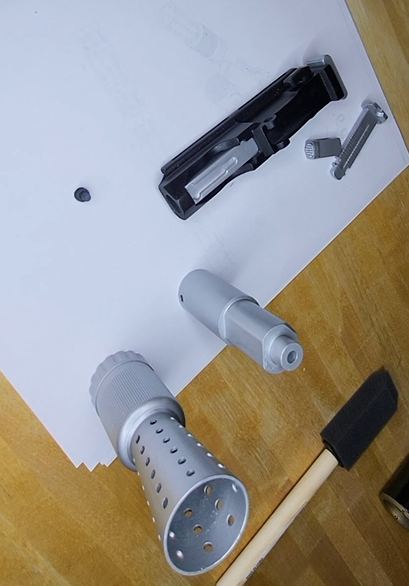
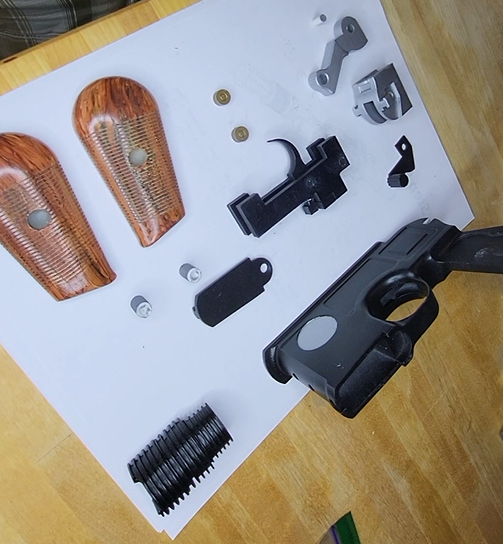
I started with 120 grit sandpaper and a flexible detail sanding block, filling with sandable primer before moving up to 220 for the wood handle portions. Because this white PLA was actually quite hard to see the layer lines, I ended up coating the handles with graphite powder flake between each step, which helped immensely with my ability to see imperfections and understand the final sheen once painted.

Perhaps the largest point of contention throughout this project was the main body of the prop itself, which had two significant splits and a small layer shift during the printing process. It was also (unfortunately but predictably) my largest and most time consuming print of the entire model. I will address this more in my lessons learned section, but for remediation on this attempt I tried filling it with Bondo Spot putty and post-processing it the same way as my other components, and sanding down the layer shift as well as possible on the various ridges and curves.

Once everything was sanded and primed, I tool to trying out a variety of paint cans that I had on hand to more accurately capture the different textures that I wanted to represent on the prop. For example, I wanted the body of the prop to appear as an anodized brushed coating as compared to the refined polished look of the scope assembly that I was familiar with. This ended up being as simple as using a satin black for the body and a gloss black for the scope. I also learned to appreciate different drying times for different applications, and came to the generalization that the finer the finish, the more additives are in the paint can and therefore the longer the dry time needed. I did not have any issues with paint adversely affecting any plastics in this build.

For the non-blackened metal parts, I went through a couple of iterations before settling on a Rustloeum metallic finish. This is arguably the weakest of the painting options, but looks good from a short distance and an area that I already knew would be challenging from my Men in Black Noisy Cricket build. The only difference here is that the side of the main prop body does have a bare metallic imbellishment, which I achieved simply by taping off the rest of the body and giving it a quick spray. Finally the bronze accents that I had seen on similar reference images were used to highlight parts of the scope.

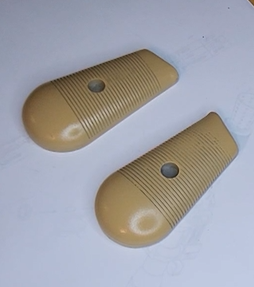
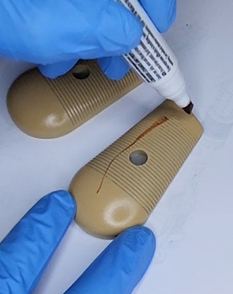
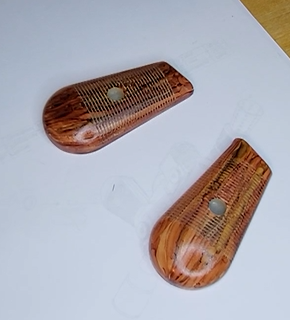
The wood handles were a particularly ambitious experiment, and ended up being one of my favorite parts of the entire build. I used a tan base paint layer and then alternated streaks with a variety of wood repair pens that I had on hand from a previous home project. Admittedly when I started this was a stressful experiment, as it took many layers to look believable as a spalted maple wood. I could have continued to make them look more like a tight wood grain, but instead elected to keep the look and consider it a custom order for my head-canon purchaser of this DL-44. Especially because if I had seen the two side-by-side in the BlasTech Industries showroom, it definitely would have been my choice. These pens were quick to dry, stokes were easy to change, and the process would have been very difficult for me to try with more classical brush strokes.

Final Assembly

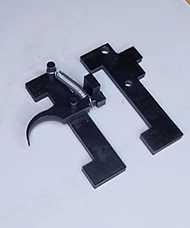
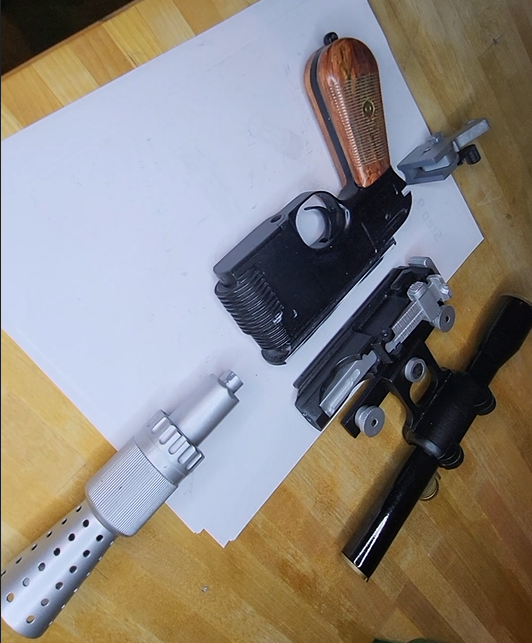
Once all is painted, I began assembly with the upper, then lower, then scope sections to complete the model. One of my favorite parts of the original model was that there was a moving trigger. I did deviate from the designer’s recommendation to use a rubber band to bring the trigger back into position, as instead I purchased a spring that I could use in its place.

I elected for this modification to more accurately emulate the feel of the trigger pull, as well as to have one less inaccessible part to wear out as it sits on the shelf. Rubber will dry out and snap over time, and since there is no realistic way to repair or replace this part once the prop is assembled, I wanted a slightly more future-proof solution here. I also intend to make a generic trigger assembly that I can put into any prop that I create myself, so this served as a fun exercise to attempt this. There was practically no modification needed to the model files during assembly, which leads me to believe this may have been the modeler’s original [unpublished] intent anyways, or a fun coincidence.

Lessons Learned and Future Plans

For me, this was quite the education in knowing when to repair and when to reprint. I will freely admit that knowing what I know now I would have simply reprinted the body, as I still feel like it was the most unnecessary manual labor in the whole project. I would also advise myself and others to be patient in the post-processing phase, or you’ll see it in the painting phase. This was true with my sanding job and impacted parts of my glue up that had an embarrassing amount of squeeze out after everything had been painted.

That said, I do have the benefit of hindsight which is probably the only reason why I’m willing to post this two years after the fact. I was not happy with my work here at the time, but as it sits above my desk I can hardly complain about the effort now. If I were to tackle this again, I would certainly do a few things different. But I have already leveraged the lessons learned here on other projects that I likely wouldn’t have been comfortable doing before learning them here. I’ll have this prop forever, and now I get to share it with others as a reward for the learning experience.

I was also encouraged to experiment after completing this project, otherwise I never would have discovered that wood-grain paint scheme on the handles. And when I show this off to friends and family, it is usually one of the first things they compliment. I hope that others that stumble across this have equal or better success on similar project builds, and I know that I will be using it again soon.

If I were to attempt this again, I would add a small bit of plastic to simulate the glass on the scope, and add crosshairs if possible. It would also be great if the range finder could move (but I do anticipate that it would be difficult to keep it from wearing). I may need to cast both pieces in metal cold cast resin or add a sacrificial rub strip.

I will need to have the right tools for the job, as well as improve painting skills for a future version. For me, this likely means getting an airbrush and more patience. Luckily, I’ve got plenty of time on my hands for just that.

For more posts like this, check out some of our other recent work as well!
Men in Black Noisy Cricket – Fun Easy Prop Replica

Overview

This subtle piece of wall decor was a much-needed accessory for anyone familiar with the film, and my first fore into the world of alien props. This document actually serves to capture the work performed several years ago in 2020, and I hope to update it with a more recent high-fidelity model that I purchased from Punished Props Academy this year, as well as my new resin printer to really appreciate all of the small details that go into these models. In total, I would estimate this project took ~15 labor hours to post-process, paint, and assemble (not counting print time, which I would estimate to be ~2 days of part time effort).

Purpose

Practice 3D printing, assembly, sanding/filling, and painting, matching screen-used props.

Process

Research and Inspiration

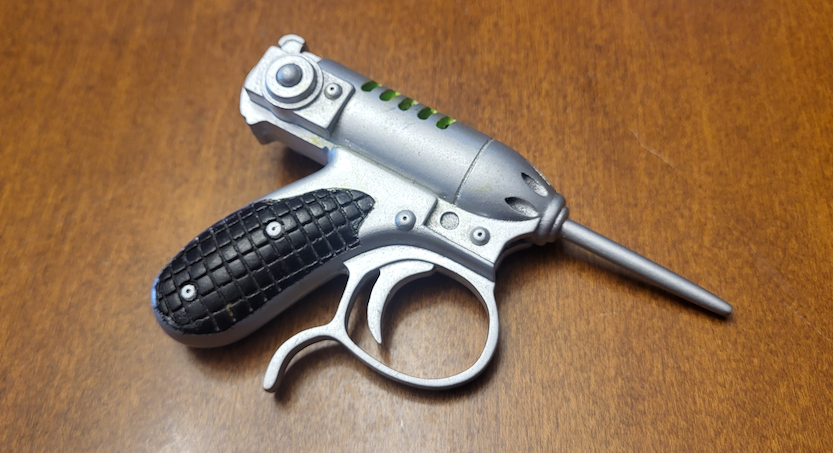
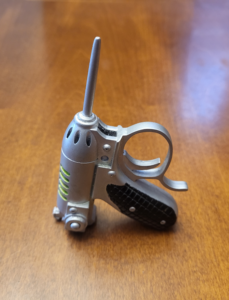
There is a lot of material out there for the noisy cricket, both good and bad. I actually fully printed one of the less impressive ones before I realized that 1) it was not at all representative of the film and 2) it was the size of a full pistol, rather than the adorably small one shown on screen. After some searching, I believe I settled on this model by TheHotEnd as being the closest to the screen version.

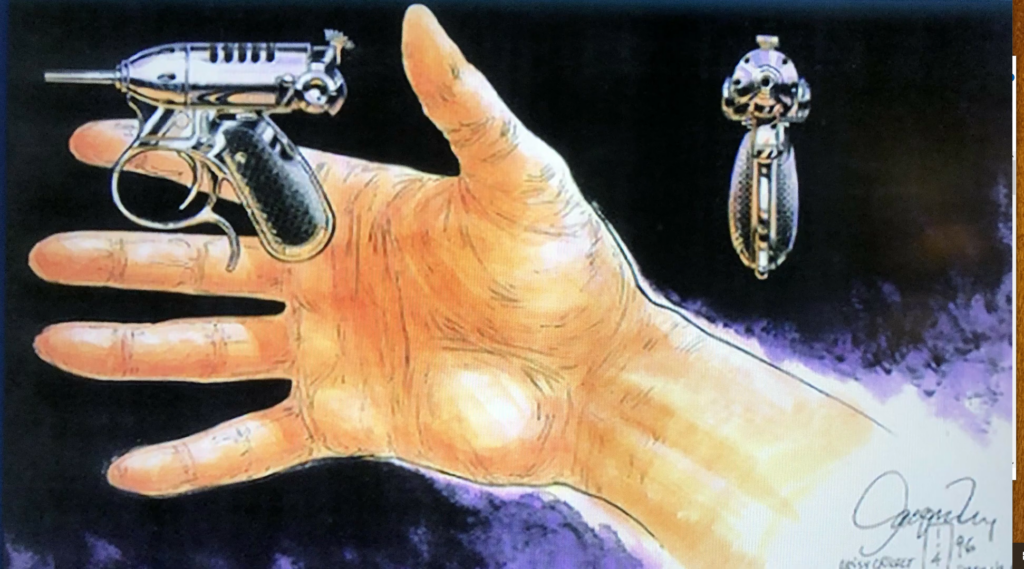
I could honestly do a whole series on Men in Black for their attention to realism in props in the late 1990s and early 2000s. That admiration would be directed squarely with the information that Steve Cotroneo provided on behalf of the RCP Prop Shop and the production design concepts made available by Tim Flattery from their time as part of the original production team.

While much of this research has been done by me after the building of this model, I certainly have a greater appreciation for the efforts done by this team to get it onto screen, as well as those in the hobby community to make this version both approachable and closely match the silver screen.

Tools List

  • 3D Printer
  • Hatchbox PLA
  • Sandpaper (150, 220, & 400+ grits)
  • Black and Chrome Paint Spray Can
  • Green Acrylic Paint
  • Small Paintbrush
  • Glue (cyanoacrylate or better)

Painting and Weathering

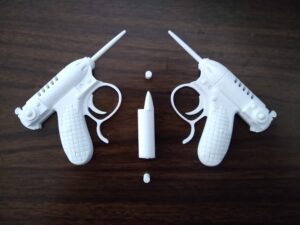
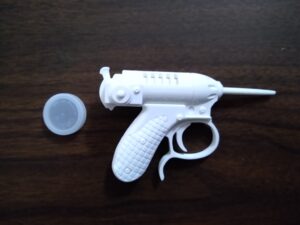
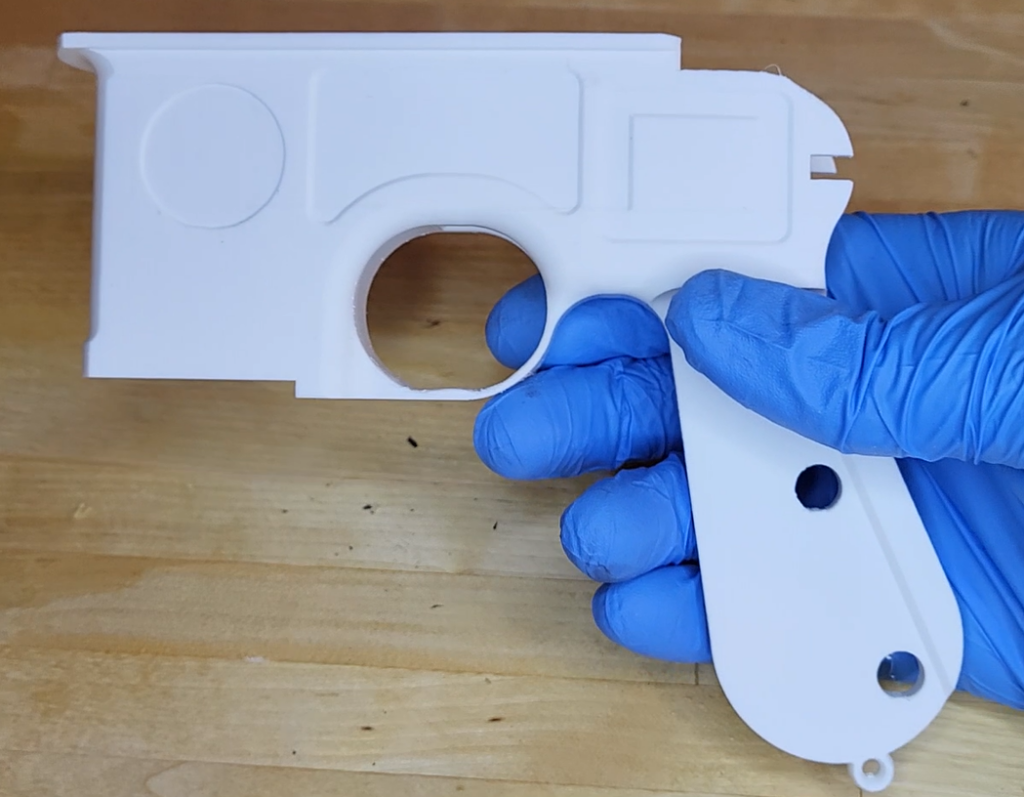
Since this design was not my own, I was able to jump right into printing and assembly here. This print started life as a white PLA that was then glued together using the two printed alignment pins. The bottle cap was added for scale, to show how small this thing really is.

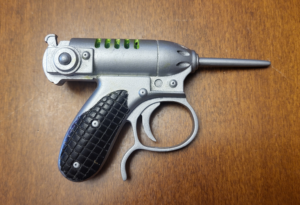
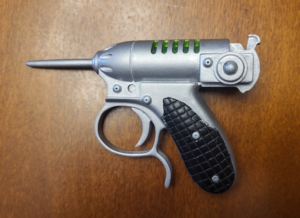
The majority of the part was painted black as a base layer for the chrome. The parts remaining black were then selectively masked and the remaining was painted chrome. thanks to a tip from Punished Props Academy This was one of my first painting exercises, and as such it took a lot of patience and multiple layers. Despite my lack of artistic ability, I found this to be a fairly straightforward process. I then sealed it with a clear coat to protect it from fading hung it on my prop wall.

Lessons Learned and Future Plans

As already mentioned, I plan to tackle this project again somewhere on the horizon. I certainly have improved my sanding skills since this time, which I think was the biggest limitation to my final look of the prop. As fun as this prop is to hold for a photo op, the lack of trigger mechanics does limit the experience. It would be quite difficult at this scale, but ideally I would be able to add a moving trigger mechanism to all of my props like this in the future. I also understand just how difficult a good chrome finish is on parts, so this will also factor into alternatives for my next attempt. I’ve even seen some tutorials on actual electroplating of 3D printed parts, so that would be an exciting experience as well.

For future endeavors, there’s an excellent model by Bill Doran on Punished Props Academy as well as a full tutorial on how to make it yourself with Fusion 360. I plant to follow-up this post with a print of that very model, but between now and then I look forward to chasing down some unlicensed cephalopods with reverberating carbonizers. 

For more posts like this, check out some of our other recent work as well!

Jaws Pinball Easy Gift Accessory – Born Free Barrel Cupholder

Overview

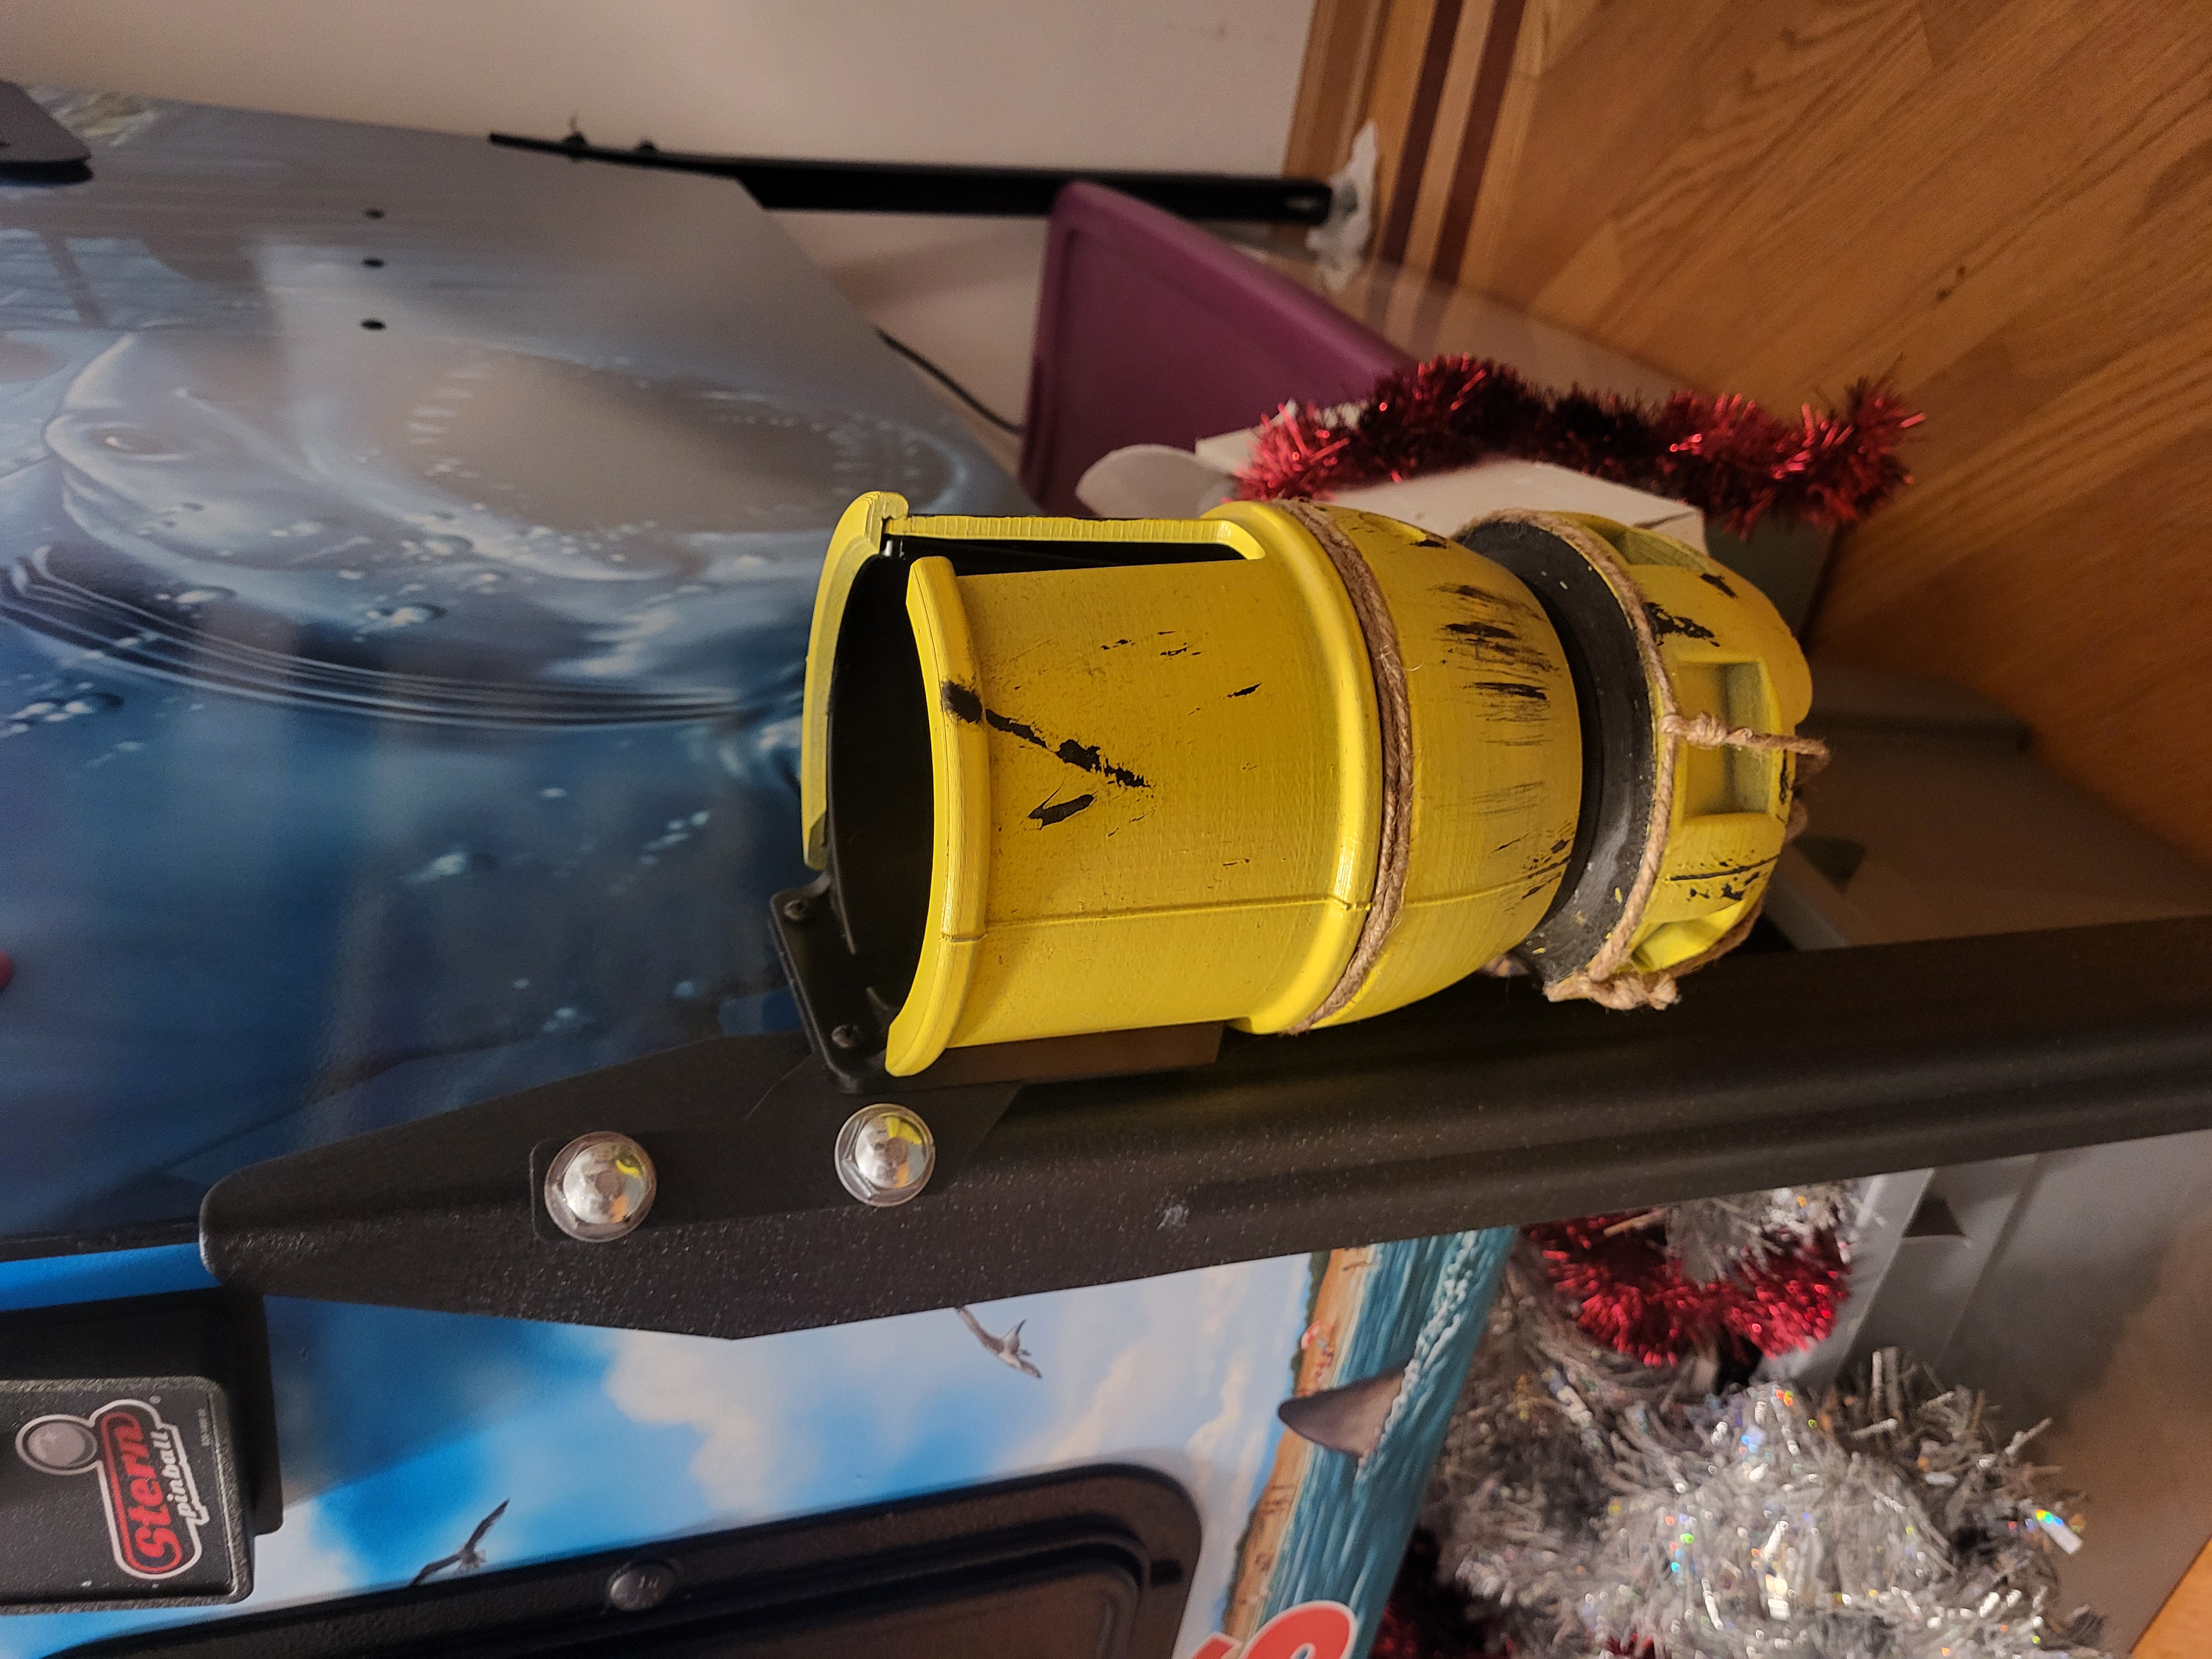
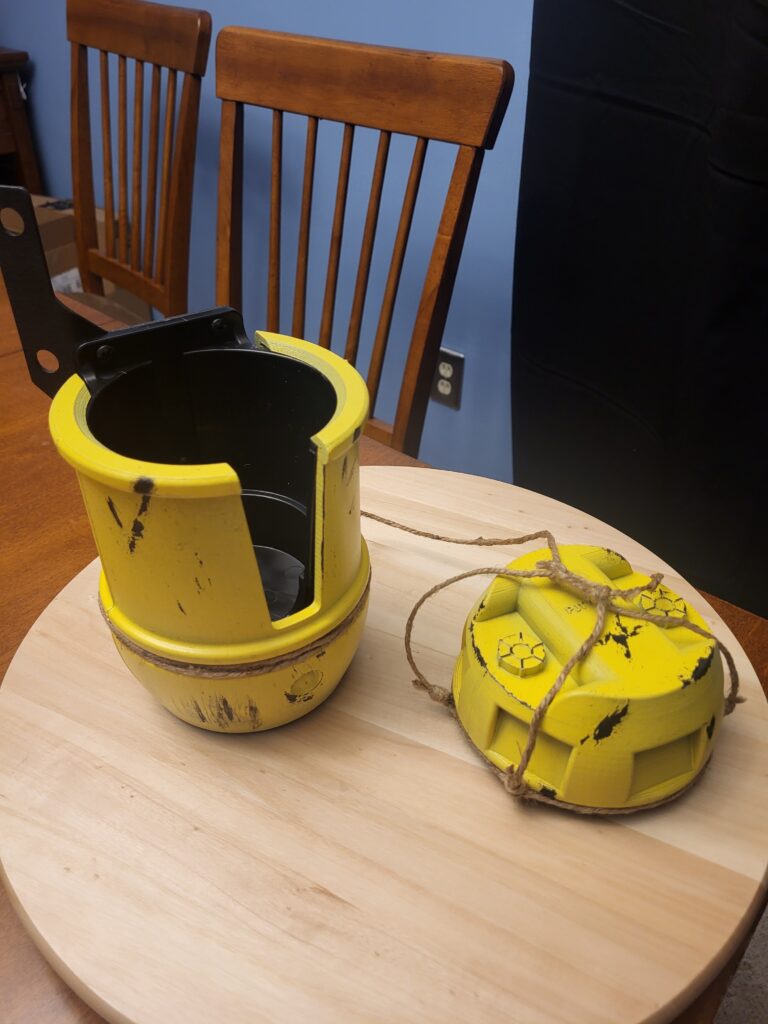
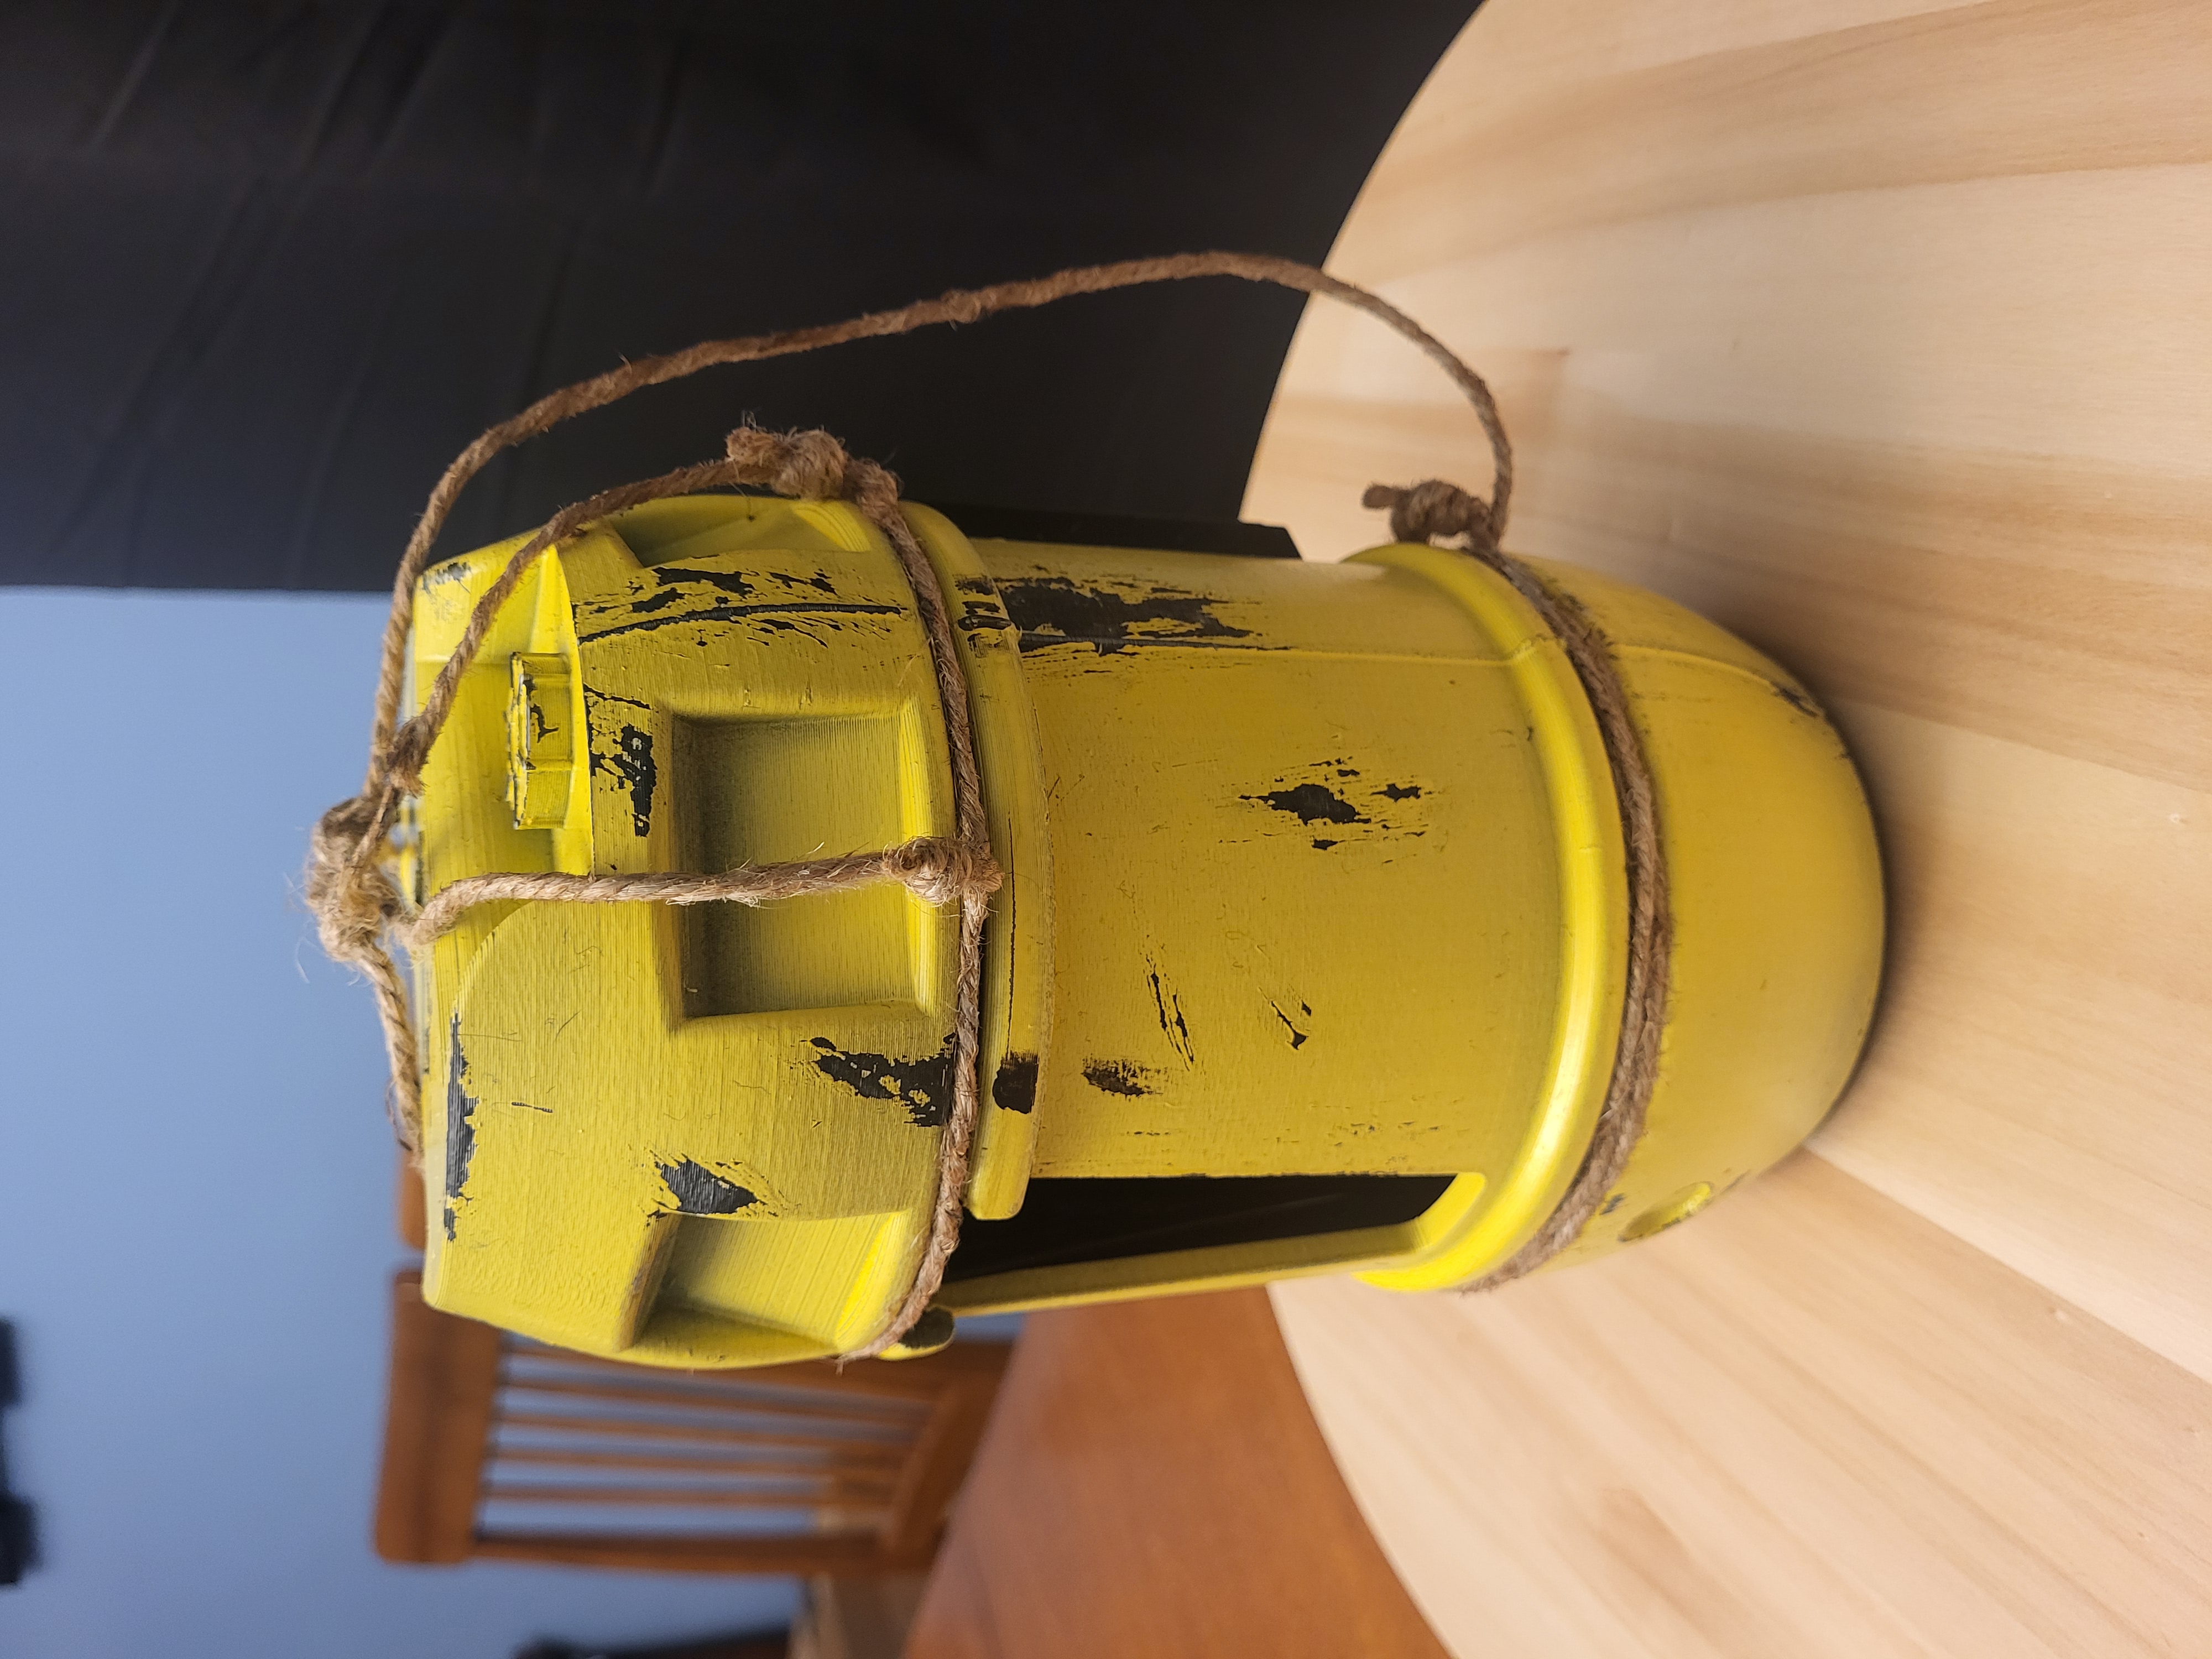
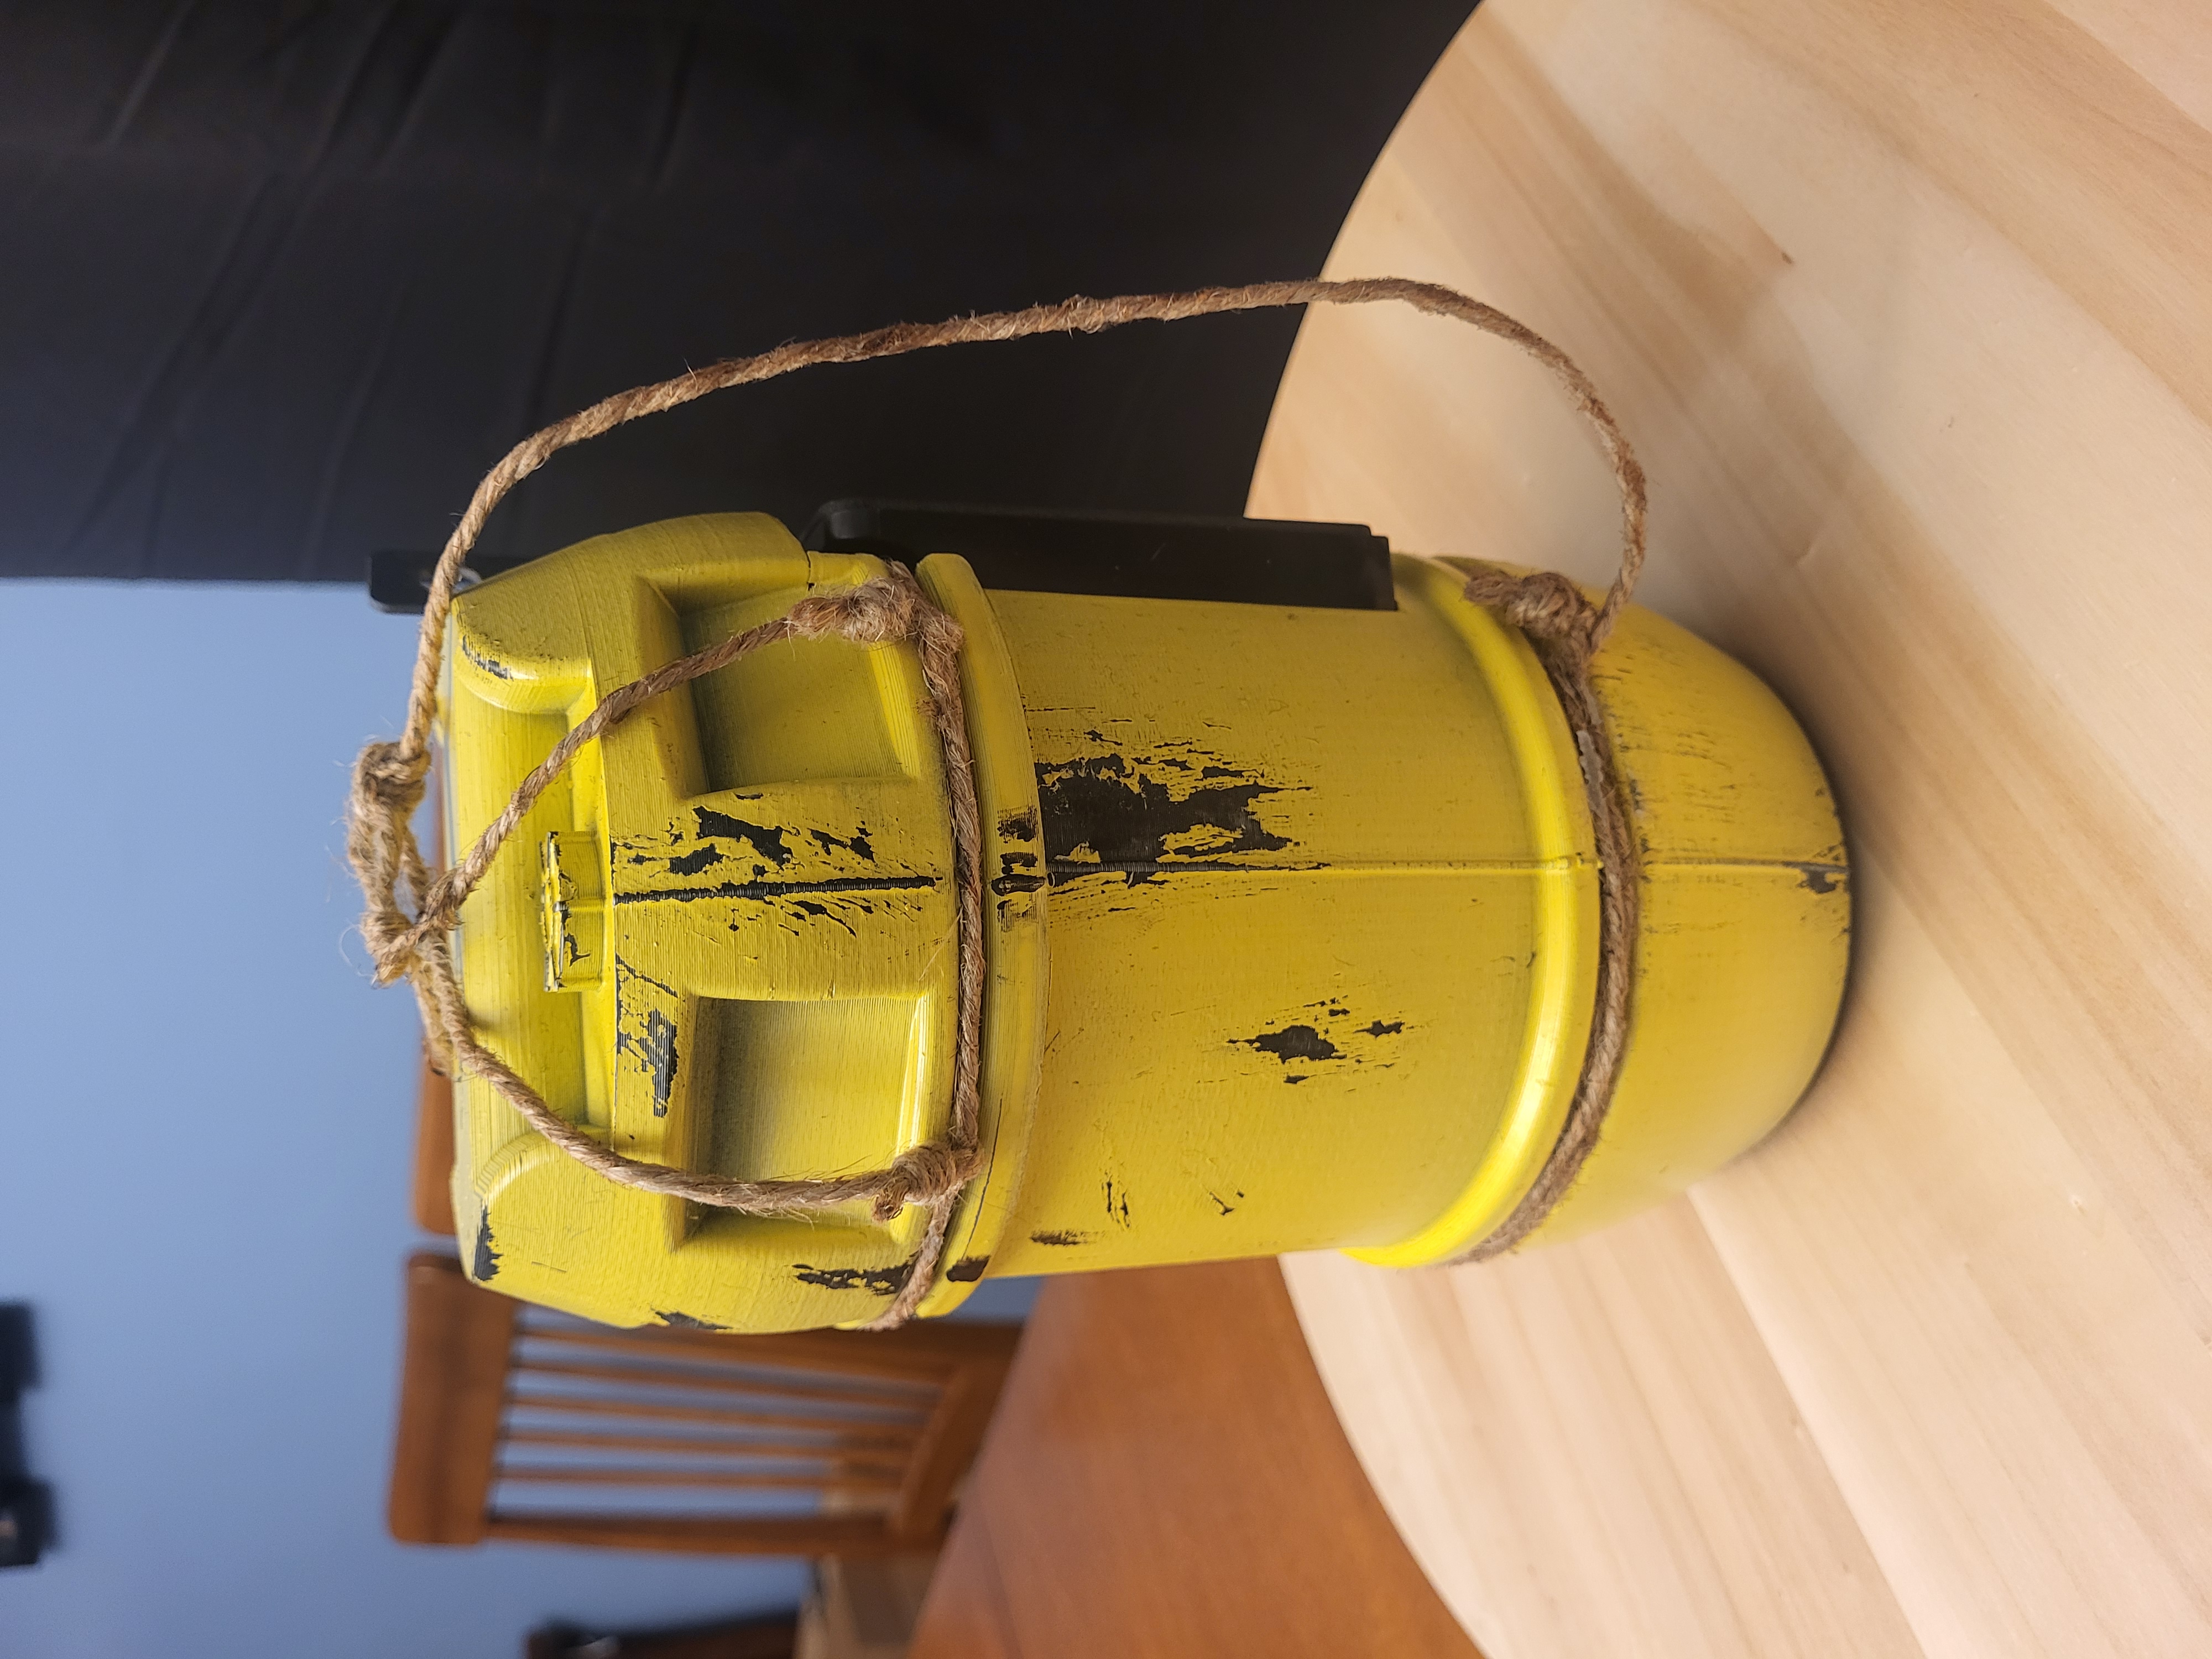
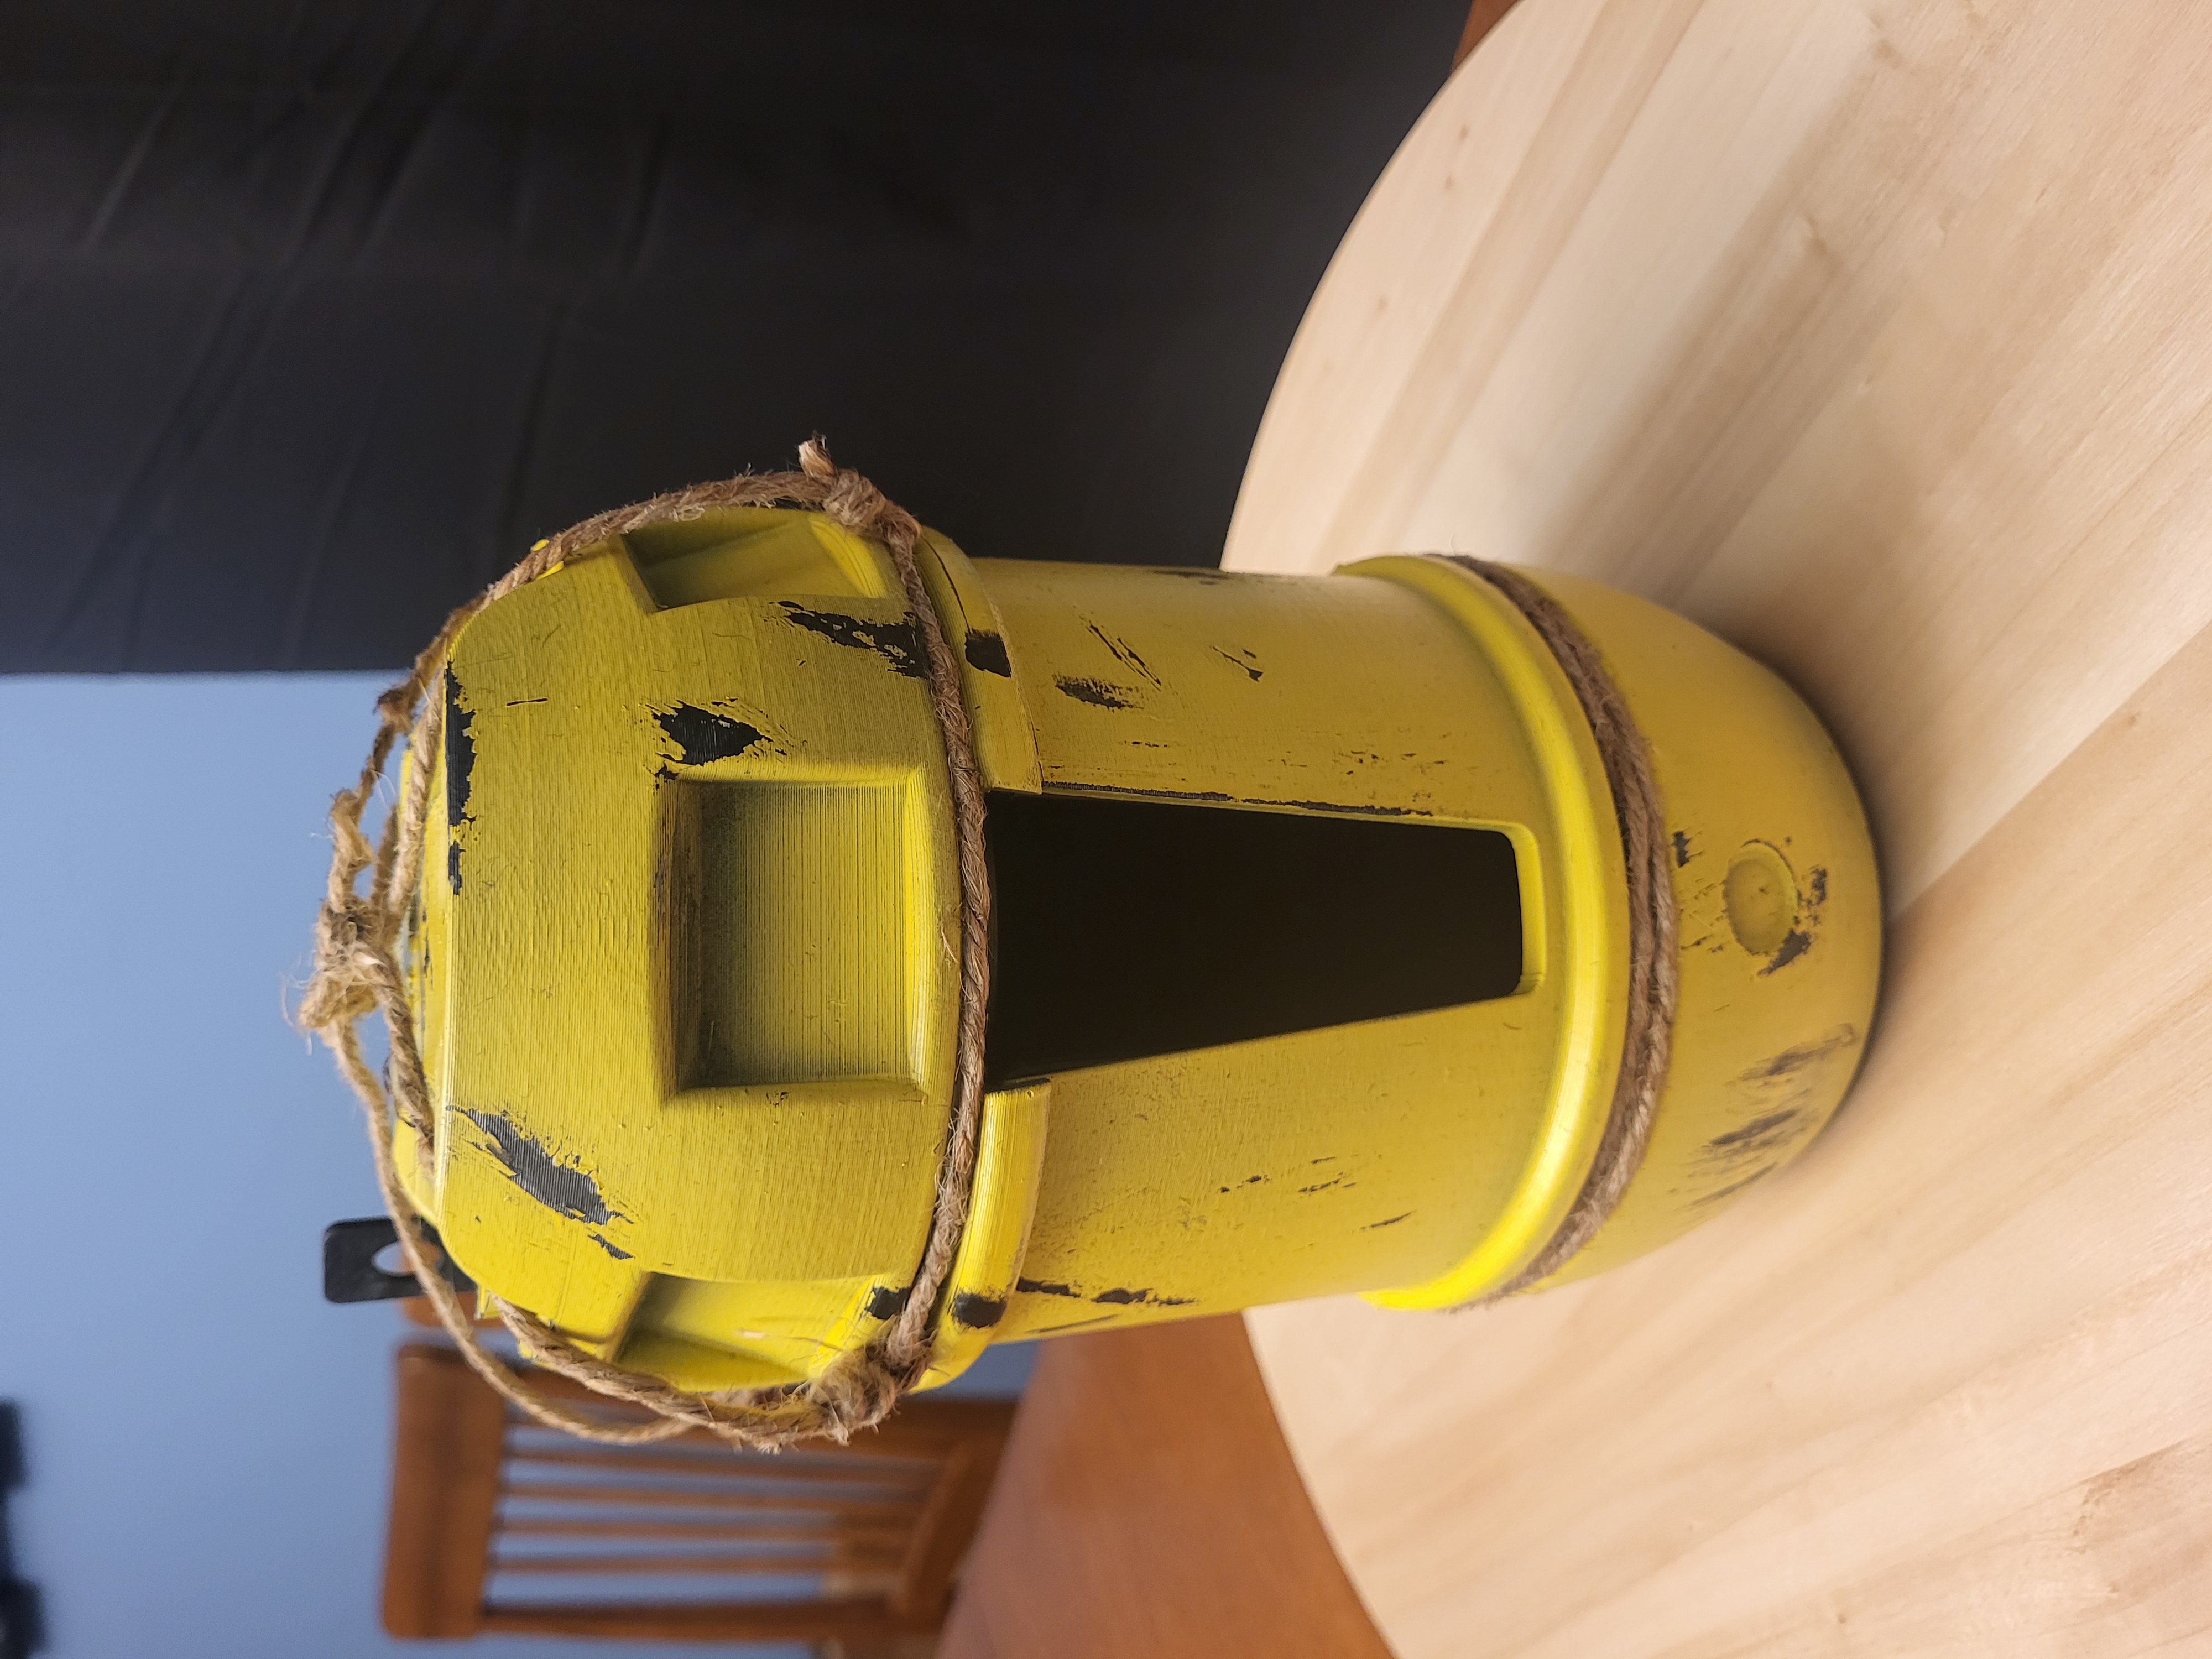
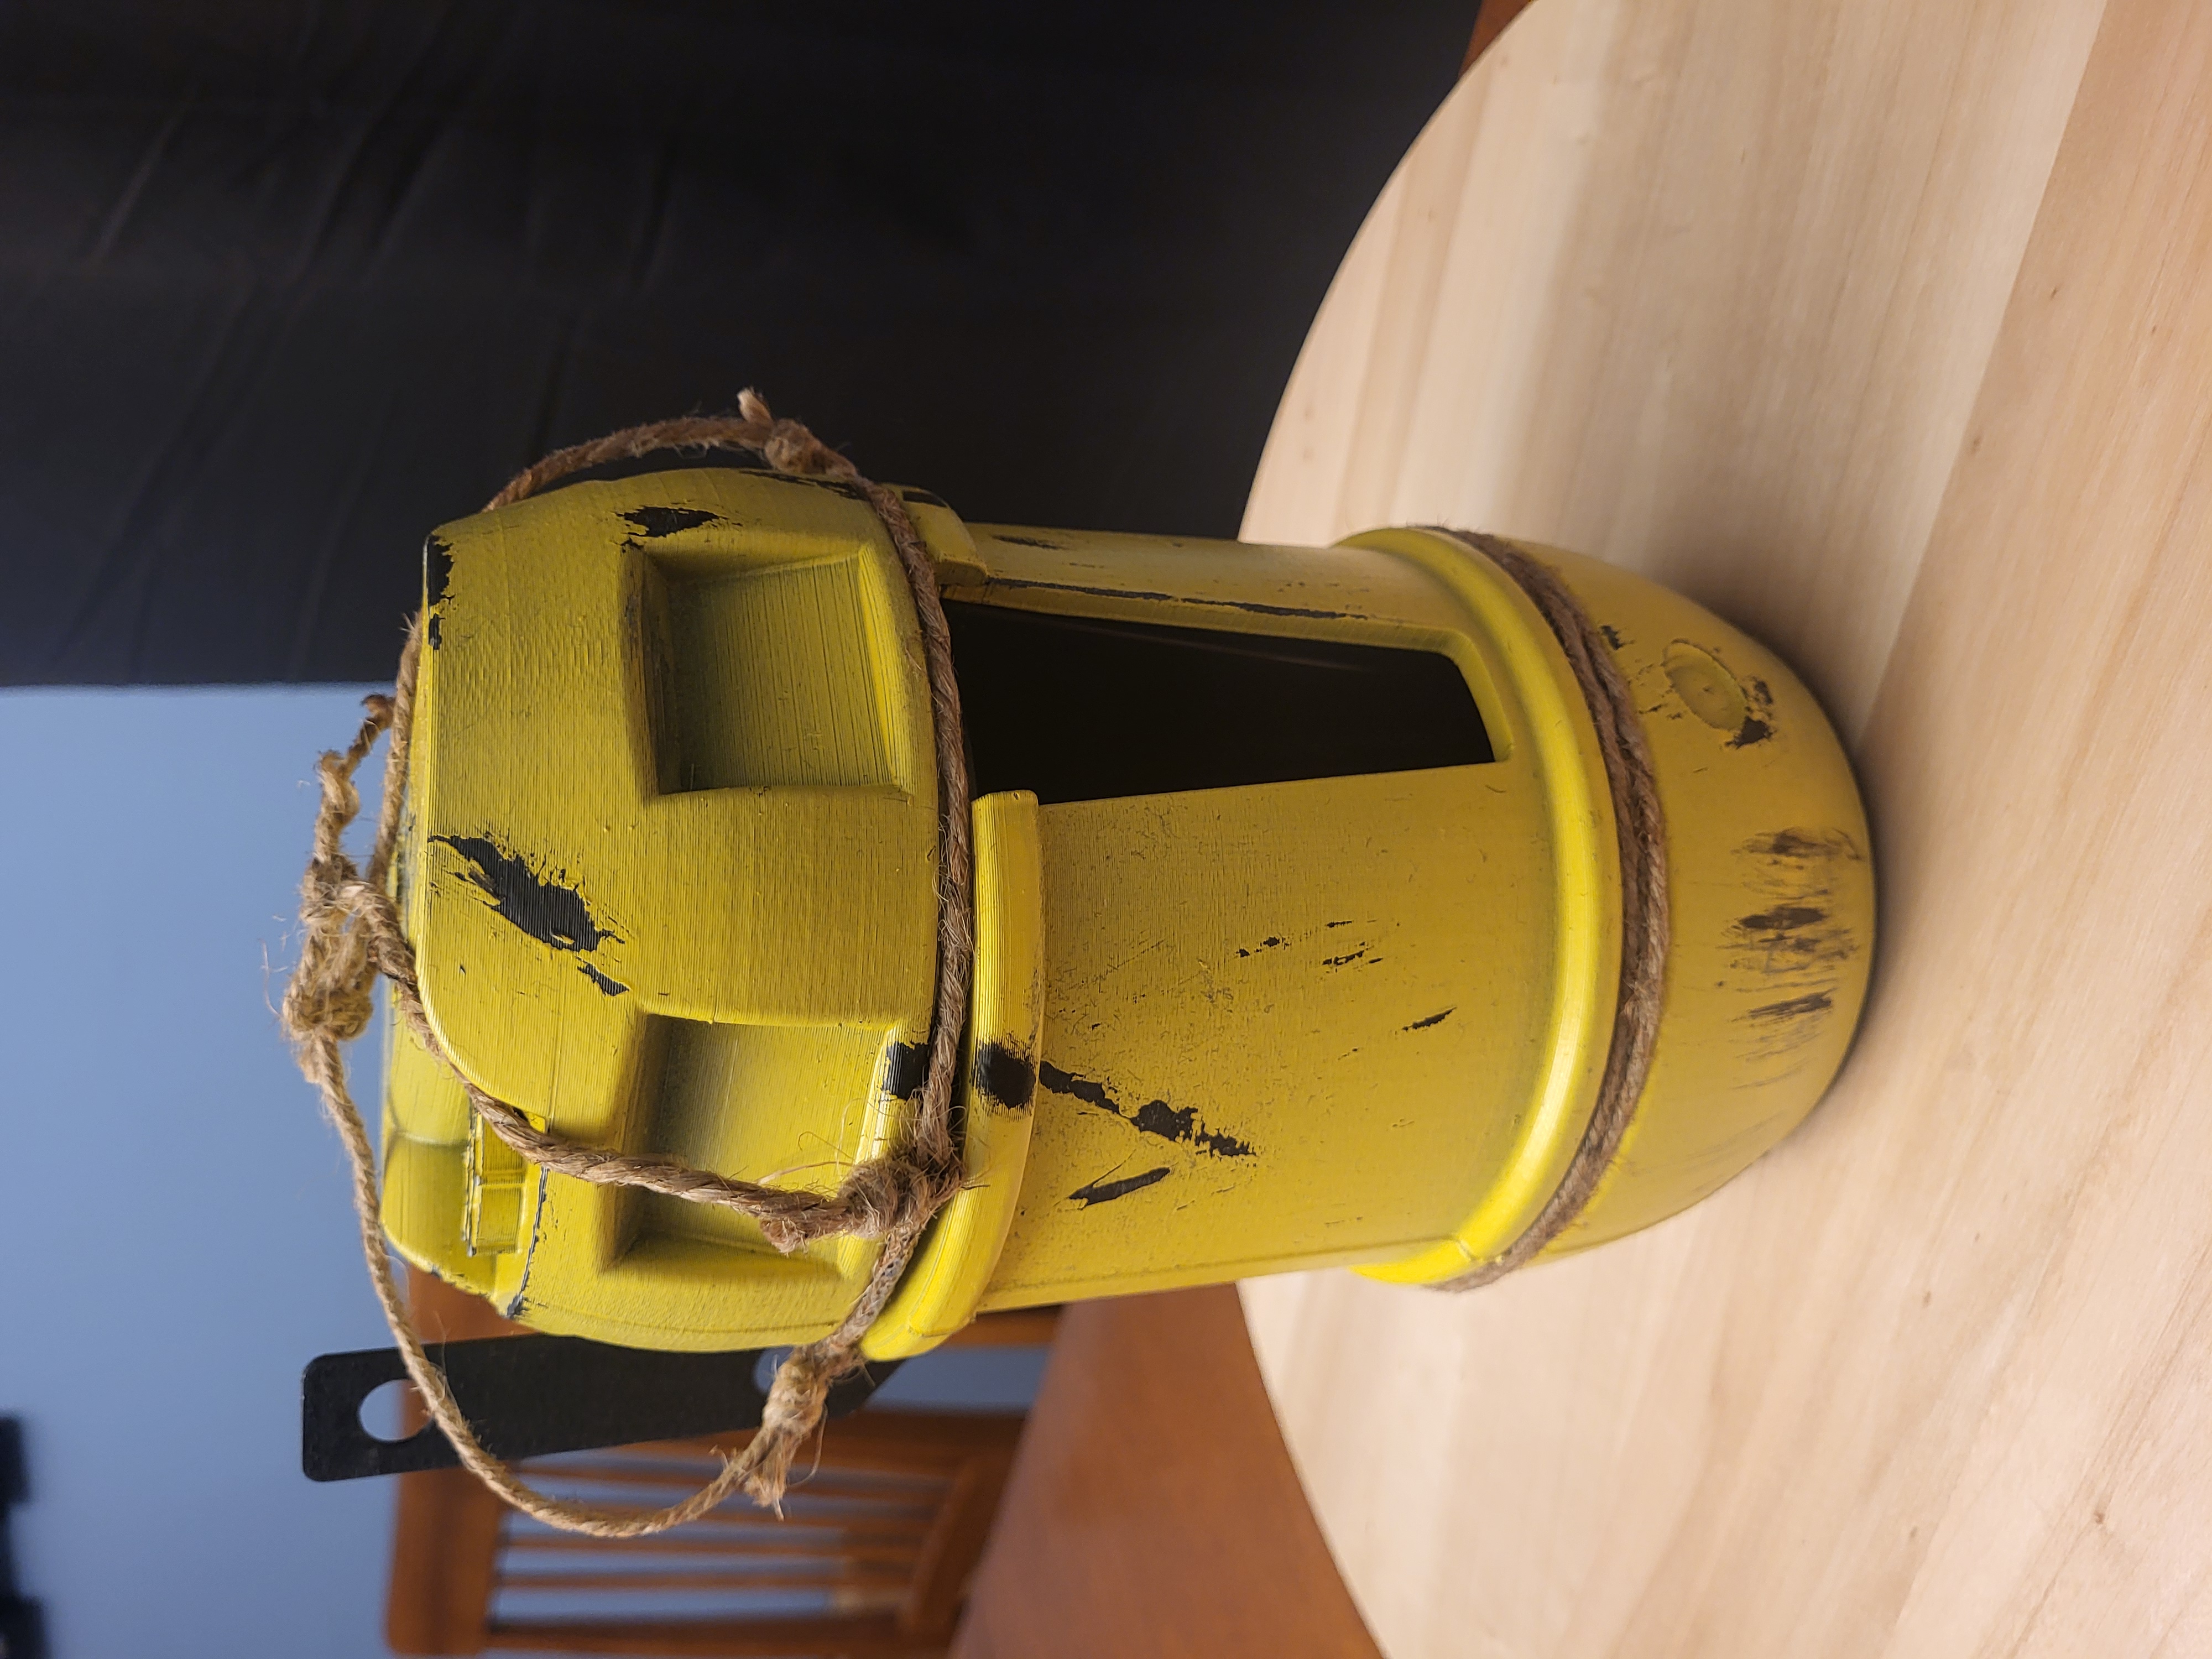
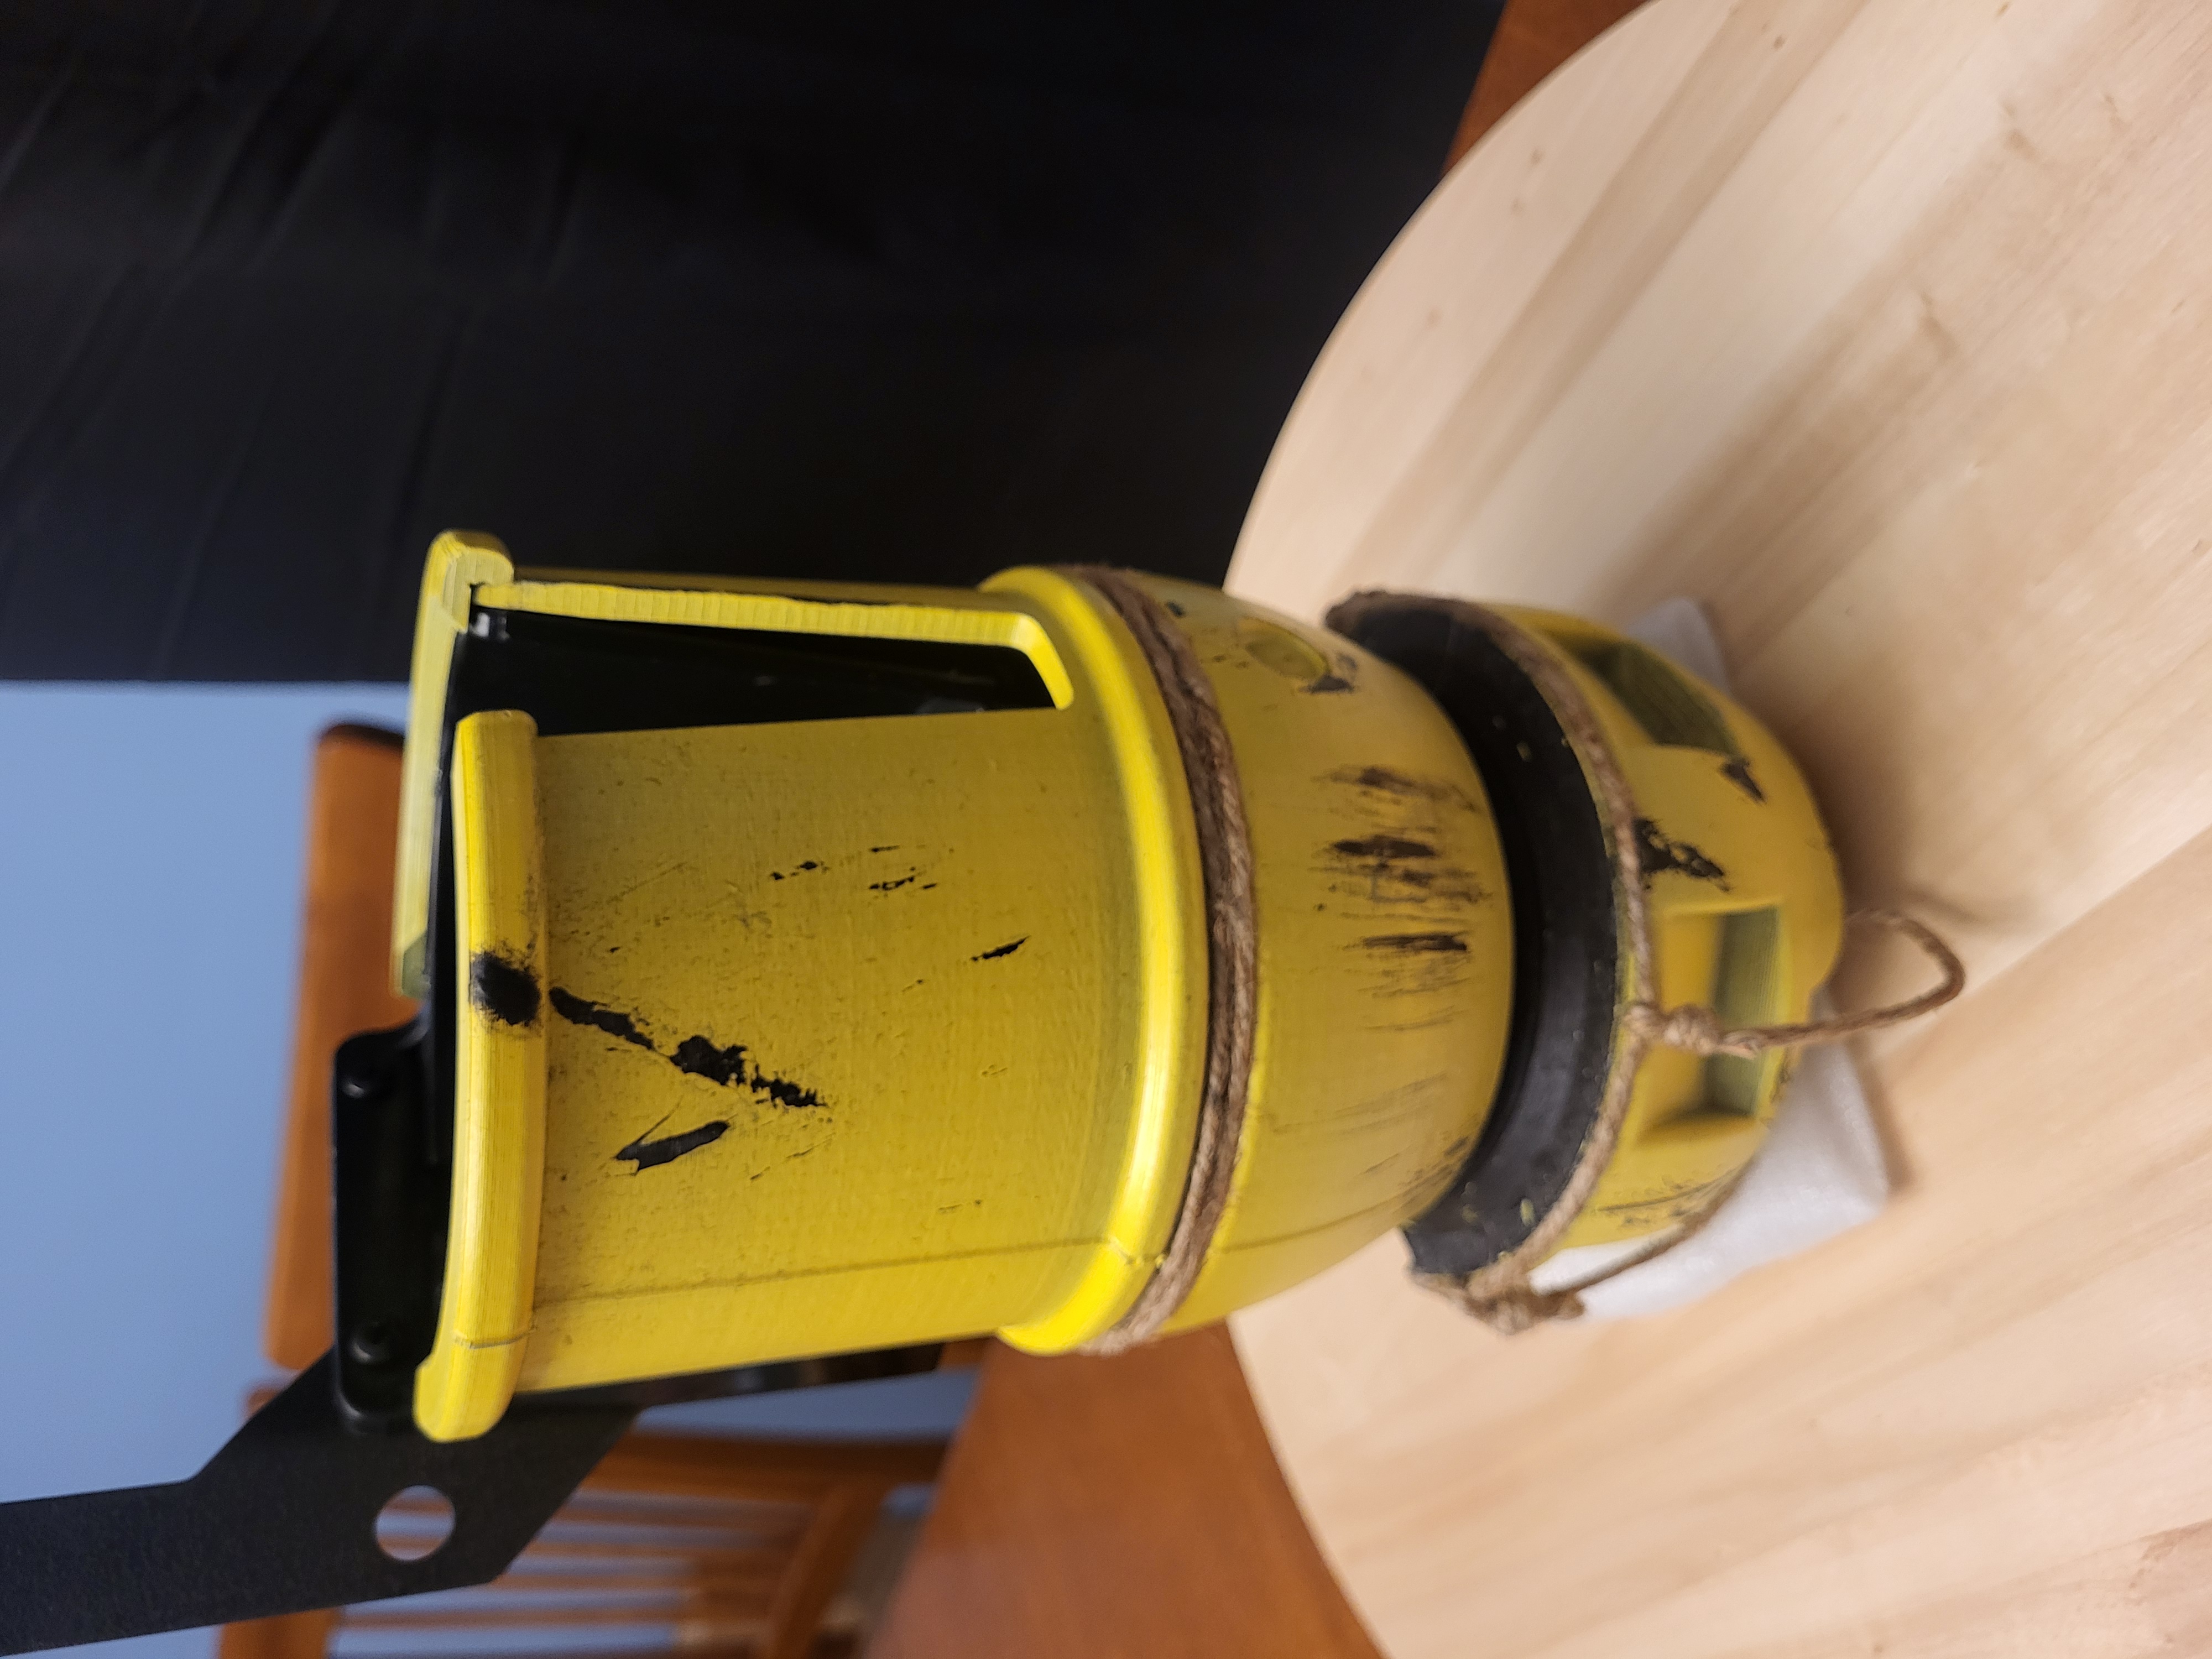
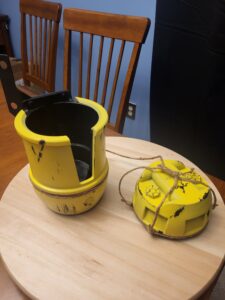
This project stemmed from the desire for this much-needed accessory for anyone familiar with the film and the nature of pinball. By leveraging the amazing pinball cupholders already available in hardy steel and injection-molded plastic, this cosmetic upgrade was an obvious must-have for a prop so iconic that it gets more screen time than the title character himself. The dual configuration of capped and stowed allows you to either have it available as an evergreen display or used to hold your frosty beverages during a long gaming session. The rope cord serves as a nice tie-in (no pun intended) with the film as well as insurance to make sure the lid never walks too far from its magnetic stowed position.
Overall, this project took just under a month from idea to completion and -unlike many of my other projects- I can ensure that it is completed as it was gifted away from my ability to keep tweaking it later. That said, this was one of the first projects that I think could scale as a product at a later date.

Purpose

The purpose of this project was to expand my skills in 3D modeling, modification of existing real-world objects, paint chipping, multi-material prop making, and multi-functional assembly design as a user-facing product. Coincidentally, it also made a good Christmas gift to appease the in-laws.

Process

Research and Inspiration

This project originally started by seeing if I could buy something off the shelf to satisfy this gift idea, as there are already many iterations of 3D-printed pinball cupholders and several generic factory-made versions. In my decade of working with 3D printing, I trusted my design skills and material selection for most use cases. Still, I also know that when giving it to someone else, you often create a better fool able to break it in unexpected ways.

These machines get thrown around during play, and plastic under the weight of a full tumbler moving around has a short life compared to the decades I expect the machine to last. Plus the Stern power switch location requires you to walk past this side of the pinball machine each time you play, making it a prime candidate for getting bumped and mistreated over time.

For these reasons, I elected to use a cosmetic plastic upgrade to the existing commercial cupholders which had many years of history supporting these environments. Fortunately, I had already done the research to find the PinGulp by Mezel Mods to be a very sturdy and reasonably priced option, that I had purchased for a previous machine.

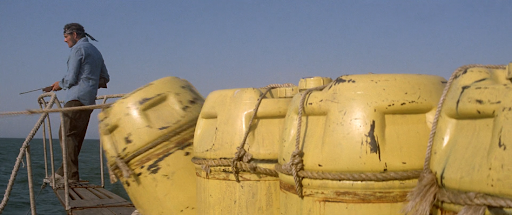
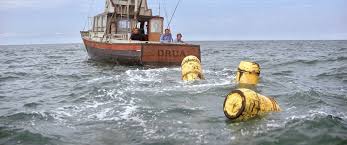
The Jaws pinball machine at the time had only been out for a few months, so I knew my chances were somewhat limited but feasible. In my search I did find a couple of off-the-shelf solutions like the Jaws Cage by ModFather and more importantly a tutorial on how to model the Jaws barrels generously provided by fellow maker SoulRider911. This gave me the general framework but still required gathering intel from screen grabs, behind-the-scenes images, and even demos of scaled-down prints created by scanning the original props to get my specific version. Building mine from the ground up also allowed me to personalize bits like the text on top (originally DOT 34-30) to whatever I saw fit for future builds.

Tools List

  • 3D Printer
  • Hatchbox PLA
  • PinGulp (purchased)
  • Jute cord (at least 10 ft)
  • Yellow Rustoleum Paint Spray Can
  • 2x20mm Magnets (Qty 2)
  • Glue (cyanoacrylate or better)

Design Sequence

This prop was designed in Fusion 360, with six parts in total. First, I modeled the existing PinGulp cupholder after taking measurements with a simple set of calipers to use as a reference. The largest model piece was designed to slide over the bottom of the PinGulp, then two smaller pieces to hold onto both the base piece and either side of the top of the cupholder, as well as a sloped resting face for centering the final lid portion of the barrel. I also created two thin printed discs that narrowly extended the bottom of the lid and the base pieces.

These contained concealed magnets for holding the lid to the underside of the base while in use as a cup holder.
The trick with this design was to change the footprint of the cupholder as little as possible and maintain the proper proportions of the barrel, while still allowing the full use of the cupholder volume and the slot for beverage handles. Other considerations were made such as aesthetic consistency, clearance to objects like the metal bracket on the cupholder, drainage for spills, and minimizing supports to ease cleanup while printing.

Painting and Weathering

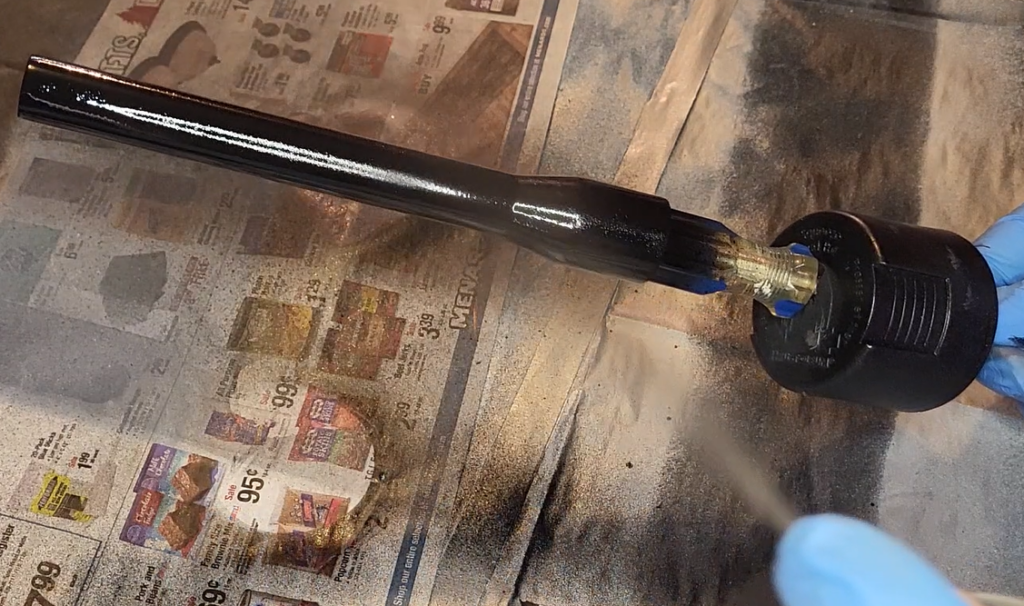
It wouldn’t be the Jaws “Born Free” Barrel if it looked fresh from the factory rather than the bow of the Orca, so this was also my first journey with paint chipping. This barrel started life as a white PLA (as it is both familiar for me to print with and what I had on hand) that was then painted black, selectively layered with toothpaste (thanks to a tip from Punished Props Academy), painted in multiple layers of rattle-can yellow paint, and then wetted and gently peeled to reveal the black underneath. As someone who is not particularly artistic, I found this to be a very straightforward approach that looked better than some of the painted-on chipping I had seen online elsewhere [as it was essentially authentic chipping]. I then sealed it with a clear coat to protect it from fading and unwanted extended chipping (though in this case, any wear over time would only add to the authentic look of those barrels throughout the film).

Final Assembly

After all printed parts were painted, I glued each into two final subassemblies (top and bottom), sealing the PinGulp into its tomb. I then purchased a jute cord from a local hobby store and learned how to properly tie a barrel knot (as seen in the film). I topped the barrel with the iconic bowline knot that Quint taught Sheriff Brody in the Jaws film and glued the rest in place for good measure. To clean up the fraying cord, I tickled it with an open flame to get it to look nice and tidy, which was by far the most nerve-wracking part of the whole assembly. The results do seem to speak for themselves though, as this was the talk of the Christmas party where it was gifted.

Lessons Learned and Future Plans

  • Having chipping that runs across all individual parts helps to sell the cohesiveness of the finished product. For future builds, I will make sure to add chipping to the base, lid, and lip at the same time in an assembled configuration to maintain visual consistency across the piece.
  • The personalization text on the top of the barrel made this feel like a gift rather than an off-the-shelf product. This added touch was immediately felt by the recipient of this gift and made it a significantly more worthwhile project.
  • I originally looked at ‘removable’ fasteners for better utilization of the common cup holder rather than a glued/bonded assembly. This proved to overall be unfeasible for this project, as the cost of a new PinGulp was very small compared to the additional cost of fasteners and the time required to remove the PinGulp from the pinball machine if you were somehow inclined to swap it between multiple machines. It seemed simpler to buy another PinGulp at the time of this build.

I am considering a future commercial version of this project, but will need a few things lined up first.

  • I am already considering a version incorporating the beacon that Hooper attaches to the barrel in the film, complete with blinking lights and potentially a sound effect. More research would need to be done on this and is planned for the near future.
  • If I continue to print low volumes of this, I would likely switch to black filament (to remove the base painting step) and experiment with PETG or ABS rather than PLA for durability. Ideally, I would instead print and sand a single mold master that I would then be able to cast in black resin.
  • The tradeoff for a cast vs a 3D print is that a cast solution would make personalizing more difficult. I would likely need a ‘non-personalized’ lid mold with the standard text, as well as a plugged mold which I would then need to print a personalized negative of before each casting. Getting the plug seam for the personalized version to disappear would require more post-processing and some clever design work, but may be worth the cost to the potential recipient.
  • I would likely buy an airbrush to dial in the exact yellow desired for this piece rather than rely on a series of rattle cans, as well as enable highlighting and faster painting times.

For more posts like this, check out some of our other recent work as well!
Brew #7: Perdonami Padre (Garlic Honey Mead)

Ingredients:

  • 2-3 lbs. Garlic Honey (Aged 3+ months)
  • 1 package wine yeast (Lavlin EC-1118)
  • 1 tsp yeast nutrient [Diammonium Phosphate (DAP)]
  • Spring water [to 1/2 gal/1L fill line]
  • Airlock

Total Volume: ~1 Gallon Pitched (bottling info below)
Pitch date: 2021-01-01, OG: 1.111 (Estimated)
Bottle Date: 2021-03-11, FG: 1.002 (~14%)

Method:

  1. All contents [carboy, airlock] sanitized with PWB sanitizer [Starsan]
  2. Garlic honey and water added to carboy, shaken until homogenous
  3. Yeast rehydrated according to back of package instructions
  4. Yeast added to must with DAP
  5. Left to sit in a cool dry place for 5 weeks until transfer into secondary carboy [off lees] and waited additional 5 weeks for “newspaper legible” clarity
  6. Bottled into the following containers for additional experimentation
  • a) 1x375mL Traditional [for aging]
  • b) 1x750mL Glass Screw-Top bottle [for cooking]
  • c) 1x12oz Bottle [excess, for experimenting]

Tasting and Additional Notes:

  • 21-03-11: It tastes like GARLIC! Not earthy like garlic, not sweet with a hint of garlic, like straight up liquid mouthful of garlic bulb.
  • This will probably make an excellent cooking wine or marinade. This was a gift, so I may keep the 12 oz for further experimentation but the rest will be given away, so further tasting notes may not be possible. I will report back if more info becomes available.

Brew #6: Mixed Berry Wine Cocktail

Ingredients:

Total Volume: ~0.6Gal/1.2L Pitched (bottling info below)
Pitch date: 2021-01-04, OG: 1.05
Bottle Date: 2021-03-11, FG: 1.000 (~7%)

Method:

  1. All contents [carboy, airlock] sanitized with PWB sanitizer [Starsan]
  2. Juice, sugar, and yeast, and added to carboy, shaken until homogenous
  3. Left to sit in a cool dry place for 5 weeks until transfer into secondary carboy [off lees] and waited additional 5 weeks for “newspaper legible” clarity
  1. Bottled into the following containers for additional experimentation
  • a) 1x375mL [for aging]
  • b) 1x750mL [for drinking]
  • c) 1x12oz bottle [also for drinking]

Brew #5: Traditional Mead (Experimental Run)

Ingredients:

  • 3 lbs. Clover Honey (Gordon Food Services brand)
  • 1 package wine yeast (Lavlin K1-V1116)
  • 1 tsp yeast nutrient [Diammonium Phosphate (DAP)]
  • Spring water [to one gallon fill line]
  • Airlock

Total Volume: ~1 Gallon Pitched (bottling info below)
Pitch date: 2020-09-17, OG: 1.111
Bottle Date: 2020-10-31, FG: 1.002 (~14%)

Method:

  1. All contents [carboy, airlock] sanitized with PWB sanitizer [Starsan]
  2. Honey and water added to carboy, shaken until homogenous
  3. Yeast rehydrated according to back of package instructions
  4. Yeast added to must with DAP
  5. Left to sit in a cool dry place for 4 weeks until transfer into secondary carboy [off lees] and waited additional 3 weeks for “newspaper legible” clarity
  6. Bottled into the following containers for additional experimentation
  • a) 1x375mL Traditional [for aging]
  • b) 1x375mL Basic Melomel
    • (added 5 drops blueberry, 5 drops raspberry super-concentrate [LorAnn])
  • c) 1x375mL Blueberry Melomel
    • (5 drops blueberry super-concentrate [LorAnn])
  • d) 1x375mL Basic Metheglin
    • (2 drops imitation vanilla, 1/8 tsp cinnamon)
    • Note: this bubbled over as soon as the cinnamon was added. Recommend be on look out for bottle bombs should this be repeated
  • e) 1x750mL Traditional in swing-top
    • [bottled for further aging experimenting]
  • f) 1x750mL Berry Capsicumel
    • 4 oz Green Chilis added to swing-top. Recommend transfer to 2x375mL bottles, 1x375mL to be flavored with raspberry super-concentrate [LorAnn]
  • g) 1x375mL Coffee Mead
    • 50mL Ethiopian Coffee (Cold-brewed 24 hrs prior)

Tasting and Additional Notes:

  • 9/07: Taste at bottling is good, peach forward with a mango finish. A bit dry for me, but perfect for the Mrs. as intended
  • 11/08: first bottle opened. Very dry (to me), enjoyed by wife. Still a bit strong alcohol burn upfront, fruits follow and are more prominent if left to breathe. Wife mentions yeasty taste, I couldn’t find it.

Brew #4: For the Mrs. (Peach Mango Wine)

Ingredients:

  • Old Orchard Peach Mango Juice Cocktail [half gallon]
  • 1 package wine yeast (Lavlin K1-V1116)
  • 1c white sugar
  • 1 tsp yeast nutrient [Diammonium Phosphate (DAP)]
  • Airlock

Total Volume: ~1/2 Gallon Pitched (2x750mL bottles)
Pitch date: 2020-07-14, OG: 1.088
Bottle Date: 2020-09-07, FG: 0.998 (11.7%)

Method:

  1. Yeast rehydrated according to back of package instructions, DAP added to container
  2. ~2c of juice removed from original container to accommodate added sugar
  3. Yeast and sugar added to juice in container. Mixture stirred/shaken until appearance of even distribution, airlock attached and filled with PWB/water mixture
  4. Left to sit in a cool dry place for 8 weeks until bottling into 2×750 mL bottles.

Tasting and Additional Notes:

  • 9/07: Taste at bottling is good, peach forward with a mango finish. A bit dry for me, but perfect for the Mrs. as intended
  • 11/08: first bottle opened. Very dry (to me), enjoyed by wife. Still a bit strong alcohol burn upfront, fruits follow and are more prominent if left to breathe. Wife mentions yeasty taste, I couldn’t find it.